How to prepare your classic car for long trips starts with understanding what a long trip really demands from an older vehicle. A classic car may be beautifully restored, mechanically honest, and perfectly enjoyable around town, yet still be unready for several hundred miles of heat cycles, highway speeds, stop-and-go traffic, elevation changes, and overnight parking. In classic car travel, reliability matters more than polish. Preparation means inspecting the systems most likely to fail under sustained use, carrying the right spares and tools, planning routes around the car’s actual limits, and matching driver expectations to period engineering. I have done this with carbureted V8 coupes, British roadsters, and air-cooled flat-fours, and the pattern is always the same: the best trips happen when the car is sorted before departure, not repaired on the roadside.
A classic car, for this purpose, is generally a vehicle old enough to use older materials, older tolerances, and older service procedures even if it has been partially modernized. Long trips usually mean any journey far enough that a tow home is impractical and local support is uncertain. That changes your checklist. You are no longer preparing for a Sunday drive; you are preparing for repeated starts, fuel variability, weather shifts, and the cumulative effect of vibration on hoses, wiring, belts, brakes, and fasteners. The reason this matters is simple. Older cars fail less from dramatic breakage than from neglected basics: weak batteries, old fuel lines, marginal cooling systems, underinflated tires, dirty grounds, worn ignition parts, and unrealistic cruising plans.
The goal is not to make a classic car behave like a new one. The goal is to know what “normal” looks like for your specific car and reduce preventable risk. A healthy vintage Mercedes may comfortably cross states at modern speeds, while a small-displacement 1960s economy car may be happier at fifty-five on secondary roads. Good preparation protects the car, protects your time, and protects the experience that makes classic car travel worth doing in the first place.
Start with a mechanical baseline, not a cosmetic checklist
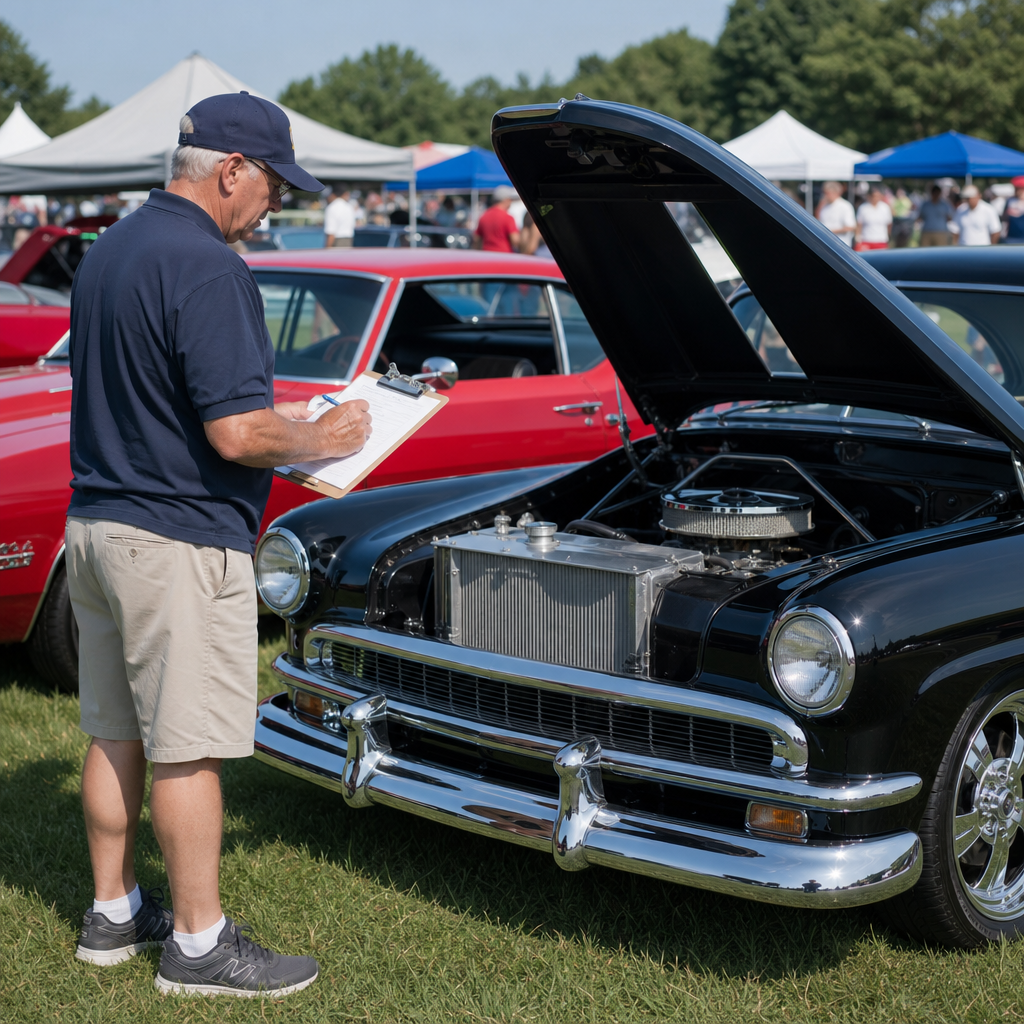
The first step in preparing a classic car for a long trip is establishing a current mechanical baseline. If you do not know compression readings, charging voltage, oil pressure behavior, coolant temperature range, and whether the brakes pull, chatter, or fade, you are guessing. Before any major trip, I treat the car to a thorough pre-trip inspection modeled on workshop practice rather than show-field habits. Fluids come first: engine oil, gearbox oil, differential oil, brake fluid, power steering fluid if equipped, and coolant condition. Brake fluid older than about two years is a concern because absorbed moisture lowers boiling point and promotes corrosion. On cars with drum brakes, adjustment should be checked because excessive travel can become dangerous on mountain descents.
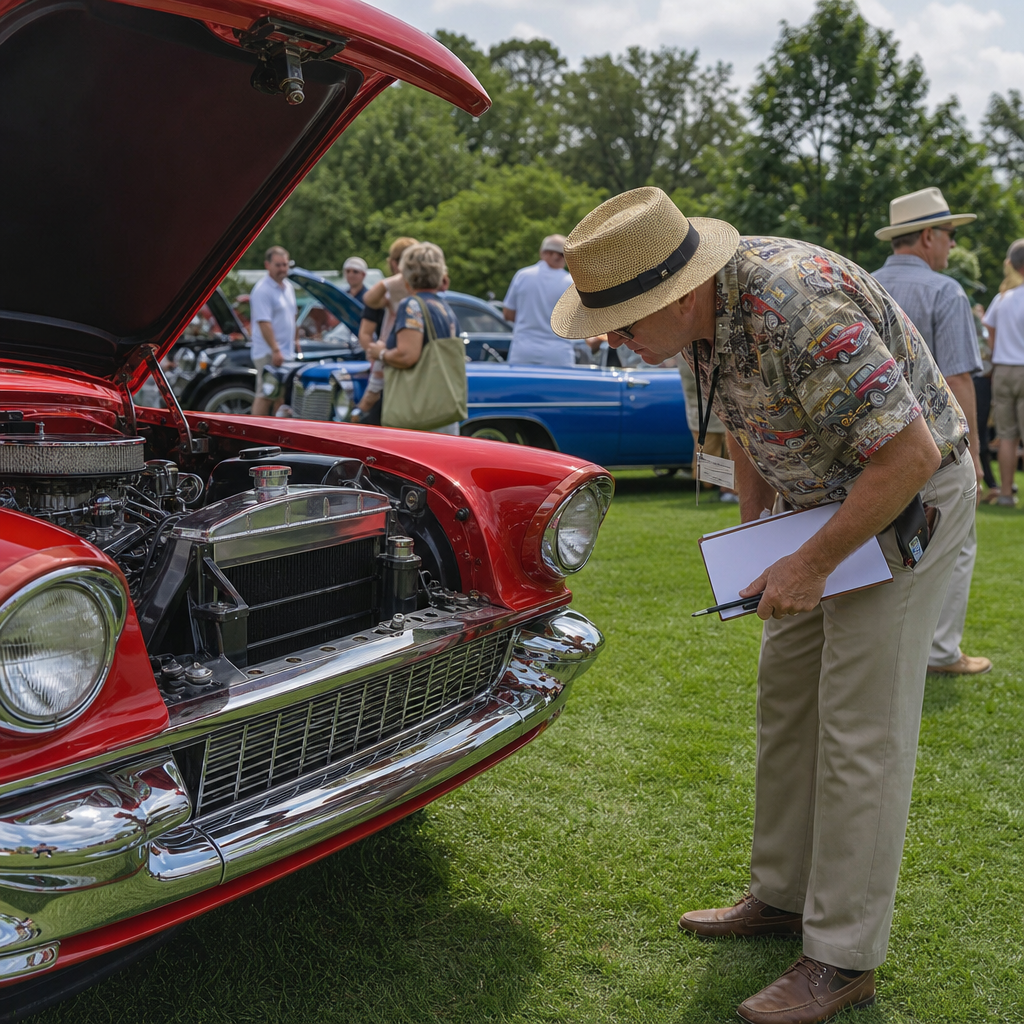
Ignition and fuel systems deserve special attention because they create many roadside failures. On points cars, I inspect dwell, timing, condenser condition, cap, rotor, plugs, and plug wires. On electronic conversions, I still check coil health, grounds, and module mounting. Carbureted cars should be checked for float level, hot restart behavior, vacuum leaks, and fuel percolation tendencies. Any rubber fuel hose of unknown age should be replaced with modern ethanol-resistant line and proper clamps. Cooling systems are equally important. Pressure test the system, inspect the radiator core for blocked fins, verify fan clutch or electric fan operation, and replace suspect hoses before travel, not after the first overheat.
Underbody inspection often reveals the truth. Look for wet wheel cylinders, cracked flex hoses, play in tie rods, loose exhaust mounts, seeping axle seals, frayed handbrake cables, and rust near suspension pickup points. If the car has not recently completed at least a local shakedown of fifty to one hundred miles, it is not ready for a multi-day trip.
Focus on the systems that fail most often on the road
When people ask how to make a classic car reliable for road trips, the answer is not “restore everything.” It is to focus on high-frequency failure points. In my experience, the top categories are cooling, charging, ignition, fuel delivery, tires, and braking. Cooling failures usually come from marginal radiators, old hoses, weak caps, failing water pumps, or timing issues that make the engine run hot under load. Charging problems often trace to aged alternators or generators, corroded battery cables, weak grounds, or voltage regulators that test fine cold and fail hot.
Ignition faults can be intermittent and frustrating. Heat-soaked coils, poorly crimped connectors, cracked distributor caps, and tired ignition switches can mimic fuel starvation. Fuel delivery issues often come from debris in tanks, clogged filters, failing mechanical pumps, or vapor lock in engine bays with poor heat management. Tires deserve more scrutiny than many owners give them. Classic cars frequently wear tires with good tread but unsafe age. The DOT date code matters more than the sidewall shine; many shops treat six to ten years as replacement territory depending on use and storage. Brakes may feel acceptable on short drives but reveal fade, pull, or fluid boiling only after repeated stops.
A disciplined road-trip prep routine prioritizes these systems because each can strand the car or create a safety problem without much warning. Cosmetic issues can wait. Mechanical uncertainty cannot. If your budget is limited, spend money on hoses, belts, tires, battery cables, tune-up parts, brake service, and cooling performance before chrome, trim, or upholstery upgrades.
Choose upgrades that preserve character while improving reliability
Not every classic car should remain exactly as delivered if you plan to travel regularly. Sensible reliability upgrades can preserve the period feel while reducing common failures. I routinely recommend an aluminum radiator only when the original cooling system is undersized or damaged beyond economical repair; otherwise, a recored stock radiator often performs very well. Electronic ignition modules can eliminate points maintenance, but they should be installed carefully and backed up with the original parts in the trunk if the conversion is easily reversible. A high-torque starter can transform hot starts on engines with known cranking issues. Halogen headlamp conversions, relays for headlight circuits, and modern blade fuse panels can improve safety without altering the driving experience dramatically.
Fuel system upgrades require judgment. Electric fuel pumps can help with priming and vapor lock, but they should be wired through proper safety controls, not improvised switches. Radial tires are one of the most meaningful improvements for stability and braking on many cars originally delivered with bias-ply tires, provided the suspension is in suitable condition. Seat belts, dual-circuit master cylinders, and improved cooling fans are also practical upgrades when used thoughtfully.
The tradeoff is originality. Purists may prefer factory-correct solutions, and that is valid, especially for rare or highly judged cars. But if the mission is classic car travel, reliability and safety should guide decisions. The best upgrade is the one that solves a known weakness without creating a new diagnostic mystery on the road.
Pack parts, tools, and documents with a mechanic’s mindset
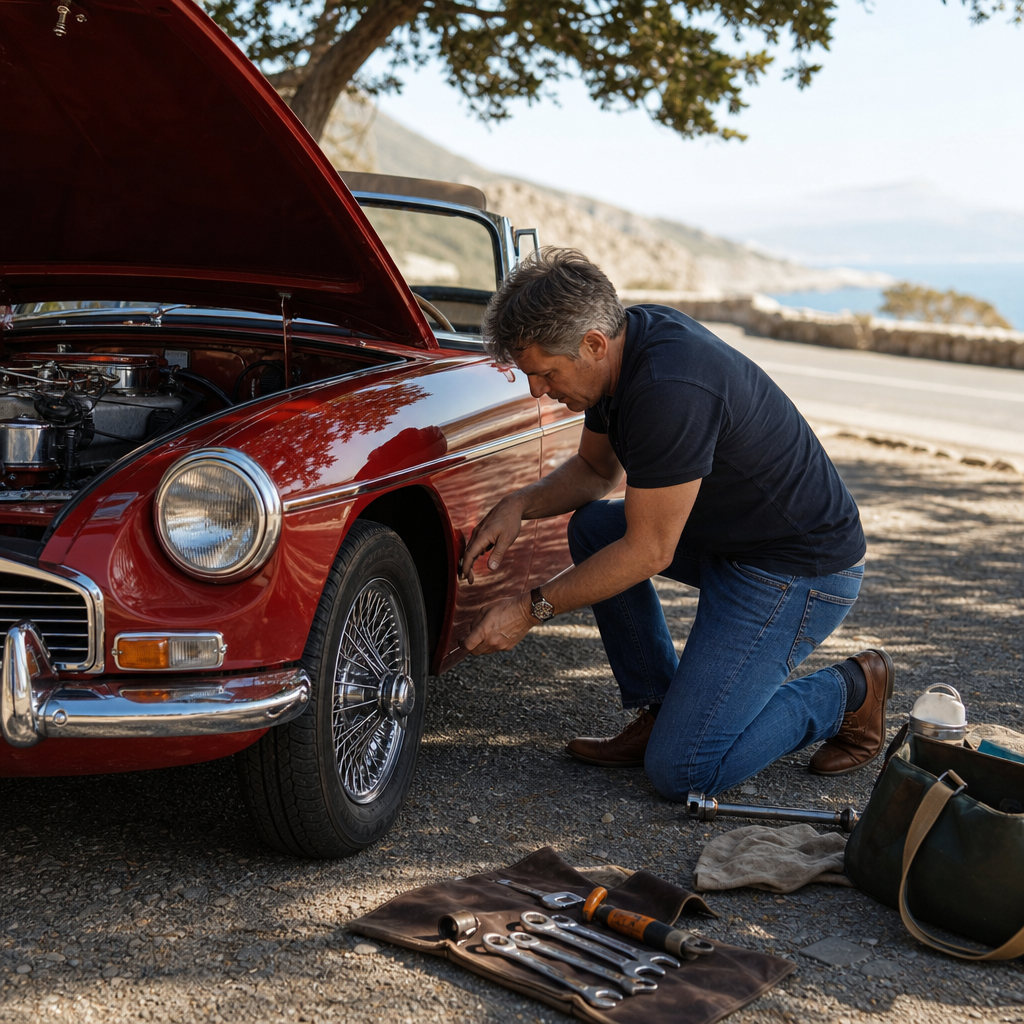
A proper classic car road trip kit is not random. It is a targeted response to the car’s known weak points and serviceability. I pack based on what can realistically be diagnosed and replaced at a roadside stop or motel parking lot. That usually includes belts, upper and lower radiator hoses if compact enough, fuel hose, clamps, fuses, bulbs, points and condenser or an ignition module backup, rotor, cap, spark plugs, a spare coil when the application is failure-prone, basic wire, terminals, electrical tape, test light, multimeter, coolant, oil, brake fluid, and a fuel filter. If the car uses uncommon wheel bearings, fan belts, or water pump belts, carry those too.
| Category | What to Bring | Why It Matters |
|---|---|---|
| Tools | Socket set, screwdrivers, pliers, adjustable wrench, jack, lug wrench, torque wrench | Handles most minor repairs and wheel service |
| Electrical | Fuses, wire, crimp connectors, multimeter, spare bulbs, tape | Electrical faults are common and often fixable quickly |
| Ignition/Fuel | Coil, points, condenser, cap, rotor, fuel hose, clamps, filter | Addresses the most frequent no-start causes |
| Fluids | Engine oil, coolant, brake fluid, water, funnel, rags | Supports leak management and top-offs between towns |
| Documents | Insurance, registration, roadside assistance, workshop notes, parts numbers | Saves time when help or replacement parts are needed |
Documents matter more than many owners realize. Carry insurance, registration, roadside assistance information, and a concise list of part numbers for tune-up items, belts, filters, and hoses. A factory service manual or a digital copy downloaded for offline use can save hours. If your car uses non-original components, document those changes clearly so a parts counter or local mechanic is not forced to guess.
Plan the route around the car, not just the destination
Classic car travel planning should begin with the car’s cruising speed, fuel range, temperature tolerance, and driver comfort, not with the fastest route in a navigation app. Many older cars are happier off the interstate, where speeds are lower and engine loads are steadier. Others, especially larger grand tourers from the 1970s and 1980s, may do best on highways where airflow helps cooling and traffic rhythm is predictable. Know your realistic range. A carbureted car with a small tank and vague fuel gauge should not be pushed to theoretical limits. I plan fuel stops early and favor stations with ethanol-free fuel when the car benefits from it, though many well-sorted classics run acceptably on modern pump fuel if timing and mixture are correct.
Weather and terrain can change everything. High ambient temperatures expose weak cooling systems. Mountain routes stress braking, cooling, and mixture. Heavy rain tests wipers, defrosters, door seals, and electrical integrity. Night driving magnifies weak lighting and charging issues. Build time into the schedule for inspections, cool-downs, and unexpected delays. Driving a classic car long distance is more enjoyable when the plan includes margins instead of forcing the car to keep up with modern assumptions.
It also helps to map specialist support. Mark shops familiar with older cars, parts stores along the route, and clubs or regional groups that may provide local advice. That kind of preparation turns a potential crisis into an inconvenience.
Prepare the cabin, the driver, and the travel routine
Long trips in classic cars are physically different from long trips in modern cars. Noise levels are higher, ventilation is weaker, seats may be flatter, and steering effort may increase at low speeds. Fatigue arrives sooner. For that reason, trip preparation should include the cabin and the driver. Check seat mounts, belts, window regulators, heater controls, fresh-air vents, wiper operation, and horn function. If the car has air conditioning, confirm vent temperatures and belt condition before departure; if it does not, think about sun exposure, hydration, and heat management. A simple 12-volt USB adapter, if compatible with the electrical system, can support navigation and emergency communication without compromising the car’s character.
Visibility is another major issue. Replace old wiper blades, polish hazy glass, verify mirror adjustment, and make sure dashboard lighting works. On long trips, I stop every couple of hours to walk around the car and check for fluid drips, loose trim, heat in wheel hubs, or changing tire pressures. That ritual catches problems before they escalate. It also makes the trip calmer because you are monitoring the machine instead of waiting for a warning sign that many classic cars do not have.
Finally, set expectations with passengers. A classic road trip is slower, more interactive, and sometimes inconvenient. Framing that honestly improves the experience for everyone.
Do a real shakedown and know when not to go
The final preparation step is the shakedown drive. This is where many successful trips are won. A shakedown is not ten minutes around the neighborhood. It is a meaningful test under conditions similar to the trip: highway speed, hot restarts, traffic, hills, and at least one sustained run long enough to bring every system to temperature. Afterward, inspect the car carefully. Re-torque wheels if appropriate, look for leaks, smell for fuel, check belt tension, review plug color if tuning changes were made, and confirm charging voltage again when hot. If something feels slightly wrong, it usually is.
Knowing when not to go is part of experienced ownership. If the car has unresolved brake pull, cooling instability, fuel odor, erratic charging, or steering play, postpone the trip. There is no romance in forcing a marginal car onto a long route. The best classic car travel stories usually begin with boring preparation and end with uneventful reliability.
Preparing a classic car for long trips means building confidence through inspection, maintenance, route planning, and realistic expectations. Start with a mechanical baseline, fix the common failure points first, choose discreet reliability upgrades when they solve real problems, and carry parts and tools that match your car’s actual needs. Plan roads, fuel stops, and weather exposure around the vehicle rather than around a rushed itinerary. Then prove the setup with a genuine shakedown drive.
The payoff is substantial. A well-prepared classic car can cover serious distance with charm that modern transportation cannot replicate. You hear the engine’s character, feel the road honestly, and turn travel into participation rather than passive movement. More importantly, preparation lets you enjoy that experience without constantly wondering what will break next.
If you are building out your classic car travel plans, use this hub as your starting point and turn your next trip into a measured, reliable adventure.
Frequently Asked Questions
What should I inspect first before taking a classic car on a long trip?
Start with the systems that are most likely to leave you stranded, not the cosmetic items that make the car look finished. For long-distance driving, the priority is mechanical reliability under sustained use. Begin with the cooling system, since older engines often handle short local drives much better than extended highway heat. Check the radiator for blockage or seepage, inspect hoses for softness, cracks, or swelling, verify the clamps are tight, and confirm the thermostat, water pump, and fan are working properly. Next, inspect the fuel system closely. Old rubber fuel lines, a tired fuel pump, dirty filters, and contamination in the tank can all create problems once the car is exposed to long periods of vibration and heat.
After that, move to the ignition and charging systems. Make sure the battery is healthy, terminals are clean, the alternator or generator is charging correctly, and all ignition components are in known good condition. If the car runs points, condenser, cap, rotor, and plugs, those should be evaluated carefully and replaced if there is any doubt. Then inspect belts, fluids, wheel bearings, brakes, steering, and suspension. Tire condition also matters enormously, including age, sidewall cracking, correct load rating, and proper inflation. A classic car can feel fine on a short drive while still having weaknesses that only show up after hours on the road. The best approach is to think like a reliability engineer: look for parts that fail from heat, age, friction, vibration, and repeated use, because those are the stresses a long trip will magnify.
How far in advance should I prepare my classic car for a road trip?
Ideally, preparation should begin several weeks before departure, not the night before. A classic car should be tested in stages so you have time to find problems, make repairs, and confirm that the repairs actually solved the issue. If you wait until the last minute, even a minor parts delay or unexpected leak can disrupt the entire trip. A smart timeline starts with a full inspection two to four weeks in advance, followed by any needed maintenance or replacement of suspect components. That gives you enough room to source correct parts, especially if your car uses harder-to-find original or model-specific items.
Just as important, you should do one or more realistic test drives after the work is completed. That means running the car long enough to reach full operating temperature, driving at the speeds you expect to use on the trip, and exposing it to conditions such as stop-and-go traffic, highway cruising, and restarts after a heat soak. Many issues in classic cars appear only when the engine is hot or after sustained operation. A successful 20-minute drive around town is not proof that the car is ready for 300 miles in summer weather. In the final few days before departure, recheck fluid levels, tire pressures, lighting, charging output, and any fasteners or connections that were touched during preparation. Long-trip readiness is less about one big repair session and more about building confidence through inspection, correction, and verification.
What spare parts and tools should I carry in a classic car on a long trip?
The right spare parts kit should focus on the components most likely to fail and most practical to replace on the roadside. For many classic cars, that includes belts, upper and lower radiator hoses if practical, fuel hose, hose clamps, fuses, spare bulbs, a fuel filter, ignition parts, basic electrical connectors, and a few common fluids such as engine oil, coolant if appropriate for the system, brake fluid, and power steering fluid if the car uses it. If your car has a known weak point, bring the part that solves that problem. For example, owners of points-ignition cars often carry points, a condenser, rotor, and cap. If the fuel pump is easy to replace and known to be old, some owners also carry a spare. The goal is not to pack half a workshop, but to cover the failures that are both common and trip-ending.
Your tool kit should be built around the fasteners and service needs of your specific vehicle. At minimum, carry a good set of screwdrivers, combination wrenches, sockets, pliers, adjustable wrench, electrical tape, wire, zip ties, a flashlight, gloves, a tire pressure gauge, and a multimeter or test light. Add a jack, lug wrench, and a spare tire that you know is inflated and usable. It is also wise to bring a printed wiring diagram, roadside assistance information, and a list of part numbers for commonly replaced items. A classic car road kit is really about self-sufficiency. Even if you never use it, having the right tools and parts can turn a major disruption into a manageable delay, especially in areas where vintage-compatible parts are not available quickly.
Are modern upgrades worth considering before a long trip in a classic car?
In many cases, yes, as long as the upgrades improve safety and reliability without introducing poorly integrated modifications. Long trips place demands on a classic car that the original design may not have been optimized for, especially in modern traffic, hotter operating conditions, and extended high-speed travel. Thoughtful upgrades such as radial tires, electronic ignition, improved cooling components, better lighting, a high-quality battery, or an alternator conversion can make a meaningful difference in drivability and dependability. If your car still has marginal charging capacity, weak night lighting, or a cooling system that is adequate only in mild local use, a carefully chosen upgrade can reduce risk significantly.
That said, reliability upgrades should be tested well before the trip. A new part is not automatically a trustworthy part, and many road-trip problems come from recent modifications that were never fully sorted. The best upgrades are the ones that solve a known limitation and are installed cleanly with proper wiring, fitment, and follow-up testing. Safety-focused updates such as dual-circuit brakes, seat belts if appropriate, or better tires often make more sense than purely performance-oriented changes. Purity matters to many classic car owners, but for long-distance travel, practical improvements that preserve the character of the car while increasing reliability are often well worth it. The key is to avoid turning pre-trip preparation into a major unfinished project.
How can I reduce the risk of breakdowns while actually on the road?
The best way to reduce breakdown risk during the trip is to drive the car in a way that respects its age, design, and operating limits. That means monitoring gauges regularly, listening for changes in sound or feel, and treating any new vibration, odor, hesitation, or temperature increase as an early warning rather than something to ignore. Do not push a classic car at maximum speed for long periods just because it can reach that speed. Mechanical sympathy matters. Leave extra following distance, avoid aggressive stop-and-go driving when possible, and give the car periodic breaks on very hot days or in mountainous conditions. Fuel quality also matters, especially if the engine has specific octane needs or tuning that is sensitive to modern fuel blends.
It also helps to build your route and schedule around the car instead of driving it like a modern appliance. Plan more conservative daily mileage, identify fuel stops ahead of time, and choose overnight parking where the vehicle will be secure and not exposed to unnecessary risk. Check oil level, coolant condition, and tire pressures during the trip, especially each morning before departure. A quick visual inspection under the hood and under the car can catch leaks or loose components before they become major failures. Finally, know when to stop. If the car starts acting differently, continuing to drive can turn a minor issue into serious engine, brake, or electrical damage. Successful classic car touring is not about pretending the car is new. It is about staying observant, driving proactively, and managing small issues before they become trip-ending problems.