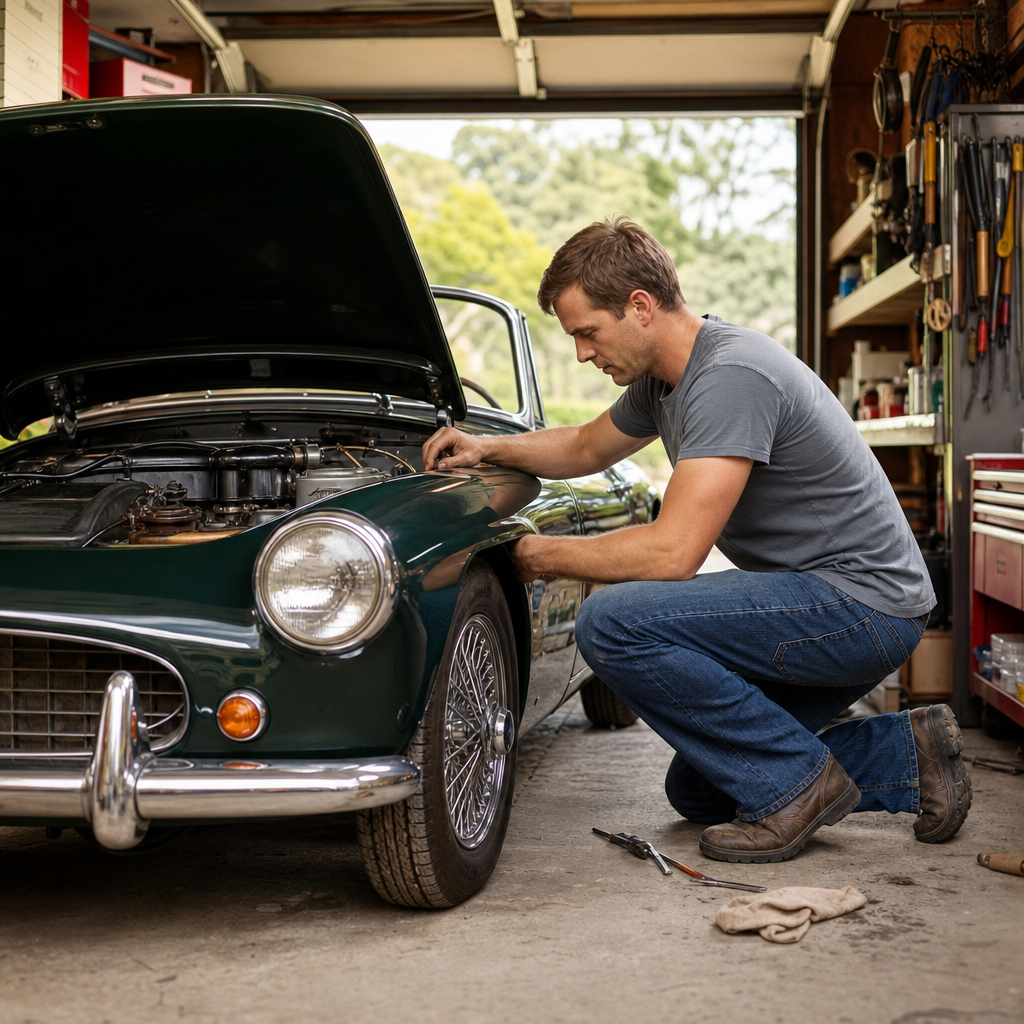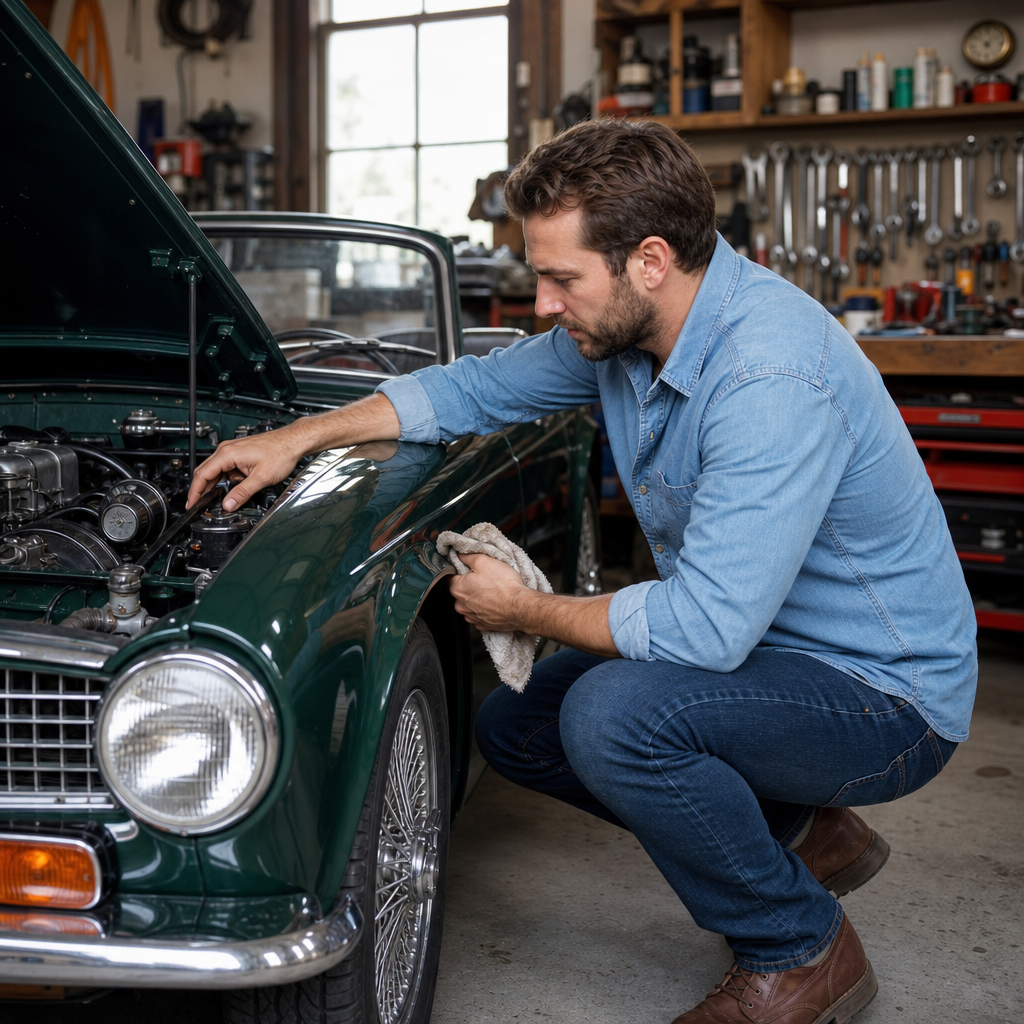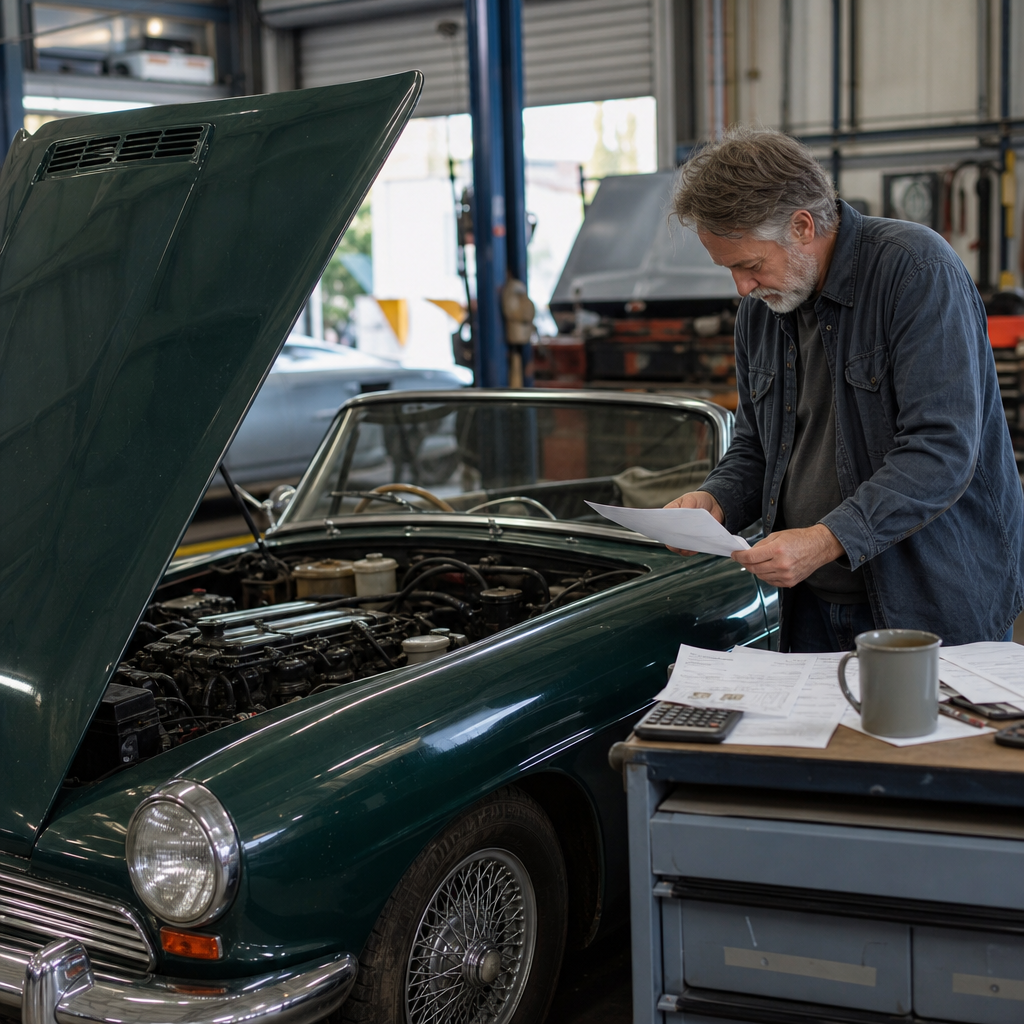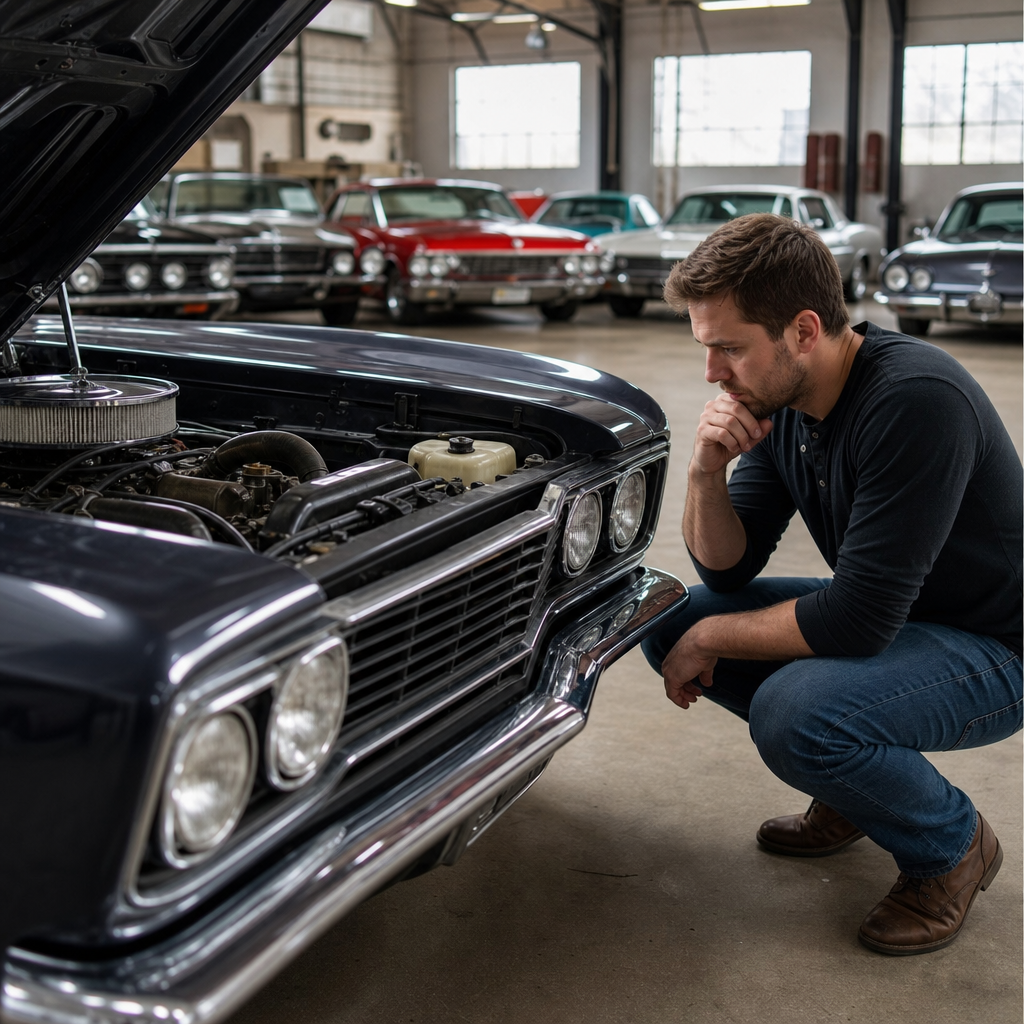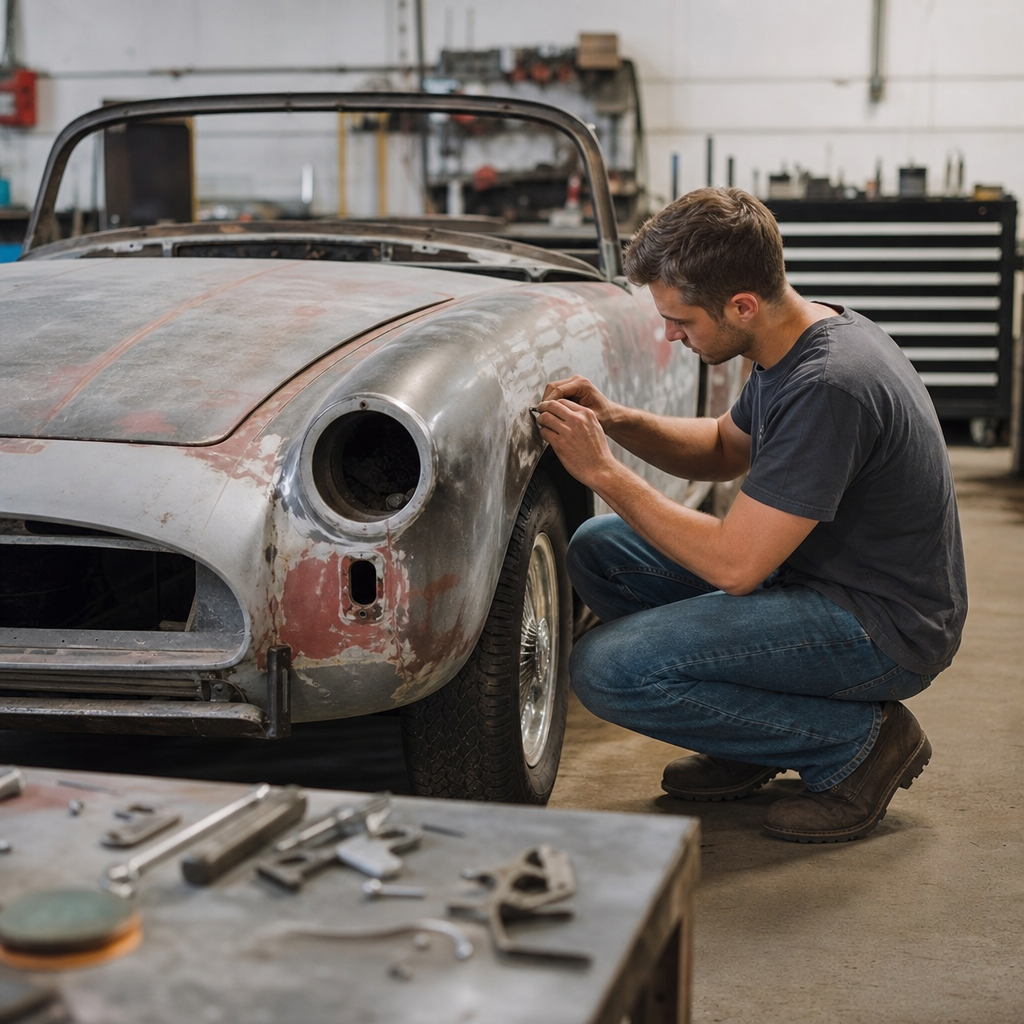
Learning classic car restoration as a beginner starts with understanding that restoration is not one skill but a disciplined mix of mechanical diagnosis, body repair, historical research, parts sourcing, and project management. A classic car is generally a vehicle old enough to carry historical, design, or enthusiast value, while restoration means returning it to safe, correct, and usable condition, whether that is factory-authentic, period-correct, or carefully improved for modern driving. I have seen first projects succeed when beginners treat restoration as a long-term craft rather than a fast makeover. That matters because classic cars are expensive to redo twice, and poor early decisions on rust, budgets, or originality can erase months of work. This beginner guide is the hub for learning the fundamentals: choosing the right project car, building foundational skills, setting up a workspace, understanding tools, learning metal and paint basics, planning a budget, documenting progress, and knowing when to hire specialists. If you want to learn classic car restoration efficiently, your goal is not to master everything at once. Your goal is to build repeatable habits, practice on manageable tasks, and make technically sound decisions from the first inspection to the first road test.
Start with the right restoration mindset and project scope
The fastest way to learn classic car restoration is to choose a project that teaches core skills without burying you in structural failure, missing parts, and unsupported systems. Beginners often ask whether they should start with their dream car. Usually, no. Start with a vehicle that has strong parts availability, an active owner community, and straightforward mechanical systems. Air-cooled Volkswagens, first-generation Mustangs, 1967–1981 Chevrolet Camaro and C10 models, MG Midgets, and 1960s to 1980s Ford trucks are common training platforms because reproduction parts, factory manuals, and forum knowledge are abundant. In my experience, a complete, running car with cosmetic flaws is far better for a first restoration than a rare non-running shell, even if the shell seems cheaper.
Define the project before you buy anything. A driver restoration aims for reliable road use with honest cosmetics. A concours restoration targets factory-correct finishes, markings, and hardware. A restomod retains classic styling while updating brakes, ignition, suspension, or drivability. Each path changes cost, tool needs, and skill depth. If you begin with a driver-level restoration, you can learn ignition timing, brake hydraulics, weatherstripping, trim removal, interior refurbishment, and light rust repair without immediately tackling quarter-panel replacement or show-quality paint. Scope protects motivation. Most stalled projects fail because the owner keeps expanding the work after teardown, not because they lacked enthusiasm.
Before purchase, inspect four categories: structure, completeness, paperwork, and support. Structure means frame rails, floors, rockers, shock mounts, trunk pans, cowl areas, and suspension pickup points. Completeness means glass, trim, seats, brackets, and model-specific pieces that are expensive or impossible to replace. Paperwork means title status, VIN consistency, and any emissions or inspection requirements in your state. Support means factory service manuals, parts catalogs, clubs, and specialist vendors. Rust repair teaches valuable skills, but severe rust is the most expensive classroom you can choose.
Build foundational knowledge before turning the first wrench
Beginners make faster progress when they learn the systems of a car in the same order professionals diagnose them: fuel, spark, air, compression, cooling, electrical distribution, braking, steering, suspension, and drivetrain. Start with a factory service manual and a parts book for your exact year or chassis range. Factory manuals give torque specifications, wiring diagrams, adjustment procedures, and disassembly sequences that generic guides often omit. A parts book teaches exploded views and correct terminology, which matters when ordering clips, seals, backing plates, or bushings. Supplement those with model-specific forums, club archives, and reputable video channels from restoration shops, but let the manual settle disagreements.
Learn basic terminology early. Understand the difference between a unibody and a body-on-frame vehicle, between lacquer and two-stage urethane, between dynamic and static timing, and between surface rust and perforation. Know why compression, leak-down, and vacuum readings tell different stories. Understand that electrical troubleshooting begins with voltage drop and grounds, not random part replacement. These concepts save money because they turn guesswork into diagnosis. I advise beginners to practice reading wiring diagrams before disassembling interior panels; once you can trace power from battery to switch to load to ground, lighting and charging issues become much less intimidating.
One useful learning method is to divide tasks into preserve, service, rebuild, and replace. Preserve means cleaning and protecting original parts. Service means fluids, filters, lubrication, and adjustments. Rebuild means disassembly to renew seals, bearings, bushings, or friction materials. Replace means installing new or remanufactured parts when wear, damage, or safety standards demand it. That framework keeps you from replacing salvageable original components unnecessarily while preventing risky reuse of brake hoses, cracked fuel lines, or hardened tires. It also creates a logical path for future beginner guides on engine basics, brake systems, electrical troubleshooting, and bodywork fundamentals.
Set up a workspace, safety system, and essential tool kit
You do not need a commercial shop to learn restoration, but you do need a clean, organized, and safe workspace. Minimum requirements are dry storage, strong lighting, grounded electrical outlets, ventilation, fire extinguishers rated for chemical and electrical fires, sturdy shelving, and enough room to open doors and move around the vehicle with a jack and stands. Safety is not optional in restoration because you will handle fuel vapors, rust dust, solvents, sharp sheet metal, and heavy components. Use nitrile gloves for chemicals, mechanic gloves for handling rough parts, ANSI-rated eye protection, hearing protection for grinders and air tools, and a respirator appropriate for sanding dust or paint fumes. Never rely on a hydraulic jack alone; always support the car with quality jack stands on stable surfaces.
Your first tool purchases should match the jobs beginners perform most often. Buy combination wrenches, six-point socket sets in SAE or metric as needed, torque wrenches in inch-pound and foot-pound ranges, screwdrivers, trim tools, pliers, vice grips, dead-blow and ball-peen hammers, a multimeter, test light, compression tester, timing light, feeler gauges, a vacuum gauge, brake line wrenches, and a floor jack. Add an impact driver for stubborn screws, a bench vise, tap-and-die set, and a soldering station as your projects expand. For bodywork, begin with wire wheels, abrasive discs, a DA sander, body hammers, dollies, measuring tools, and rust encapsulation or epoxy primer systems. Expensive specialty tools can wait until your project proves they are needed.
| Beginner need | Recommended tool or resource | Why it matters |
|---|---|---|
| Mechanical diagnosis | Multimeter, timing light, compression tester | Finds root causes before replacing parts |
| Safe lifting | Floor jack, jack stands, wheel chocks | Prevents serious injury during undercar work |
| Accurate assembly | Torque wrench, service manual | Protects threads, gaskets, and critical fasteners |
| Rust and panel prep | DA sander, wire wheel, respirator | Improves surface quality and safety |
| Organization | Zip bags, labels, bins, phone camera | Keeps parts traceable during long projects |
Organization is a tool category of its own. Label every fastener bag, photograph each assembly before removal, and create folders by system: front suspension, dash wiring, fuel tank, interior trim. Beginners often underestimate how hard reassembly becomes six months later. Good documentation turns a chaotic teardown into a manageable rebuild.
Learn restoration in the right sequence: inspect, stabilize, repair, then improve
The correct order for a beginner restoration is inspection first, stabilization second, reliability repairs third, cosmetic work last. Start with a full condition survey. Check for rust in structural zones, fluid contamination, seized components, wiring damage, old fuel, cracked tires, and incomplete brake systems. If the car runs, perform compression and oil-pressure checks before disassembly. If it does not run, resist the urge to force-start it until you inspect the fuel tank, lines, carburetor or injection components, ignition system, cooling passages, and lubrication condition. Engines that have sat for years may have stuck rings, varnished fuel circuits, or dry bearings. A careful wake-up procedure prevents avoidable damage.
Stabilization means making the car safe to evaluate. Replace tires older than the safe date range, rebuild or replace wheel cylinders and calipers, inspect hard lines, install fresh rubber brake hoses, flush the master cylinder, change engine oil and coolant, inspect belts and hoses, clean grounds, and add a battery cutoff if the electrical system is questionable. Reliability work comes next: tune the ignition, rebuild the carburetor if needed, repair charging faults, reseal leaks, service wheel bearings, and renew bushings that affect steering stability. Only after the car starts, stops, steers, and cools properly should you commit major time to upholstery, chrome, and paint. This sequence keeps morale high because you experience progress in driving quality before chasing cosmetic perfection.
Body and paint work deserve special caution. Beginners can absolutely learn dent repair, rust treatment, panel alignment, filler shaping, priming, block sanding, and trim installation. But structural welding, full quarter replacement, and high-end paint are steep learning curves. Poor metal alignment telegraphs through every later step. If the car needs frame straightening, extensive corrosion repair, or complete refinishing in dark glossy colors, many first-time restorers save money by outsourcing the highest-skill stages while doing teardown, prep, and reassembly themselves.
Use parts sourcing, budgeting, and documentation to control the project
Classic car restoration is won or lost in sourcing and budgeting. Create a written plan listing must-have safety items, reliability items, cosmetic items, and optional upgrades. Then price each category using at least three sources: reproduction suppliers, new old stock specialists, salvage yards, and enthusiast marketplaces. Reproduction parts vary widely in fit and finish. Some weatherstrips, trim clips, and interior panels are excellent; some sheet metal stampings require extensive adjustment. Read buyer feedback from model-specific communities before ordering large panels or chrome. For high-wear mechanical parts, established brands and specialist vendors usually outperform unknown budget listings.
Budget with contingencies. A realistic first-project budget includes the purchase price, transport, manuals, tools, consumables, outsourced machine work, plating, upholstery, glass, alignment, and registration costs. Add at least 20 percent for surprises. Hidden rust, cracked exhaust manifolds, missing trim, warped drums, and contaminated fuel systems are normal findings, not freak events. I also recommend tracking hours, not because hobby labor needs a formal rate, but because time reveals whether a task is educational, repetitive, or better outsourced. If you spend ten frustrating hours fitting a poor reproduction part, that lesson should shape your next buying decision.
Documentation supports value and accuracy. Keep receipts, part numbers, paint codes, machine shop notes, torque settings, and before-and-after photos. Build a binder or digital log with sections for engine, chassis, body, electrical, and interior. This record helps during reassembly, future maintenance, resale, insurance discussions, and troubleshooting. It also allows a hub page like this one to connect naturally to deeper beginner guides on buying parts, estimating restoration costs, reading casting numbers, and choosing between original and upgraded components. Restoration is technical work, but it is also information management. The better your records, the fewer mistakes you repeat.
Know when to practice yourself and when to hire a specialist
The smartest beginner restorers are not the ones who do everything themselves; they are the ones who know which jobs build skill safely and which jobs demand advanced equipment or experience. Good first DIY tasks include tune-ups, brake service, interior removal and installation, fuel system cleaning, weatherstrip replacement, trim restoration, basic rust cleanup, bushing replacement, cooling system service, and wiring repairs using proper crimping, soldering, and heat shrink methods. These jobs teach mechanical sympathy and system knowledge. High-risk or high-precision jobs include crankshaft machining, automatic transmission rebuilding, differential setup, windshield installation on valuable trim, frame straightening, and exterior paint on show-level builds. Those are areas where one avoidable error can cost more than professional labor.
When choosing a specialist, ask for work examples on similar cars, not just generic shop photos. Confirm whether they use epoxy primer over bare metal, how they document measurements, whether they road-test vehicles after repairs, and how they handle customer-supplied parts. Machine shops should provide clear measurements for cylinder bores, crank journals, deck condition, and valve work. Upholstery shops should discuss materials, stitching patterns, foam density, and fit around original seat frames. Electrical specialists should be comfortable with load testing, harness repair standards, and proper circuit protection. The right partnership accelerates learning because a good specialist explains why a repair is necessary instead of hiding behind jargon.
As you grow, focus on repeatable wins. Finish one subsystem at a time. Learn to diagnose before buying parts. Respect safety-critical systems. Preserve originality when it adds value, but upgrade thoughtfully when reliability or safety clearly improves. Join a marque club, read build threads, compare manual procedures, and practice on parts off the car before working on visible panels. Classic car restoration rewards patience more than speed. Start with a complete, supportable car, master the basics in sequence, document every step, and outsource the truly specialized work. If you do that, you will not just restore a vehicle; you will build the skills and judgment to enjoy the entire hobby with confidence.
Frequently Asked Questions
What is the best way for a beginner to start learning classic car restoration?
The best way to start is by understanding that classic car restoration is a collection of skills, not a single task you master all at once. Beginners should first learn the fundamentals of how cars work: engine basics, braking systems, steering, suspension, electrical systems, fuel delivery, and body structure. Once you understand the major systems, restoration becomes less intimidating because you can break the vehicle into manageable sections instead of seeing it as one overwhelming project. It also helps to study the different meanings of restoration, because not every project has the same goal. Some restorations aim for factory-authentic originality, some focus on period-correct appearance and driving feel, and others prioritize safe, tasteful upgrades for regular road use.
A practical starting point is to choose one beginner-friendly project car and one learning method at the same time. For example, buy a complete, running, mostly intact car with strong parts availability, and pair that with a factory service manual, a parts catalog, and a basic restoration guide. You will learn much faster if you work on a car that can teach you mechanical, cosmetic, and planning skills without burying you in rare-part problems or severe rust repair. A complete car is often better than a cheaper “basket case,” because missing trim, interior pieces, and model-specific hardware can be more expensive and frustrating than many beginners realize.
It is also smart to begin with maintenance and safety repairs before attempting full cosmetic work. Tasks like changing fluids, rebuilding brakes, replacing hoses, cleaning electrical grounds, inspecting wiring, tuning ignition systems, and refreshing the cooling system teach you essential skills while making the car safer and more reliable. These jobs also build confidence because the results are visible and useful right away. As you gain experience, you can move into more advanced areas such as carburetor rebuilding, panel alignment, rust repair, interior refurbishment, and paint preparation. The key is to treat restoration as a long-term education, stay patient, document everything, and improve one system at a time.
What kind of classic car should a beginner choose for a first restoration project?
A beginner should choose a car that is mechanically simple, widely supported, complete, and affordable to own over time, not just cheap to buy. In most cases, the best first project is a popular model with a large enthusiast community, good aftermarket parts support, and plenty of documentation. Cars from major manufacturers with straightforward engineering are usually much easier to learn on than rare, highly collectible, or technically complicated vehicles. A first project should help you develop skills, not test your patience with impossible parts searches, obscure design quirks, or expensive specialty repairs.
Condition matters just as much as model choice. A car with minor cosmetic flaws and a solid structure is usually a better purchase than a heavily rusted “project bargain.” Rust is one of the biggest traps for beginners because it often extends far beyond what is visible on the surface. Floor pans, frame rails, rocker panels, trunk floors, wheel arches, and lower body sections can hide structural damage that requires advanced welding and fabrication. Mechanical work is generally easier to learn and budget for than major body reconstruction. That is why many experienced restorers advise beginners to buy the best body they can afford, even if the engine needs work.
You should also think carefully about your goals. If you want to learn and drive the car regularly, choose something with available replacement parts and simple service procedures. If your interest is historical accuracy, look for a model with strong documentation and known factory specifications. If your budget is limited, avoid cars with one-year-only trim, rare drivetrains, or luxury features that are difficult to source and restore correctly. Before buying, inspect completeness, rust severity, title status, engine and transmission condition, trim availability, glass condition, and the realistic local cost of paint, upholstery, and machine work. A good beginner car is not necessarily the most glamorous one. It is the one that gives you the best chance to finish, learn, and enjoy the process.
Do I need formal training to learn classic car restoration, or can I teach myself?
You do not need formal training to begin learning classic car restoration, but you do need structure, patience, and a willingness to learn from reliable sources. Many successful restorers are largely self-taught, especially in the early stages, but they usually combine hands-on practice with manuals, experienced mentorship, and careful observation. Self-teaching works best when you approach the process methodically instead of jumping straight into major disassembly without a plan. The more organized your learning is, the more effective and less expensive your mistakes will be.
Factory service manuals are one of the most valuable tools a beginner can use because they provide specifications, adjustment procedures, wiring diagrams, torque values, and exploded parts views. In addition to manuals, model-specific forums, owners’ clubs, restoration books, swap meets, local car clubs, and specialty shops can all accelerate your learning. Watching experienced people work, asking smart questions, and comparing different restoration approaches helps you understand not just what to do, but why it should be done that way. That matters because restoration is full of judgment calls involving originality, safety, cost, and long-term reliability.
Formal classes can still be extremely helpful, especially for welding, paint preparation, metal shaping, upholstery, and automotive electrical diagnosis. These are areas where poor technique can create safety issues or expensive rework. Community colleges, vocational schools, restoration workshops, and even short hands-on seminars can provide a strong foundation. If formal training is not practical, start by learning through smaller jobs and progressively harder tasks. Practice on spare parts before touching rare components. Label everything, photograph every stage, keep notes on parts numbers and fastener locations, and do not be embarrassed to pause a job until you understand it fully. In classic car restoration, careful learning beats rushed confidence every time.
What tools and workspace does a beginner need for classic car restoration?
A beginner does not need a professional restoration shop to get started, but a safe, organized, and realistic workspace makes a major difference. At minimum, you need a dry, well-lit area with enough room to open doors fully, move around the car, store removed parts, and use jacks and stands safely. Good lighting is essential because so much restoration work depends on seeing leaks, cracks, wiring colors, corrosion, fastener orientation, and body imperfections clearly. Ventilation is also important, especially when working with fuel, solvents, rust treatments, adhesives, or paint-related materials. Even small spaces can work well if they are clean, organized, and set up to prevent lost parts and unsafe shortcuts.
As for tools, begin with quality basics rather than buying every specialty item at once. A solid starter set includes combination wrenches, socket sets in the correct drive sizes, screwdrivers, pliers, locking pliers, hammers, pry tools, a torque wrench, breaker bar, floor jack, sturdy jack stands, drain pans, funnels, multimeter, test light, battery charger, compression tester, and basic cleaning tools. Safety equipment is non-negotiable: eye protection, gloves suited to the job, hearing protection, fire extinguishers, and appropriate respirators for dust, fumes, or paint materials. If you plan to work on brakes, fuel systems, or electrical systems, safe procedures and clean working habits matter just as much as the tools themselves.
Over time, you can expand based on the work you are actually doing. For mechanical rebuilding, you may add pullers, bearing tools, timing lights, dwell meters for older ignition systems, and specialty measuring tools. For body and rust repair, you may eventually need welding equipment, grinders, body hammers, dollies, clamps, and metalworking tools. For restoration success, storage systems are often overlooked but incredibly important. Use bins, labels, zip bags, shelving, and photo documentation to track hardware and components. A beginner-friendly workspace is not about having the fanciest equipment. It is about creating a controlled environment where you can work carefully, stay safe, and keep your project from turning into a pile of unidentified parts.
How long does a beginner restoration take, and how can I avoid getting overwhelmed?
A beginner restoration can take anywhere from several months to several years depending on the condition of the car, the quality standard you are aiming for, your budget, your available time, and how much of the work you do yourself. One of the most common beginner mistakes is underestimating how many decisions, delays, and hidden issues will appear after disassembly begins. Even a car that seems simple at first can reveal rust under trim, worn bushings, damaged wiring, leaking seals, incorrect past repairs, or missing hardware. That does not mean the project is failing. It means you are finally seeing the true scope of the work.
The best way to avoid overwhelm is to manage the project in phases. Start with assessment and documentation. Then create a realistic plan covering safety systems first, followed by mechanical reliability, then structural and body concerns, and finally cosmetic details. Break the work into smaller tasks with visible endpoints, such as rebuilding front brakes, replacing fuel lines, repairing one rusted panel, or refurbishing the dashboard. Smaller wins keep momentum alive and make the project feel achievable. It is also wise to create a budget with a reserve for surprises, because unexpected costs are part of restoration, not the exception.
Another important strategy is deciding early what kind