
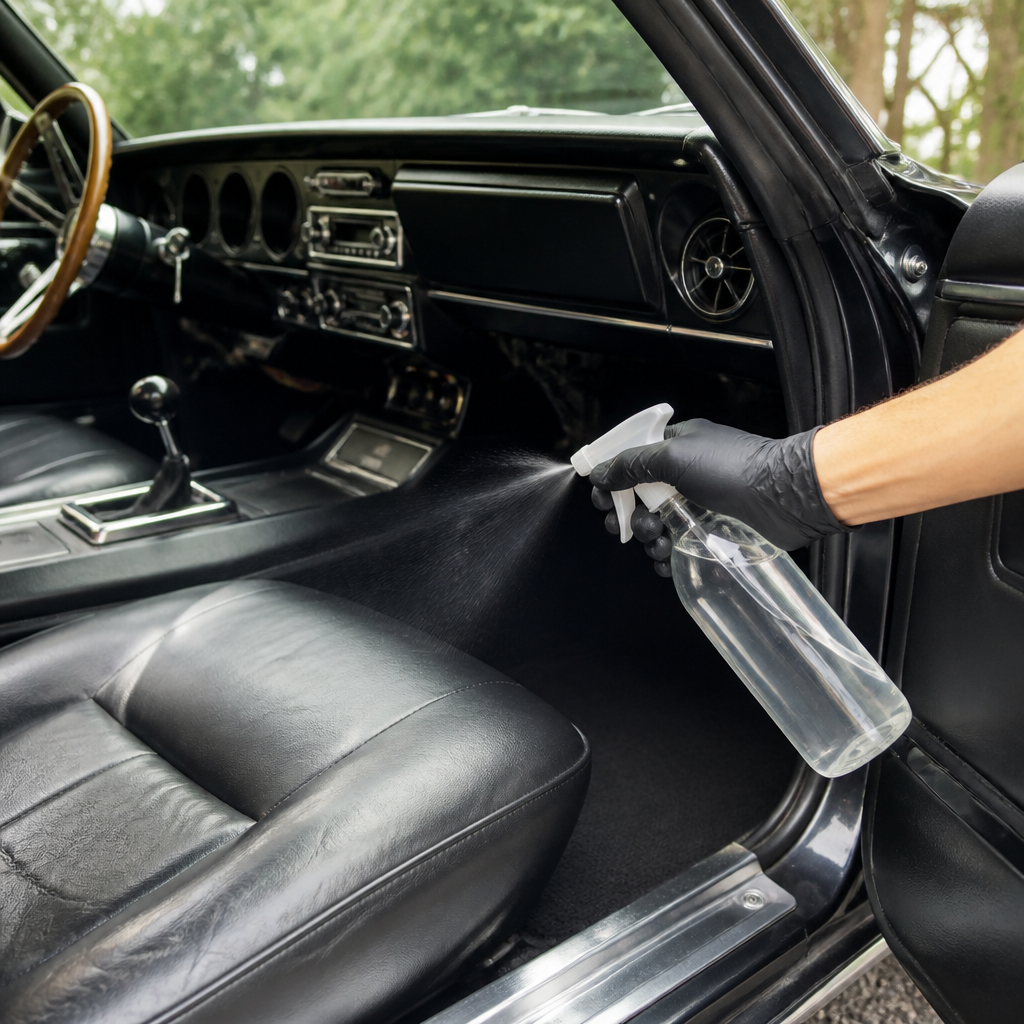
Classic car interior odors are rarely caused by one dirty carpet or a single forgotten leak; they usually come from a chain of age-related problems involving fabrics, foam, adhesives, weather seals, rust, fuel vapors, and trapped moisture. In restoration shops, interior odor diagnosis sits at the intersection of detailing, trim repair, electrical inspection, HVAC service, and water management. If you want to fix interior odors in classic cars permanently, you need to identify the odor source, remove contaminated materials when necessary, and correct the mechanical condition that allowed the smell to develop. That makes this topic central to interior restoration, not a cosmetic afterthought.
Interior restoration means returning the cabin’s appearance, function, and comfort to sound condition while respecting the vehicle’s design, materials, and use. In practice, that includes seats, carpets, insulation, headliners, door panels, dashboards, weatherstripping, ventilation, glass channels, and hidden cavities behind trim. Odor control belongs in that same workflow because smells often reveal serious underlying faults: leaking heater cores, failed trunk seals, mold in jute padding, mouse nests in ductwork, or gasoline seepage from filler neck hoses. A pleasant cabin is the obvious goal, but the larger benefit is preserving structural metal, protecting occupant health, and preventing recurring damage to rare interior components that are expensive to reproduce or impossible to replace exactly.
This hub article explains how to assess odors systematically, distinguish mildew from fuel and rodent contamination, choose safe cleaning methods for vinyl, leather, cloth, and hard trim, and decide when replacement is smarter than cleaning. It also connects the broader interior restoration process: leak tracing, insulation upgrades, seat rebuilding, HVAC refurbishment, weatherstrip fitting, and storage practices. If you are planning a light cleanup, a driver-quality refresh, or a concours-level restoration, the same principle applies. Deodorizing works only when source removal and root-cause repair happen together.
Start with odor identification and root-cause diagnosis
The first step is to identify the smell as precisely as possible. Musty odors usually point to chronic moisture in carpet underlay, floor insulation, seat foam, door cavities, or trunk panels. Sweet smells often indicate coolant from a leaking heater core or heater hose connection. Sharp fuel odors may come from the tank sender seal, filler hose, vent lines, carburetor seepage, or permeated rubber lines, especially in cars built before modern low-permeation hose standards. Rodent odors are distinctive and often concentrated in heater boxes, headliners, package trays, and under rear seats where nesting material collects. Smoke contamination behaves differently again, clinging to porous surfaces and releasing odor more strongly on hot days.
I always begin with a closed-cabin test. Let the car sit shut overnight, then open one door and smell at floor level, seat height, and near the parcel shelf or trunk pass-through. Odors stratify. Moisture and mold usually hit low first because the problem lives in padding and floors. Fuel or exhaust fumes often intensify toward the rear in sedans and around the trunk divider in coupes. Then run the blower. If the odor spikes immediately, the HVAC box, ducts, cowl intake, or defroster channels deserve attention before you strip the rest of the cabin.
Use inspection tools, not guesses. A bright LED, borescope, moisture meter, cooling-system pressure tester, UV dye for coolant leaks, and smoke machine for body leaks can save hours. Pull sill plates and gently lift carpet edges. On many classics, the visible carpet can look acceptable while the jute beneath is black, wet, and decomposing. Check windshield corners, back glass channels, cowl drains, vent seals, door membranes, quarter window seals, and trunk gutters. Rust trails and water marks tell a more reliable story than fragrance ever will.
Remove moisture, contamination, and non-salvageable materials
Once you know the source, remove what holds odor. In many classics, the real culprit is original jute padding. It absorbs water, dries slowly, and can smell for years after a leak seems fixed. If the padding is moldy, brittle, or stained through, replace it. The same rule applies to under-seat burlap, horsehair pads, crumbling foam, and trunk fiberboards soaked with fuel or mildew. Cleaning contaminated porous material rarely gives a durable result.
Seats need honest assessment. Surface vinyl can be cleaned successfully, but the foam underneath may be saturated with tobacco residue, mouse urine, or mildew. If you press a cushion and odor releases, the contamination is internal. During seat disassembly, inspect listing wires, springs, hog rings, and diaphragms too. Odor remediation is the right time to handle seat rebuilding because you already have the trim apart. Replacing foam with density-appropriate reproduction or custom-cut polyurethane can improve comfort without changing the original look.
Carpets should come out if the odor is persistent. Clean the bare floorpan, inspect for pinholes or rust scaling, and evaluate insulation strategy before reinstallation. Modern butyl sound deadening should not be applied over active rust or damp metal. First stabilize the substrate with proper rust repair or coating systems. Closed-cell foam and mass-loaded vinyl can help with heat and noise, but they must be installed only after leaks are fixed, because trapping moisture under new materials can accelerate corrosion.
| Odor type | Likely source | Best corrective action |
|---|---|---|
| Musty or earthy | Wet carpet pad, cowl leak, window seal failure, trunk moisture | Remove interior soft trim, dry structure, replace padding, repair leak path |
| Sweet | Heater core seepage or coolant hose leak | Pressure test cooling system, replace faulty parts, clean ducting and insulation |
| Gasoline | Filler hose, sender gasket, vent line, carburetor seepage | Inspect fuel system end to end, replace aged rubber, verify tank sealing |
| Exhaust | Trunk seal leak, body gaps, exhaust leak under floor | Repair exhaust, seal body openings, confirm cabin pressure and trunk isolation |
| Rodent or ammonia-like | Nests in HVAC box, headliner, rear seat area | Remove nests safely, disinfect, replace contaminated insulation or foam |
| Smoke | Tar and residue embedded in fabrics, foam, headliner, ducts | Deep clean all surfaces, ozone only after cleaning, replace heavily contaminated soft parts |
Clean each interior material with the right method
Material-specific cleaning matters because classic interiors use finishes that can be damaged by aggressive products. Vinyl responds well to pH-balanced interior cleaners, soft brushes, and microfiber towels. Heavy silicone dressings should be avoided because they mask odor briefly, attract dust, and can complicate later dye or adhesive work. For textured vinyl, work cleaner into the grain and wipe repeatedly until towels stop showing yellow or brown residue. That discoloration is often old smoke film, degraded plasticizer, or decades of airborne grime.
Leather requires even more restraint. Use a leather cleaner appropriate to coated automotive hides, not saddle soap intended for unfinished tack. On older Connolly-style leather or dry original upholstery, over-wetting can darken seams and feed mildew in the padding below. Clean first, then evaluate whether the smell is in the hide itself or migrating from underlying foam and horsehair. Conditioning helps suppleness but is not an odor cure.
Cloth inserts and headliners can hold odor deeply. Low-moisture extraction is usually safer than soaking. In restoration work, I prefer repeated light passes over one aggressive shampoo session, because old backing adhesives and stitched seams can fail when saturated. Door panels deserve caution too. Many have cardboard or fiberboard backers that warp permanently if drenched. Clean the face material lightly and address odor at the cavity level by replacing vapor barriers and drying the shell behind the panel.
Hard trim often gets overlooked. Dash pads, steering wheels, knobs, package trays, and painted metal surfaces accumulate nicotine, fuel residue, and mold film. A fully stripped and cleaned shell smells dramatically different from a cabin where only carpets were replaced. Always clean hidden areas under the rear seat, inside seat tracks, around shifter boots, and inside quarter trim cavities. Odor molecules settle where hands and vacuums rarely reach.
Address HVAC, weather seals, and hidden air paths
If a classic car still smells bad after visible cleaning, the ventilation system is usually involved. Fresh-air plenums collect leaves, dirt, and moisture. Heater boxes on older cars often contain deteriorated foam seals, mouse debris, and coolant residue from a past heater core leak. Blower motors can aerosolize that contamination every time the fan runs. Remove and rebuild the heater box when needed, replacing foam seals, flushing or replacing the core, and sanitizing the housing. On air-conditioned cars, inspect the evaporator case, drain, and ducts. Although many classics lack modern cabin filters, debris can still clog drain paths and support microbial growth.
Weatherstripping has an outsized effect on odor because it governs water entry and cabin pressure. Poorly fitted trunk seals let exhaust and fuel vapor enter from the rear. Door and window seals that look intact may no longer compress evenly, especially after repainting or panel adjustment. Replacing seals is not just parts installation; it involves cleaning pinch welds, confirming hinge and latch alignment, and allowing new rubber to settle before final adjustments. Reproduction seals vary in profile and density, so test-fit carefully. A seal that is too bulky can create wind noise and misalignment without stopping leaks.
Air paths through the body matter just as much as seals. Missing shifter boots, firewall grommets, taillight gaskets, or access plugs can pull in exhaust and road moisture. I have seen persistent odor complaints solved by replacing a cracked steering column boot and resealing the tail panel, not by changing interior fabrics. Classics were never as airtight as modern cars, so small missing components can have a large effect on cabin smell.
Use odor-neutralizing tools wisely, not as substitutes for repair
After source removal and cleaning, neutralizing methods can finish the job. Enzyme treatments are effective on organic contamination such as food residue, mildew residue, and rodent waste, but they must contact the affected material directly. They are not magic fogs. Activated charcoal and baking soda can help absorb residual odor during storage, though they are support tools rather than primary fixes. Hydroxyl generators are useful when you need ongoing odor treatment in occupied spaces, while ozone generators can break down smoke and biological odors more aggressively.
Ozone should be used carefully. It can oxidize odor molecules effectively, but excessive exposure may accelerate drying of rubber, certain dyes, and natural materials. In a valuable classic, I use ozone only after the cabin is physically clean and dry, in controlled sessions, followed by ventilation. Running ozone in a dirty interior simply changes the smell profile temporarily. It does not remove contamination from foam, ducts, or insulation.
Fogging products and hanging air fresheners are the least reliable options. They often combine with existing odors and make diagnosis harder. If a seller has loaded a car with fragrance, treat that as a warning sign, not a benefit. A neutral-smelling cabin after several hot days is the standard that matters.
Build odor prevention into the full interior restoration plan
The best results come when odor control is treated as a hub within interior restoration. When carpets are out, inspect floor repairs, seat mounts, and drain paths. When seats are apart, rebuild foam and springs. When door panels are removed, install correct vapor barriers and inspect window felts and drains. When glass is out for headliner or paint work, repair pinchweld rust and renew seals properly. These linked jobs reduce rework and protect authenticity.
Storage and maintenance finish the process. Keep cowl drains clear, verify trunk weatherstripping annually, and avoid parking a damp car under a cover that traps humidity. Use desiccant or controlled ventilation in seasonal storage, especially in humid climates. Start and heat-cycle the car regularly enough to evaporate condensation, but remember that short idling sessions can add moisture without truly drying the interior and exhaust. If the car gets wet, dry it immediately with airflow and dehumidification, not just sunshine through the glass.
Interior odors in classic cars are solvable when approached like restoration rather than masking. Identify the odor accurately, remove contaminated soft materials, repair leaks and vapor entry points, clean each surface with methods suited to its material, and rebuild HVAC and sealing systems where needed. That process restores more than cabin smell; it improves comfort, safety, preservation, and resale confidence. If you are mapping a broader interior restoration project, use odor diagnosis as the starting point and build each next step around the evidence the car gives you. Done thoroughly once, the cabin stays clean, dry, and genuinely pleasant for years.
Frequently Asked Questions
What usually causes persistent interior odors in classic cars?
Persistent interior odors in classic cars almost never come from one simple issue. In most cases, the smell is the result of several age-related problems working together over time. Old carpet padding, deteriorated seat foam, moisture trapped under sound deadening, leaking weather seals, mildew in the HVAC system, fuel vapor seepage, and even decaying adhesives can all contribute to the same unpleasant interior smell. A car may look clean on the surface and still have odor embedded deep in the materials underneath the trim.
That is why a lasting repair starts with diagnosis rather than deodorizer. For example, a musty smell often points to water intrusion from old window felts, windshield seals, cowl drains, or floor pan rust. A sour or stale odor may come from aged upholstery foam and jute padding that have absorbed years of humidity. A fuel smell can signal dangerous issues such as vented tanks, cracked filler neck hoses, brittle fuel lines, or trunk seal failures allowing vapors into the cabin. Electrical odors, which can smell sharp or burnt, may indicate overheated wiring, resistors, or switches. In restoration work, the right approach is to trace the odor to its source material or system, because covering it up only delays the real fix.
Can detailing alone remove bad smells from a classic car interior?
Detailing helps, but by itself it often does not solve deep odor problems in a classic car. Surface cleaning can remove dirt, nicotine film, food residue, and some bacteria from vinyl, leather, plastic, and carpet fibers, which may improve the smell temporarily. Steam cleaning, extraction, and careful use of interior-safe cleaners can also reduce contamination that is sitting on top of materials. However, if the odor has soaked into seat padding, underlayment, insulation, door panels, headliner backing, or hidden cavities, standard detailing will not fully eliminate it.
Classic cars are different from modern vehicles because the materials are older, less sealed, and often more absorbent. Decades-old horsehair padding, foam cushions, jute backing, tar-based sound deadeners, and old glues can hold moisture and odor for years. If a leak has been active at any point, the contamination may be below the carpet, inside the quarter panels, under the rear seat, or behind the dash. In those situations, the right fix may involve partial disassembly, drying the structure, replacing affected soft materials, servicing the HVAC box, and correcting the leak path. Detailing is an important step in the process, but it is usually one part of a bigger repair plan rather than the complete cure.
How do you find the real source of a musty or moldy smell in a classic car?
Finding the real source of a musty or moldy smell requires a systematic inspection. Start by identifying when the odor is strongest. If it appears after rain, after washing, or when the car sits closed up in humid weather, water intrusion is the first thing to investigate. Remove floor mats, inspect carpet edges, and feel for dampness in the padding, especially near the firewall, door sills, rear footwells, and trunk divider areas. Water often travels far from the original leak, so the wet spot you notice may not be where the problem started.
Next, inspect common leak points found on older vehicles: windshield and back glass seals, vent window seals, door weatherstrips, cowl vents, heater core connections, antenna mounts, trunk seals, body seams, and rusted floor pans. Look under the rear seat, inside the trunk, and behind kick panels for staining, mildew, rust trails, or softened insulation. If the car has factory or aftermarket air conditioning, the evaporator case and drain should also be checked, because a blocked drain can leave standing moisture and biological growth in the HVAC system. In many restoration shops, a water test with controlled hose application is used to confirm leak paths. Once the intrusion point is repaired, any mold-contaminated padding, insulation, or foam usually needs to be removed and replaced, because materials that have stayed wet for long periods rarely become truly odor-free again.
What is the best way to get rid of fuel smells inside a classic car?
The best way to eliminate fuel smells is to treat them as a mechanical and safety issue first, not just an odor issue. Fuel odor in the cabin can come from a leaking sender gasket, cracked rubber fuel hose, porous steel lines, a deteriorated filler neck connection, venting problems, carburetor seepage, or a compromised trunk seal that allows vapors from the tank area into the passenger compartment. On many classic cars, the tank is close to the interior structure, so even a small vapor leak can create a strong smell inside.
Begin by inspecting the fuel system from the tank to the engine. Check all flexible hoses for cracks, hardening, or incorrect modern fuel compatibility. Inspect the sending unit seal, tank venting arrangement, filler neck hose, clamps, carburetor bowls, fuel pump, and any connection points that may sweat or seep. If the smell is strongest in the trunk, inspect the trunk mat, spare tire area, and body grommets, and make sure the trunk weatherstrip seals properly. If the smell gets worse while driving, pressure changes may be pulling fumes into the cabin through missing body plugs, torn shifter boots, or failed rear seat barriers. After repairs are made, clean any fuel-contaminated trunk boards, mats, or insulation, replacing them if needed. Fuel-soaked materials often continue to smell long after the leak itself has been fixed, so permanent odor removal may require both mechanical repair and material replacement.
When do interior materials need to be replaced instead of cleaned?
Interior materials should be replaced when they have absorbed odor so deeply that cleaning cannot fully restore them, or when they are physically deteriorated from age, moisture, or contamination. This is especially common with carpet padding, jute underlayment, seat foam, headliner backing, package tray fiberboard, trunk liners, and door panel backing boards. If these materials have been wet repeatedly, contaminated by fuel, exposed to rodent activity, or broken down by mold and mildew, they tend to hold odor at the core. You may be able to improve the smell briefly with extraction, enzyme treatments, or ozone, but the odor often returns once the cabin warms up or humidity rises.
A good rule is this: if the source material is structurally damaged, actively contaminated, or still smells strongly after proper drying and cleaning, replacement is usually the smarter and more permanent solution. In classic car restoration, preserving original components matters, but there is a practical limit when those components have become odor reservoirs. Replacing hidden soft materials while preserving visible trim whenever possible often gives the best balance of originality and livability. The key is to replace the right layers, not just the obvious ones. Installing new carpet over old damp padding, or reusing moldy seat foam under fresh upholstery, almost guarantees that the smell will return. Lasting odor repair comes from correcting the underlying leak or vapor issue first, then rebuilding the interior with clean, dry, compatible materials.




