Restoring a classic car interior yourself is one of the most rewarding projects in automotive preservation because it transforms the place you see, touch, and smell every time you drive. A good interior restoration is not just cosmetic. It protects the vehicle’s structure, preserves period-correct details, improves safety, and often determines whether the finished car feels authentic or merely refurbished. In my own shop work, I have seen solid mechanical restorations undermined by cracked vinyl, sagging headliners, loose door cards, and carpet kits installed without planning. The interior is where craftsmanship becomes obvious.
Before starting, define what “restore” means for your car. A preservation-oriented interior restoration keeps as much original material as possible, repairing and cleaning before replacing. A factory-correct restoration returns the cabin to original specifications using matching grain vinyl, loop or cut-pile carpet, correct seat patterns, proper fasteners, and accurate trim colors. A driver-quality refresh focuses on durability and appearance without obsessing over concours details. Knowing your target matters because it controls every decision, from whether you re-dye original panels to whether you source new old stock window cranks.
This topic matters because interior work is expensive when outsourced and surprisingly manageable when broken into systems. Seats, dash, carpet, insulation, weatherstripping, gauges, and trim can all be handled in stages with standard hand tools, patience, and careful documentation. It also serves as the hub of any broader restoration and maintenance plan: interior condition is linked to rust prevention, electrical reliability, water leaks, HVAC performance, and even drivability because seating position and visibility affect how the car feels on the road. If you want a classic that looks right, functions properly, and holds value, learning how to restore a classic car interior yourself is foundational.
Plan the Restoration Before You Remove a Single Screw
The best DIY restoration guides start with assessment, not disassembly. Photograph every angle of the cabin before touching anything: seats, sill plates, pedal area, under-dash wiring, package tray, trunk divider, seat tracks, and fastener locations. Then inspect the four systems that most often dictate the scope of work: structural rust, water intrusion, electrical damage, and missing trim. Surface rust on seat brackets is routine; rust-through on floor pans changes the project completely because upholstery should never go over unstable metal. Water stains on carpet padding usually point to leaking windshield seals, cowl drains, door membranes, or rear glass channels. Rodent damage behind kick panels or under the rear seat often means a hidden wiring repair phase.
Create a parts map and budget by category. I recommend listing soft trim, hard trim, metal repair, insulation, weatherstripping, glass channels, hardware, and specialty tools separately. This prevents a common mistake: spending early on attractive items like seat covers while delaying unglamorous necessities like butyl seam sealer, clip sets, and jute underlayment. Reliable sources include factory assembly manuals, trim books, shop manuals, and marque specialists such as Legendary Auto Interiors, SMS Auto Fabrics, PUI Interiors, TMI Products, and Steele Rubber Products, depending on make and model. For hardware references, factory parts books and AMK Products are especially useful because generic clips often fit poorly and can crack old panels.
Set a restoration standard before ordering anything. If your 1967 Mustang coupe is a weekend driver, molded carpet, reproduction seat upholstery, rebuilt gauges, and modern sound deadener hidden under factory-style underlayment may be the right mix. If you are restoring a split-window Corvette or first-generation Bronco for judged events, stitching patterns, sheen level, and grain texture deserve stricter attention. Taking time here saves money and avoids rework later.
Disassembly, Labeling, and Workspace Setup
Interior disassembly seems simple until trim parts start piling up. Remove components in a logical order: battery disconnect, front seats, rear seat base and backrest, sill plates, lower trim, console, carpet, kick panels, door panels, belts, package tray, pillars, headliner trim, and finally the headliner if needed. Bag fasteners by component and label them with masking tape or zip tags. I also write orientation notes such as “left seat rear outer bolt with spacer” because many classic cars used unequal spacers and shims. Store chrome and stainless separately from painted trim to prevent scratches.
A clean workspace is part of quality control. Seats need a bench large enough for hog-ring pliers, listing wires, burlap, foam, and cover material. Door panels need flat storage away from humidity so backing boards do not warp. If you remove glass or windshield trim, protect those pieces immediately; replacements for obscure models can be difficult or costly. Keep a notebook with part numbers, color names, and measurements. When I restore interiors, I record seat foam thickness, package tray board dimensions, and screw lengths because reproductions vary and old parts often provide the only trustworthy pattern.
Never throw away original materials until the replacement is installed and verified. Even rotten carpet sections show where heel pads sat, where cuts were made around seat mounts, and how jute padding was layered. Torn seat covers reveal seam locations and listing attachment methods. Old windlace gives profile and staple spacing. These details are what make a do-it-yourself job look professionally executed.
Repair the Shell First: Floors, Leaks, Wiring, and Insulation
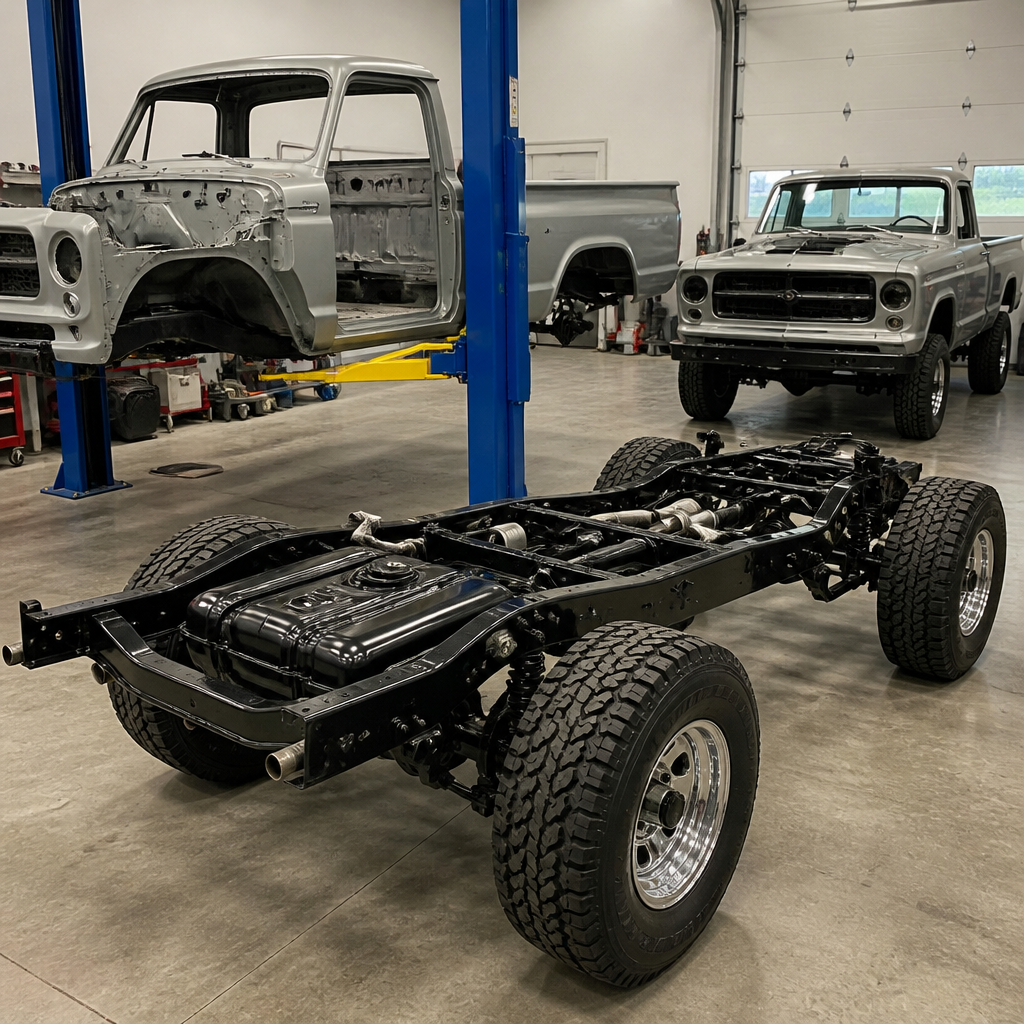
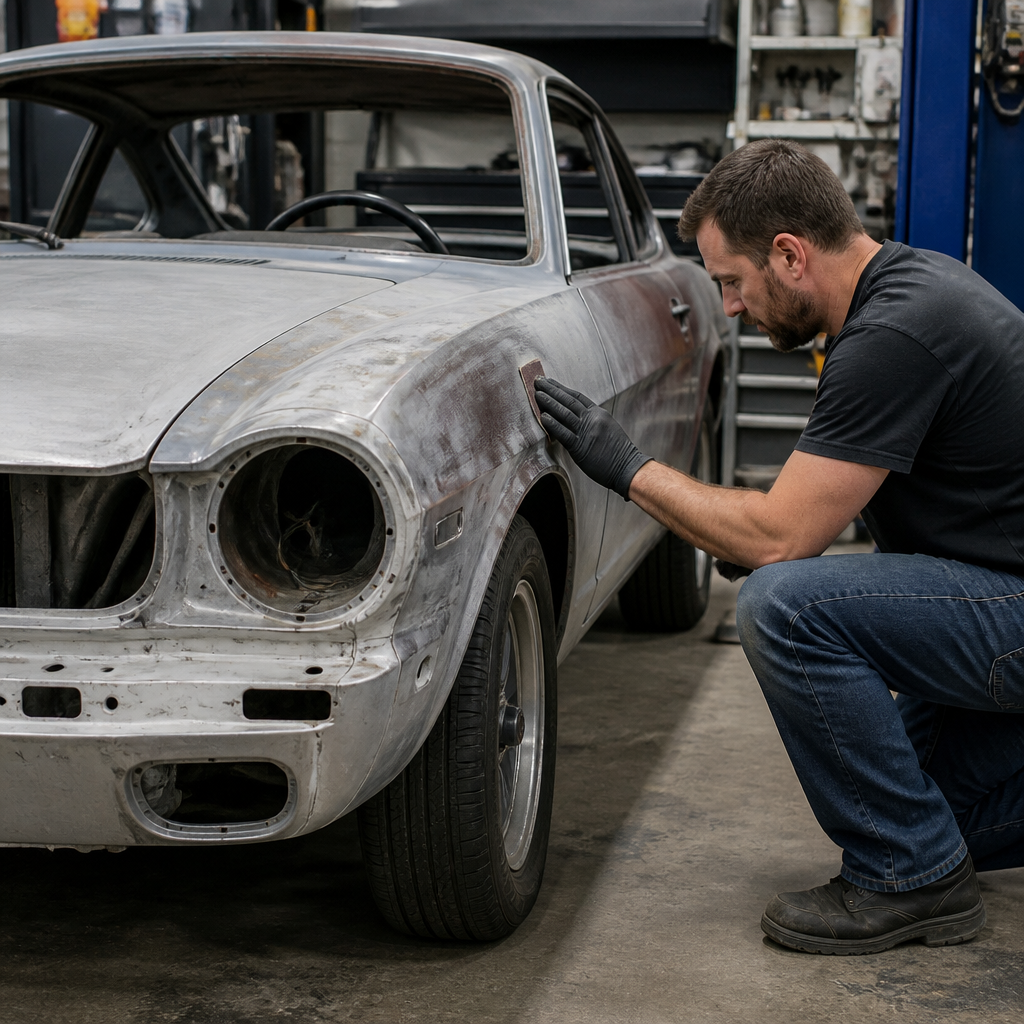
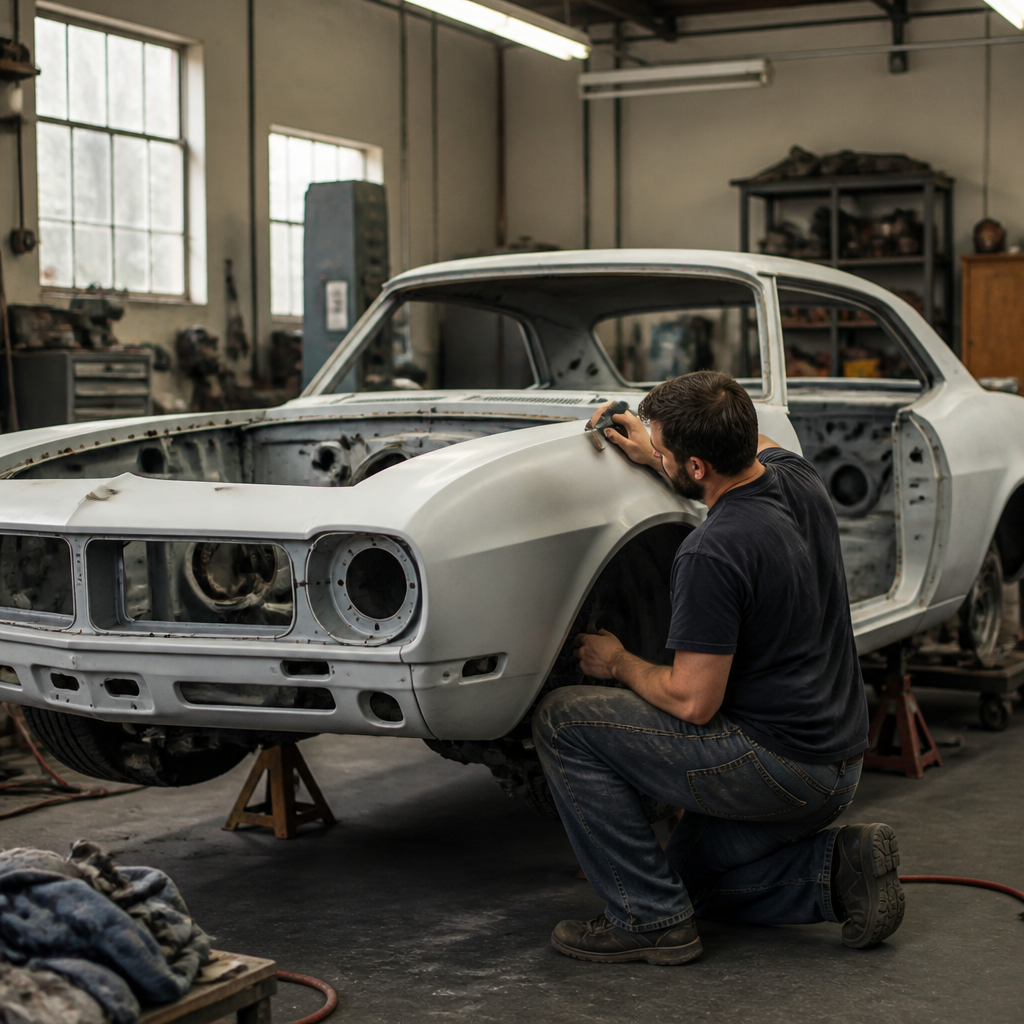
Every successful classic car interior restoration starts with a sound shell. Strip the floor to bare metal where practical, vacuum debris, and inspect all seams, braces, and seat mount reinforcements. Treat light rust with mechanical abrasion and a quality rust converter only where appropriate; converters are not substitutes for metal replacement. Weld in patch panels or full pans when corrosion has thinned the steel. After repairs, use epoxy primer on bare metal because it seals better than lacquer-based products and forms a stable base for seam sealer and topcoats. Pay special attention to toe boards, rocker transitions, rear footwells, and trunk divider seams, all common leak paths.
Fix water intrusion before installing anything soft. Replace windshield and back glass seals if they have hardened, shrunk, or trapped rust. Clear cowl drains, renew door vapor barriers with plastic sheeting and butyl tape, inspect quarter window felts, and confirm that weatherstrip channels are clean and properly aligned. One of the most common failures I see in amateur interior jobs is new carpet soaked within months because the cowl leak was ignored. Interior materials hide moisture well, which is exactly why rust resumes beneath them.
Electrical cleanup is equally important. Under-dash wiring should be inspected for brittle insulation, poor crimp repairs, unfused accessories, and overheated connectors. Replace damaged sections with the correct gauge and color when possible, and use proper open-barrel or Packard-style terminals where the car originally used them. Reproduction harnesses from companies like American Autowire or M&H can save enormous time on popular models. Once the shell is dry and wiring is safe, install insulation strategically. Butyl-based sound deadening reduces resonance on floors and doors, while closed-cell foam and jute underlayment help thermal and acoustic control. Use restraint: overloading doors or roof skins with heavy material can create fitment and drainage problems.
Restore Seats, Door Panels, Dash, and Soft Trim
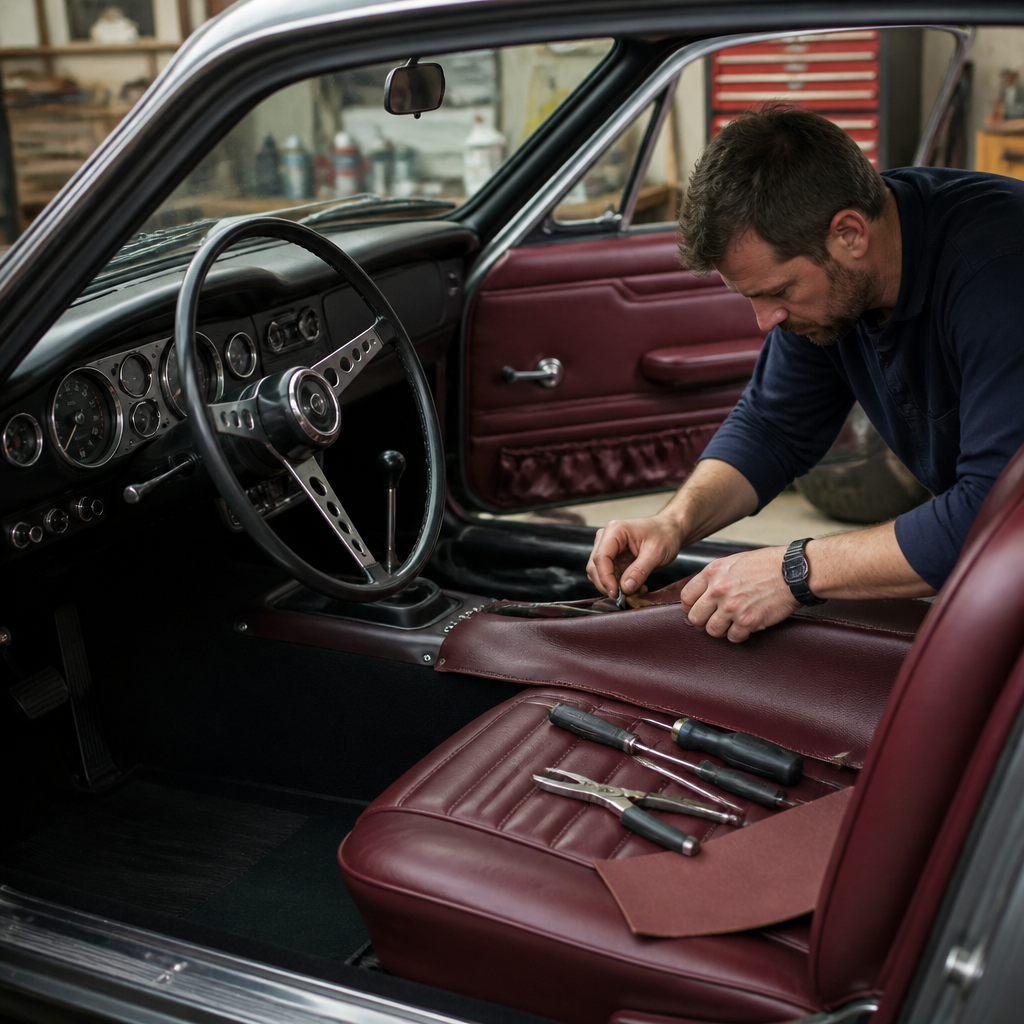
Seat restoration combines structure, comfort, and appearance. Begin with frames and tracks. Media blast or wire-brush frames, repair broken springs, lubricate tracks, and refinish metal parts in the correct sheen. Replace collapsed seat buns or add shaped foam only where necessary; too much foam makes covers look overstuffed and incorrect. Install burlap or modern support webbing where original support has failed, then fit the new covers gradually, using steam or sunlight to relax vinyl and hog rings to secure listings evenly. Pulling one side tight too early creates twisted pleats and crooked seams. On bench seats, center alignment is critical because even a half-inch drift is visible against the dash and steering wheel.
Door panels require equal care because they sit at eye level. Transfer clips to the correct positions, renew moisture barriers, and check that window felts, door handles, lock rods, and armrest bases are secured before final installation. If original hard panels are reusable, plastic welding, flexible epoxy, and interior dye systems from SEM can restore many pieces without obvious repair lines. Dash pads may be replaced, professionally recovered, or repaired with cap solutions depending on goals and budget. For gauges, clean lenses cautiously, repaint needles if faded, and verify illumination, fuel sender accuracy, and voltage limiter function on cars that use one. Small improvements here dramatically change the finished impression.
| Interior component | Best DIY approach | Common mistake | Recommended tools or suppliers |
|---|---|---|---|
| Seats | Rebuild frames, replace support layers, fit covers slowly | Overpadding foam and misaligning seams | Hog-ring pliers, steam gun, TMI, PUI, Legendary |
| Carpet | Test-fit warm molded sections before trimming | Cutting seat holes too early | Heat gun, chalk, quality molded kits |
| Door panels | Install new vapor barriers and correct clips | Skipping moisture protection | Clip tools, butyl tape, panel fastener kits |
| Dash and gauges | Repair wiring and verify instruments before reassembly | Cosmetic restoration without electrical testing | Multimeter, contact cleaner, reproduction harnesses |
Headliners, package trays, kick panels, and carpets finish the cabin and expose the difference between rushed work and disciplined work. Headliners demand patience: center the bows correctly, tension front to rear before side to side, and use binder clips to preview the stretch before adhesive or final listing attachment. Package trays should be test-fit with rear glass trim and speaker openings before covering. Molded carpet must be warmed, laid in place, and trimmed conservatively. I always cut bolt and shifter openings smaller than necessary first, then enlarge gradually after confirming exact placement. Finish with sill plates, pedals, seat belts, and emblems only after all hidden adjustments are done.
Use Hub-Level Thinking: Connect This Project to the Rest of Restoration and Maintenance
A strong hub article on DIY restoration guides should show how interior work links to the rest of classic car ownership. Interior restoration overlaps directly with weatherstrip replacement, floor pan repair, rust prevention, gauge troubleshooting, heater box rebuilding, seat belt upgrades, and door mechanism service. If your heater box is leaking, rebuild it while the dash is apart. If the windshield is out for rust repair, refresh defroster ducts and inspect the wiper linkage. If the seats are removed, clean and lubricate seat tracks and inspect belt anchors. These combined jobs reduce repeated labor and protect finished trim from future disassembly.
Maintenance matters after restoration too. Use UV protectant appropriate for vinyl and plastic, keep drain paths clear, avoid silicone-heavy dressings on surfaces that may need future dye work, and address any musty smell immediately because odor usually signals trapped moisture. Store the car in a ventilated space, use fitted sunshades when parked, and inspect carpets seasonally for dampness near firewall edges and door sills. A restored interior can last decades, but only if the sealing, drainage, and cleaning habits support it.
Learning how to restore a classic car interior yourself gives you control over authenticity, cost, and final quality. The process begins with defining your restoration standard, documenting the cabin thoroughly, and sourcing the right materials before disassembly. It succeeds when you repair the shell first, eliminate leaks, correct wiring, and then rebuild trim in a logical order. Seats, door panels, dash components, carpet, and headliner all reward patience far more than speed. Small details such as correct clip placement, seam alignment, vapor barriers, and careful trimming are what separate a satisfying driver-quality result from an interior that constantly reminds you where corners were cut.
The biggest benefit of doing this work yourself is not just saving labor charges, though that can be substantial. It is understanding your car at a deeper level. Once you have handled the seat frames, traced the under-dash harness, sealed the floor seams, and fitted the trim with your own hands, you can maintain the interior intelligently and diagnose future problems quickly. You also gain the judgment to decide when original parts should be preserved, when reproduction pieces are acceptable, and when a specialist is worth hiring for a specific operation such as concours upholstery stitching or complex plastic chrome refinishing.
Approach the project as part of a complete restoration and maintenance strategy, not an isolated cosmetic upgrade. Fix leaks before carpet, test circuits before reinstalling the dash, and align each material choice with the way you plan to use the car. If you do that, your classic car interior restoration will look right, wear well, and support the value of the entire vehicle. Start with a careful inspection, build a parts list, and tackle one system at a time.
Frequently Asked Questions
What should I inspect before starting a classic car interior restoration?
Before you remove a single screw or peel back any carpet, inspect the entire interior as a system rather than as a collection of separate cosmetic parts. Start with the floors, rocker areas, trunk divider, and lower door shells because hidden rust and moisture damage often sit beneath worn carpet, insulation, and seat mounts. If the structure under the interior is compromised, new upholstery will only hide a problem that will return later. Check for water intrusion around the windshield, rear glass, vent seals, door weatherstripping, and cowl drains. Damp padding, mildew smells, and surface corrosion on seat tracks or under-dash brackets are all clues that leaks must be solved first.
Next, evaluate what is original, what has been repaired before, and what is missing. Look closely at seat frames, springs, foam, door panels, dash pads, headliner bows, armrests, package trays, and trim clips. Photograph everything from multiple angles before disassembly, including stitching patterns, pleat spacing, fastener locations, and how wiring routes behind panels. This documentation becomes invaluable when it is time to reassemble the interior accurately. Also inspect safety-related items such as seat belt mounting points, pedal pads, steering wheel condition, and whether any sharp metal edges are exposed beneath failing trim. A careful inspection at the beginning helps you create a realistic plan, order the right materials, and avoid the common mistake of treating interior restoration as only a vinyl-and-carpet job when it is really a structural, mechanical, and cosmetic project all at once.
Can I restore a classic car interior myself, or should I leave parts of it to a professional?
Many classic car interiors can absolutely be restored by a careful do-it-yourselfer, especially if you are patient, organized, and willing to practice on less visible pieces first. Tasks such as removing seats and trim, cleaning and repainting interior metal, applying sound deadener, replacing carpet, refurbishing seat hardware, installing weatherstripping, and re-dyeing certain trim pieces are often well within reach. If you work methodically and use quality materials, these steps can dramatically improve the interior while preserving authenticity and saving money.
That said, the smartest restorations are not always fully DIY from start to finish. Some jobs require specialized tools, sewing skill, or experience to achieve a factory-correct result. Headliner installation, complex seat upholstery, plastic chrome restoration, crack-free dash restoration, and woodgrain refinishing are common examples where professional help may be worth the cost. A wrinkled headliner or poorly fitted seat cover can make an otherwise solid restoration look amateur. There is no shame in doing the disassembly, labeling, structural prep, cleaning, insulation, and reassembly yourself while sending select components to a trim shop or restoration specialist. In fact, that hybrid approach is often the best balance of cost control, craftsmanship, and authenticity. The goal is not to prove you can do every task alone; it is to restore the interior correctly so the finished cabin looks right, feels solid, and lasts.
What tools and materials do I need for a proper DIY interior restoration?
A successful interior restoration depends less on exotic equipment and more on having the right basic tools, good replacement materials, and the discipline to use them carefully. At minimum, you will want a full set of hand tools for trim and seat removal, including screwdrivers, nut drivers, sockets, picks, trim removal tools, hog ring pliers, side cutters, needle-nose pliers, and a good staple gun if your specific vehicle uses stapled panels. A heat gun or steamer can help with vinyl fitment, while wire brushes, scrapers, abrasive pads, and rust treatment products are essential for cleaning floors and seat frames. For accurate reassembly, keep storage bags, labels, masking tape, and a phone or camera handy so every clip, screw, and bracket can be documented and sorted.
Materials matter just as much as tools. Buy interior kits and supplies from reputable sources that understand your car’s year, trim level, and factory patterns. You may need molded carpet, jute or modern insulation, seat foam, burlap, listing wires, hog rings, headliner material, panel board, contact adhesive, vinyl dye, weatherstripping, and replacement clips. If originality matters, verify grain, color, stitching layout, and pleat design before ordering. Avoid generic low-grade adhesives and bargain upholstery materials because they often fail under heat, shrink, discolor, or fit poorly. It is also wise to have rust converter or epoxy primer, seam sealer, and sound deadening products on hand, since exposed floor pans frequently need treatment once the old interior comes out. The best results come from combining careful prep work with materials designed for automotive interiors rather than trying to force household substitutes into a job that lives in heat, sun, vibration, and humidity.
In what order should I restore the interior to get the best results?
The correct order is one of the biggest factors in whether a DIY interior restoration feels smooth or becomes frustrating and expensive. Begin with complete documentation and careful disassembly. Remove seats, belts, sill plates, consoles, carpet, underlayment, lower trim, and door panels in a controlled sequence while labeling all hardware. Once the interior is stripped, address the shell first. Repair rust, seal leaks, inspect body plugs and drains, repaint or protect the floor, and restore any hidden structural areas before new materials go in. This is also the right time to inspect wiring, heater components, insulation, and under-dash hardware, since access is best when the cabin is bare.
After the structure is sound, move to the foundation layers: sound deadener, heat insulation, wiring corrections, and any under-carpet padding. Then install or refurbish major fixed components in a logical progression, usually headliner and glass-adjacent trim first if applicable, followed by dash pieces, package tray, carpet, side panels, seats, belts, and small trim. Seat frames and tracks should be repaired and tested before upholstery goes on, not after. Door internals such as regulators, moisture barriers, and latch mechanisms should be serviced before the finished door panels are installed. This sequence prevents damage to fresh materials and avoids redoing work because a hidden issue was ignored earlier. In practice, the best interior restorations are built from the metal outward: structure first, then insulation and systems, then soft trim, then finishing details. That order protects the investment and produces a cabin that is not only attractive, but solid, quiet, and durable.
How do I keep the restored interior looking period-correct while still improving comfort and durability?
Preserving a classic car’s character means understanding which details define authenticity and which upgrades can remain invisible. Focus first on what the eye notices immediately: upholstery grain, stitching pattern, seat profile, door panel design, carpet style, headliner texture, hardware finish, and dashboard appearance. Whenever possible, compare your car to factory literature, survivor cars, or trusted marque-specific references. Small details such as the sheen of vinyl, the shape of heat pleats, the edge binding on carpet, or the finish on trim screws can strongly affect whether the interior feels correct. Reusing salvageable original trim pieces, emblems, seat hinges, garnish moldings, and handles often helps preserve the right look better than replacing everything with generic reproduction parts.
At the same time, there are smart improvements that do not compromise originality when done thoughtfully. Hidden sound deadening under carpet, discreet heat insulation, rebuilt seat foam that preserves the factory silhouette, improved moisture barriers inside doors, and better rust protection beneath the interior can make the car more pleasant and durable without changing its visual character. Even seat belts can sometimes be upgraded with safer webbing while retaining a vintage appearance. The key is restraint. Avoid over-restoring with materials that are too glossy, heavily padded, or styled in a way the car never had. A classic interior should not look modernized unless that is your explicit goal. The best DIY restorations respect the original design while quietly correcting the weaknesses that age and use have introduced, so the finished car feels authentic every time you open the door, sit down, and breathe in that unmistakable classic-car atmosphere.