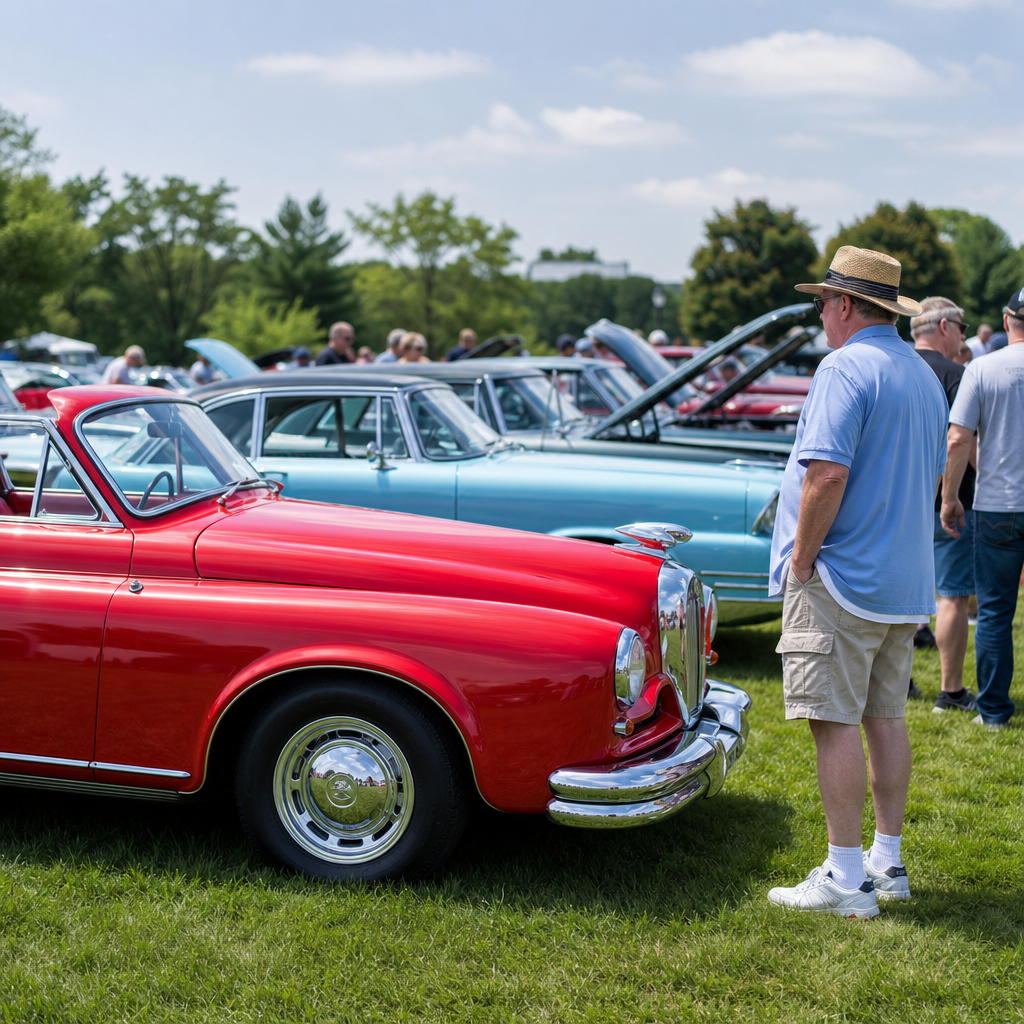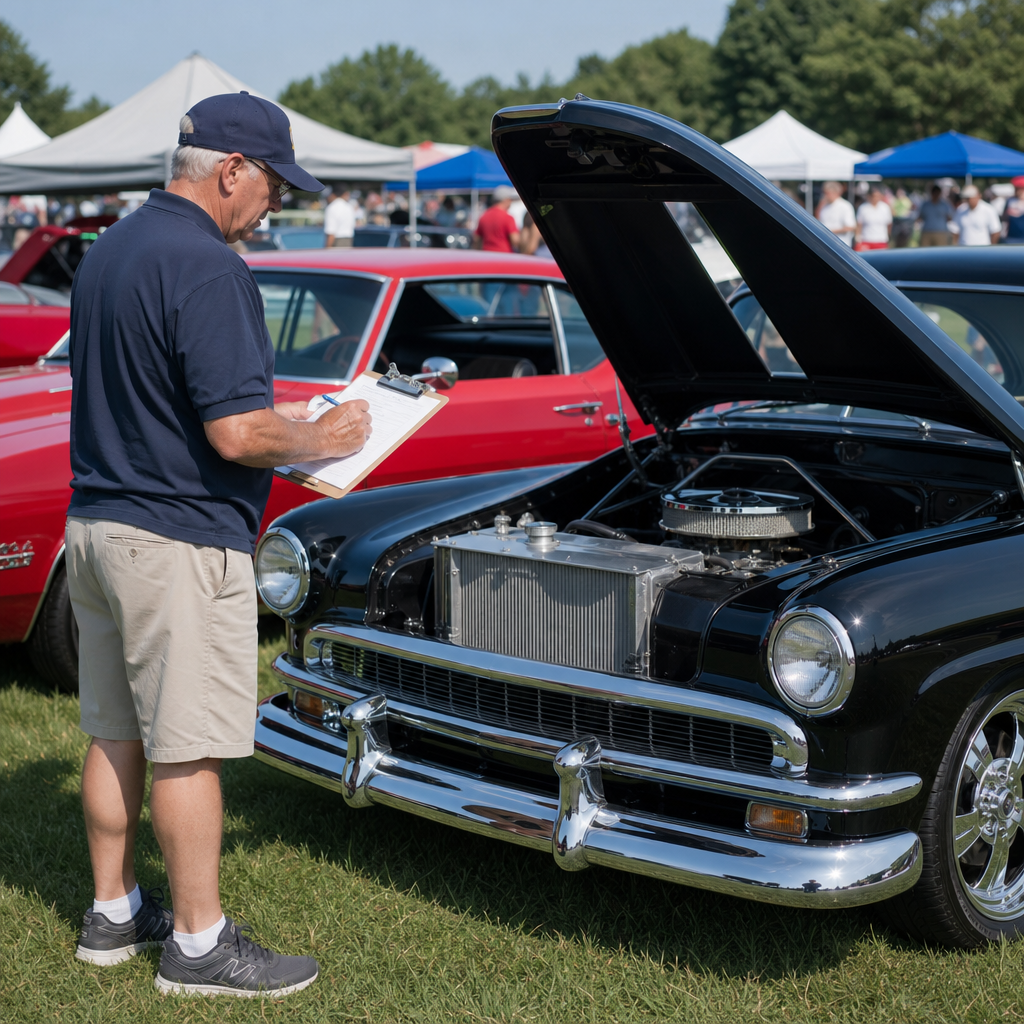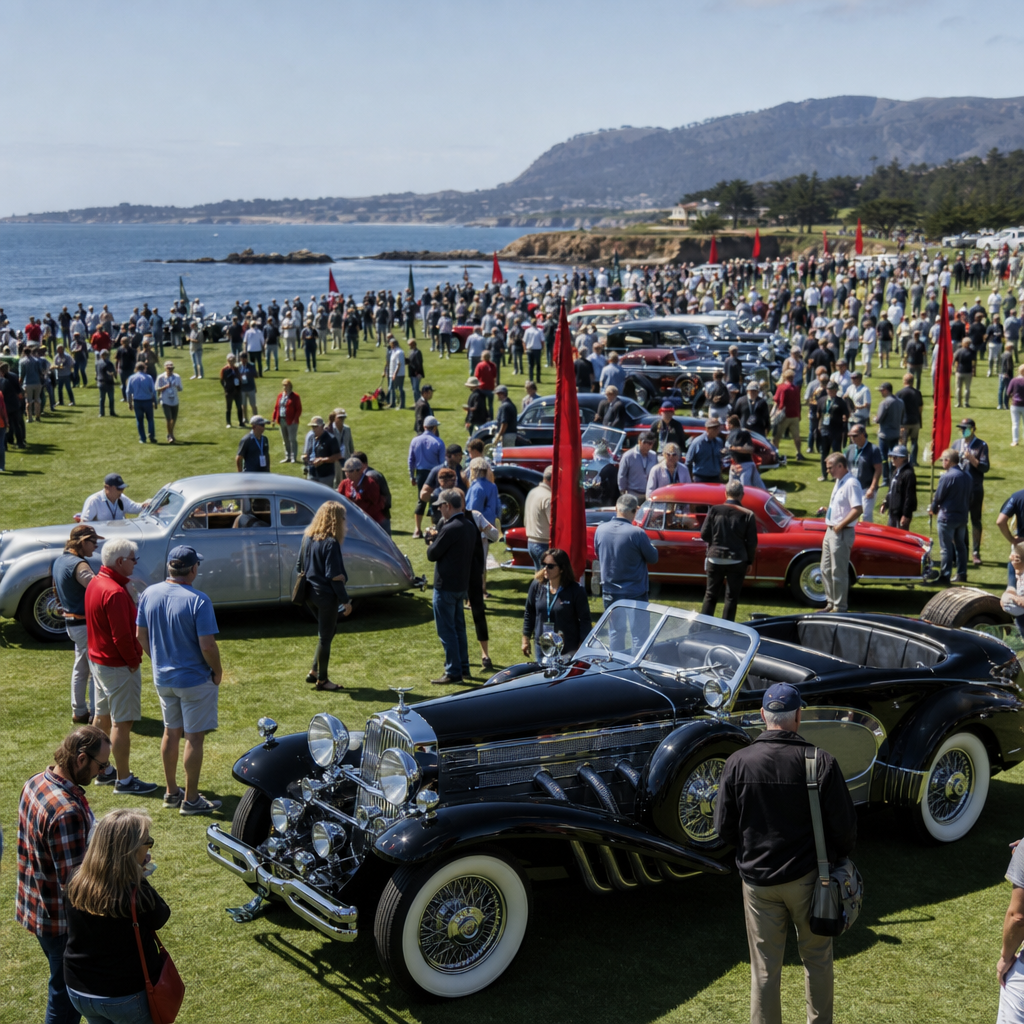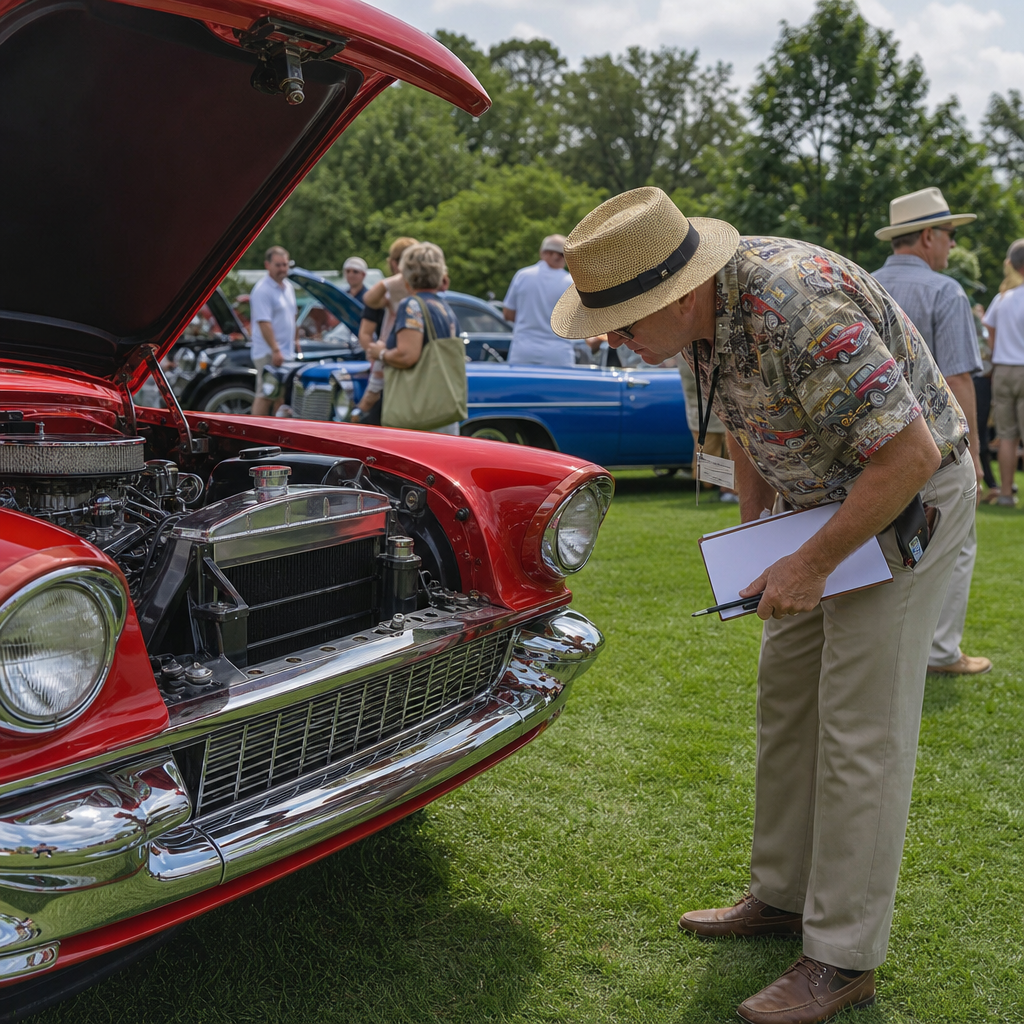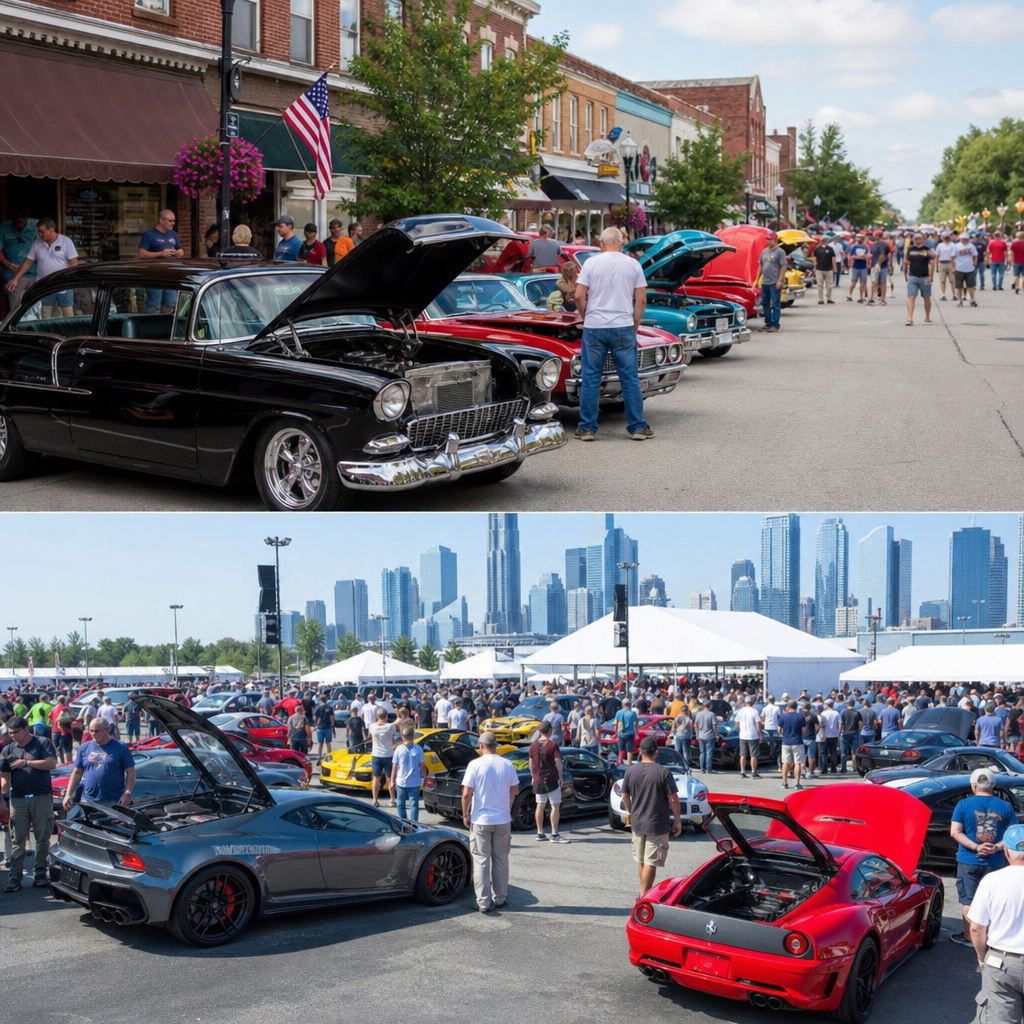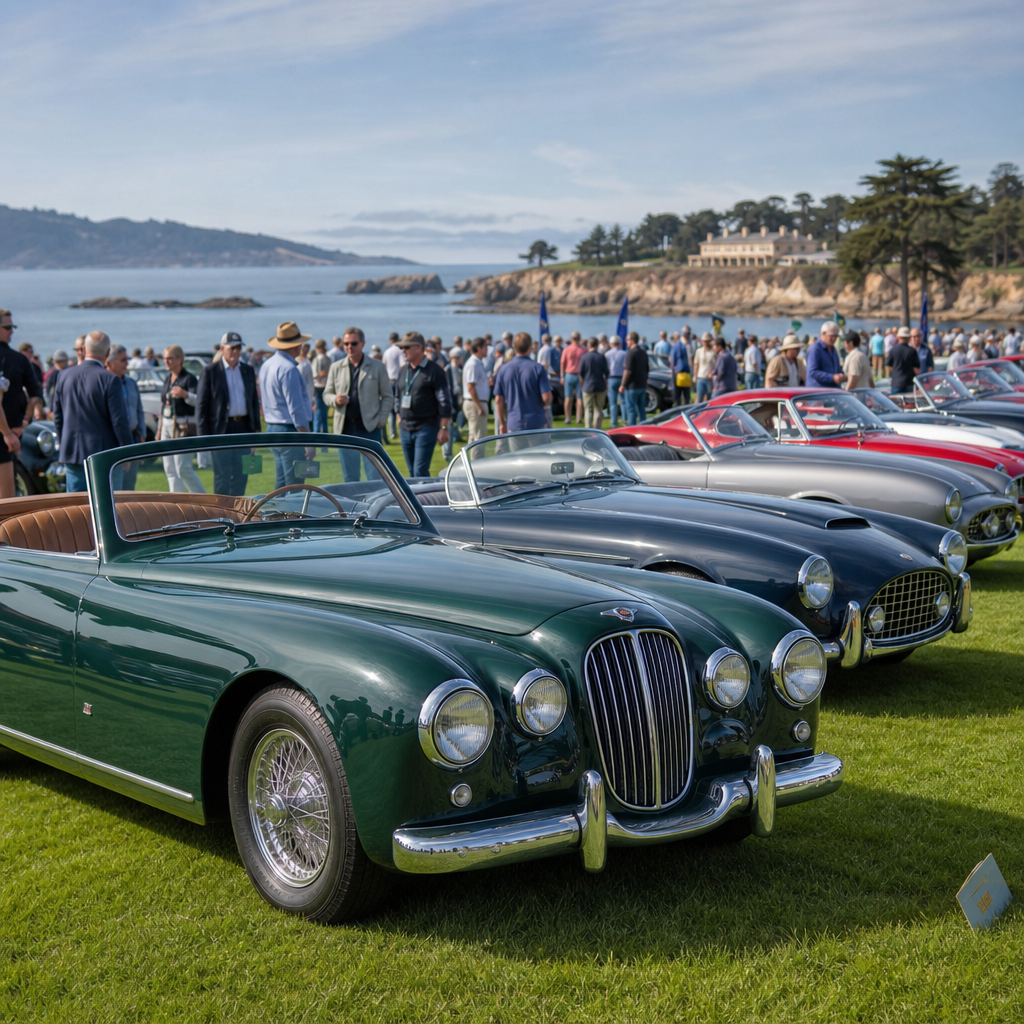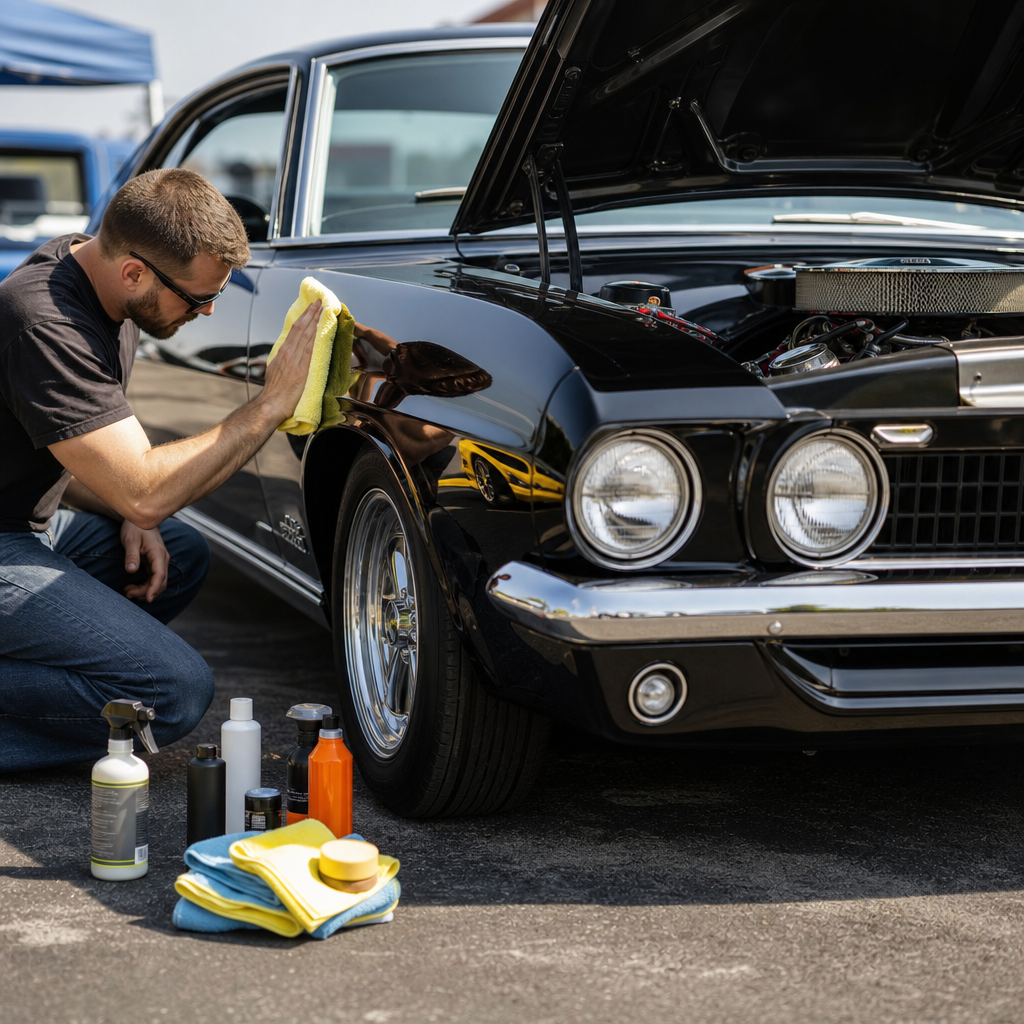
Preparing a car for a show is part detailing, part mechanical inspection, and part event strategy. Whether you are entering a concours lawn, a marque-specific meet, a local cruise-in, or a judged indoor exhibition, the standard is the same: present a clean, correct, reliable vehicle that tells a compelling story. In classic car culture, “show prep” means more than washing paint. It includes paint correction, trim restoration, engine-bay cleaning, documentation, transport planning, and understanding what judges and spectators actually notice first.
I have prepped cars for informal weekend meets and tightly judged events, and the biggest lesson is simple: winners rarely rely on last-minute shine. The best results come from a repeatable process started days or weeks in advance. That process matters because car shows are visual comparisons under unforgiving light. Dust in jambs, greasy hinges, cloudy glass, mismatched fasteners, weak tires, and poor presentation stand out immediately. A well-prepared car communicates care, authenticity, and competence before anyone reads the display card.
This hub article covers the full “Car Shows & Events” preparation workflow for classic and enthusiast vehicles. It defines the core tasks, explains how preparation changes by event type, and highlights practical standards used by restorers, detailers, and experienced entrants. You will learn how to assess your car, plan the cosmetic and mechanical work, pack for event day, and avoid common mistakes that cost points or create stress. If you want one central guide to preparing your car for a show, start here and use each section as a checklist.
Know the Type of Show Before You Touch the Car
The first step is understanding what kind of event you are entering, because preparation should match the judging criteria and audience expectations. A concours event often rewards authenticity, cleanliness, and correctness down to finishes, tags, hose clamps, and date-coded components. A local cars-and-coffee gathering is less formal and rewards presentation, reliability, and the ability to talk about the car. A marque club meet may value factory specifications, option history, and period accessories. Indoor convention-center shows usually demand stronger paint correction and lighting-aware detailing because overhead lights reveal every swirl and haze mark.
Read the registration materials, judging sheet, and class descriptions. If the event publishes categories such as survivor, restored, modified, unrestored original, or driver class, use them to decide how far to take prep. An unrestored original car should not be over-detailed into an artificial finish that erases age and character. A restored car in a judged class should be cleaned to a higher standard in hidden areas like trunk channels, hood hinges, radiator supports, and undercarriage edges. Matching the prep style to the event is one of the fastest ways to avoid wasted effort.
Also study logistics. Ask whether the car will be outdoors on grass, on asphalt, or indoors; whether engine compartments will be judged; whether hoods should stay open; and whether late arrival affects placement. These details influence tire dressing, undercarriage cleaning, canopy needs, battery management, and what supplies you bring.
Start With a Condition Assessment and Prep Timeline
Every successful show-prep plan begins with a sober inspection. Walk around the car in direct sun and in shade. Then inspect it under LED lighting. Make notes on paint defects, stone chips, trim oxidation, cracked weatherstripping, pitted chrome, loose interior hardware, stained carpets, clouded lenses, and engine-bay grime. Open every door, the hood, and the trunk. Judges and knowledgeable enthusiasts routinely inspect the places owners ignore: door jambs, fuel filler recesses, pedal pads, parcel shelves, spare-tire wells, and the underside of the hood.
Create a timeline instead of trying to do everything the night before. One week or more out, handle repairs, parts orders, paint touch-up, and machine polishing. Two to three days out, deep-clean the interior, engine bay, glass, wheels, and jambs. The day before, wash the exterior, apply your final protection product, and pack supplies. The morning of the event, do only light dusting, tire cleanup, and final wipe-downs. This pacing reduces mistakes such as burned trim from aggressive polish, sling from fresh tire dressing, or water trapped behind mirrors and emblems.
| Prep Stage | What to Do | Why It Matters |
|---|---|---|
| 1–2 weeks before | Inspect paint, trim, interior, engine bay, and paperwork; order parts; schedule correction work | Major issues need time, and rushed fixes usually show |
| 3–5 days before | Repair bulbs, leaks, loose trim, and minor chips; clean under hood and inside jambs | Mechanical and hidden-area flaws are obvious in judging |
| 1–2 days before | Wash, decontaminate, polish, protect paint; deep-clean wheels and glass | Allows a clean finish without same-day stress |
| Event morning | Use detail spray, microfiber towels, glass cleaner, and a soft brush for final touch-ups | Removes transport dust without damaging the finish |
Wash, Decontaminate, and Correct the Exterior Properly
Exterior appearance drives first impressions, so paintwork deserves methodical care. Begin with a pH-balanced shampoo, two-bucket wash method, grit guards, and quality microfiber mitts to limit wash-induced marring. Clean wheels and tires first using separate tools, because brake dust is abrasive and should never touch paint towels. For older single-stage paint, test products carefully. It can transfer color to applicators and may respond better to milder polishing systems than modern clear coat.
After washing, decontaminate the paint. Iron removers help dissolve embedded ferrous particles, especially on lighter colors and cars driven regularly. Clay bars or synthetic clay mitts remove bonded contamination that washing leaves behind. This step matters because polishing over contamination can drag particles across the surface and create fresh scratches. Once the paint is smooth, inspect for swirls, oxidation, holograms, water spots, and sanding marks from prior repairs.
Paint correction should fit the car, not chase perfection blindly. On a show-quality restored vehicle, a dual-action polisher with a finishing polish may refine gloss significantly. On delicate original paint, preservation matters more than maximum cut. I have seen owners remove valuable patina and thin original finishes by over-polishing before a show. Use a paint thickness gauge if there is any concern, tape trim before machine work, and remember that crisp reflections, even gloss, and clean edges usually impress more than an overworked finish with polished residue stuck in seams.
Restore Brightwork, Trim, Glass, and Small Details
Once the paint is right, the small details separate a good entry from a memorable one. Chrome should be cleaned with products suitable for the plating condition; aggressive metal polish on thin or pitted chrome can make damage look worse. Stainless trim often responds well to careful hand polishing. Rubber seals benefit from dedicated protectants that restore a dark, natural appearance without leaving greasy residue. Exterior black plastic and textured trim should look even and factory-correct, not artificially wet.
Glass is judged more harshly than many owners expect. Clean both sides using low-lint towels and an automotive glass cleaner that leaves no ammonia haze. Pay attention to the top edge of side windows, the lower corners of the windshield, rear glass defroster lines, and mirror housings. Replace streaky blades if the event involves driving through dew or rain. Lenses, badges, exhaust tips, and antenna bases also deserve attention. These are focal points in walkaround viewing, and clean, sharp details signal complete preparation.
Door jambs, trunk gutters, hinges, striker plates, and weatherstrip channels must be spotless. Use soft brushes, all-purpose cleaner diluted appropriately, and microfiber towels. If you want a fast credibility boost, make every opening panel look intentionally finished. Spectators may not articulate it, but they notice when a car feels complete from every angle.
Clean the Interior Like Judges Will Sit in It
Interior prep is where many otherwise excellent show cars lose momentum. Start by removing personal items, old registration papers, charging cables, bottles, and anything that does not belong in the presentation. Vacuum thoroughly under seats, along seat tracks, around pedals, and in trunk corners. Compressed air or a soft detailing brush helps lift dust from vents, stitching, and switchgear. Clean carpets and mats according to material type; overwetting vintage jute-backed carpets can create odor and distort shape.
Use interior cleaners matched to surfaces. Leather needs a gentle cleaner and, if appropriate, a conditioner that does not leave gloss. Vinyl dashboards and door panels should look clean and low-sheen, not oily. Wood veneer, painted metal dashboards, chrome bezels, and clear gauge lenses each require different care. Gauge lenses scratch easily, so use plastics-safe cleaners and soft towels. Headliners, sun visors, rear package trays, and seatbelt webbing are often forgotten but highly visible once doors are open.
Odor matters too. A show car should smell clean, not masked by heavy fragrance. If the car has fuel smell, mildew, or exhaust intrusion, solve the source rather than covering it. Finally, verify that the horn, interior lights, radio delete plate or original radio, seat adjusters, and windows operate correctly if judges may inspect functionality.
Present the Engine Bay and Undercarriage With Restraint
Engine-bay cleaning should emphasize correctness and neatness, not artificial gloss. Cover sensitive electrical components as needed, avoid pressure washing older wiring or decals, and use degreasers sparingly. Agitate dirt with brushes, wipe with microfiber towels, and dry thoroughly. Hoses, clamps, plug wires, reservoirs, brackets, and battery trays should look clean and appropriately finished. If your class values originality, use factory-style tower clamps, decals, and battery appearance where practical. If your car is modified, keep the layout organized and label unusual upgrades clearly on your display sheet.
Do not ignore the underside of the hood, cowl area, radiator support, and hood latch. These surfaces frame the engine visually. I have judged owner-prepped cars informally with club members, and the pattern is consistent: a spotless intake on a dirty radiator support suggests rushed work. Consistency wins. The undercarriage matters too, especially for serious judging. You may not need a rotisserie-level finish for every event, but visible suspension parts, wheel wells, leaf springs, and lower valances should be free of mud, grease buildup, and road tar.
Mechanical Readiness Is Part of Show Preparation
A show car that leaks coolant in the staging lane or needs a jump in front of spectators is not prepared, no matter how glossy the paint. Mechanical readiness starts with fluid checks, battery health, tire pressures, lighting, belts, hoses, and charging performance. Confirm that the car starts reliably hot and cold. If it tends to vapor lock, foul plugs, overheat in traffic, or drain the battery with the doors open, address that before event day.
For classics, carry basic spares: fuses, bulbs, a fan belt, ignition components if applicable, fluids, and hand tools. Check for seepage around valve covers, differential housings, fuel fittings, and transmission lines. Inspect date codes and sidewall condition on older tires even if tread looks acceptable. Safety matters at shows, and many event organizers will take a dim view of obvious fuel leaks or unstable idle behavior. Reliability also affects presentation. When a car arrives calmly under its own power, idles cleanly, and leaves without drama, people remember it as well sorted.
Use Documentation and Display Materials to Tell the Car’s Story
Presentation is not only visual. Documentation adds context and can elevate a car that might otherwise blend into a row of similar models. Prepare a concise display board or placard listing year, make, model, engine, transmission, factory options, restoration history, ownership timeline, and notable provenance. Include whether the car is a survivor, period-correct restoration, restomod, or competition-inspired build. If you have original window stickers, dealer invoices, build sheets, judging awards, or historical photos, bring protected copies, not irreplaceable originals.
Keep the display readable and factual. Spectators want quick answers: What is it? Why is it special? What has been done to it? Avoid cluttered boards packed with tiny text. A well-designed one-page summary works better than a scrapbook spread across the windshield. If modifications are hidden, such as upgraded cooling, electronic ignition, or disc brakes, mention them clearly. Good documentation also reduces repetitive questions and helps judges understand intentional choices.
Pack a Show-Day Kit and Plan Arrival
The final layer of preparation is operational. Pack microfiber towels, a quality quick detailer, glass cleaner, tire cleaner, a soft brush, painter’s tape, small tools, paper towels, nitrile gloves, and a compact first-aid kit. Bring water, sunscreen, folding chairs if allowed, and weather protection such as a canopy for outdoor events. If the car is trailered, load extra straps, wheel chocks, and a battery charger. If it is driven, plan fuel stops, route timing, and parking surfaces.
Arrive early enough to let the engine cool, wipe down the car carefully, and stage your display without rushing. Avoid slathering on last-minute tire shine or dressing that can sling onto paint or attract dust. Set windows, hood, trunk, and wheels consistently based on event norms. Then step back and inspect the car from spectator height, not owner height. The final question is simple: does the car look intentionally prepared in every visible area?
Preparing your car for a show is ultimately about disciplined presentation. Know the event, inspect the car honestly, follow a timeline, refine the exterior, clean the interior, organize the engine bay, verify mechanical reliability, and support everything with clear documentation. Those steps apply across concours events, club meets, cruise-ins, and indoor exhibitions, which is why they form the foundation of any strong “Car Shows & Events” strategy within classic car culture.
The main benefit of proper show prep is confidence. You arrive knowing the car will start, look right under scrutiny, and represent your effort accurately. That confidence improves the experience for you, for judges, and for everyone who stops to ask questions. Use this hub article as your master checklist, then build your own routine around your car’s age, condition, and event goals. Start your next prep session early, work section by section, and let the details speak for themselves.
Frequently Asked Questions
What should I focus on first when preparing my car for a show?
Start with a full assessment rather than jumping straight into washing or polishing. The best show-prep plans begin by identifying the event type, judging criteria, and the current condition of the vehicle. A concours event may reward authenticity, correctness, and presentation down to hardware finishes and factory markings, while a local cruise-in may place more emphasis on overall cleanliness, visual impact, and reliability. Walk around the car slowly in good lighting and make notes on paint defects, worn trim, dirty jambs, glass haze, wheel condition, interior wear, engine-bay grime, and any mechanical issues that could cause trouble on show day.
Once you know what needs attention, prioritize in three categories: appearance, functionality, and presentation. Appearance includes washing, paint correction, polishing, waxing or sealing, trim treatment, interior detailing, and cleaning often-overlooked areas such as the trunk, door jambs, wheel wells, and undercarriage edges. Functionality means checking fluids, belts, hoses, battery condition, tire pressure, brakes, lights, and whether the car starts, idles, and drives consistently. Presentation covers the story you want the car to tell, including documentation, display boards, factory literature, restoration photos, or provenance records that help judges and spectators understand what makes the vehicle special.
A smart first step is also to create a timeline. Major correction work, touch-up painting, upholstery repair, or sourcing missing parts should happen well before the event. Final detailing should be reserved for the last few days so the finish stays fresh. By starting with a structured evaluation instead of random cleaning, you avoid wasting time and can focus your effort where it will make the biggest difference.
How detailed does the cleaning need to be for a car show?
More detailed than most owners initially expect. At a show, people do not look at the car the way they do in a parking lot or at a gas station. They kneel down, peer through glass, inspect trim edges, open doors, look under the hood, and notice dust in corners that would go completely unseen in normal driving. A proper show cleaning means addressing every visible surface and every transition point where dirt tends to collect. That includes emblems, grille openings, weatherstripping, panel gaps, wheel barrels, lug nuts, tire sidewalls, windshield edges, mirror housings, seat rails, pedals, air vents, trunk channels, and the underside of the hood.
The exterior should begin with a safe wash process that minimizes marring, followed by decontamination if needed using clay or a chemical iron remover. If the paint has swirl marks, oxidation, water spots, or light scratches, polishing or paint correction can dramatically improve the finish. Chrome and stainless trim should be polished appropriately, glass should be streak-free inside and out, and plastic and rubber trim should be restored without leaving greasy residue. Wheels and tires deserve special attention because judges and spectators notice them immediately. Clean the faces, inner barrels, valve stems, and lug areas, then dress the tires with a refined satin finish rather than an overly wet shine unless the style of the event clearly favors that look.
The interior should be just as sharp as the exterior. Vacuum thoroughly, clean carpets and mats, wipe down all vinyl, leather, metal, and plastic surfaces, and pay attention to smell as well as appearance. A clean show car should not have musty odors, fuel fumes, or strong chemical scents from overused dressings. If the trunk is visible or judge-accessible, treat it as part of the display. The engine bay should be clean, orderly, and appropriate to the vehicle’s condition and class. Whether you are preserving an original survivor or presenting a restored engine compartment, the goal is a neat, correct, and intentional appearance rather than simply making everything shiny.
Should I clean and dress the engine bay, and how do I do it safely?
Yes, in most cases the engine bay should absolutely be part of your show-prep routine because it strongly influences both judged scoring and overall impression. A spotless body with a dusty, oily engine compartment creates a mismatch that suggests incomplete preparation. That said, how far you go depends on the type of vehicle and the standard you are aiming for. A fully restored car might call for polished hardware, accurately finished components, and highly detailed surfaces. An unrestored original may benefit more from careful cleaning and preservation that respects factory finishes and age rather than over-restoration.
Safety and restraint are important. Before cleaning, make sure the engine is cool. Cover or avoid sensitive electrical components, exposed filters, ignition parts, aftermarket wiring connections, and anything that could be damaged by excessive moisture. Use dedicated degreasers and cleaners that match the materials in the engine bay, then agitate with soft brushes and microfiber towels rather than blasting everything with high pressure. In many cases, a low-moisture approach is safer and gives you better control. Dry the bay thoroughly, then use compressed air or a blower to remove water from crevices, hose clamps, and ignition areas.
After cleaning, focus on presentation. Rubber hoses should look clean and conditioned, not slippery. Painted surfaces can be lightly polished if appropriate. Metal components may benefit from hand polishing, while black plastics and covers should have an even, factory-like finish. Most importantly, inspect while you clean. Look for frayed belts, soft hoses, fluid seepage, loose battery hold-downs, missing clamps, or cracked vacuum lines. A clean engine bay is not just cosmetic; it is one of the best opportunities to spot reliability issues before the event. Show prep should always combine appearance with mechanical confidence.
What mechanical checks should I do before taking my car to a show?
Even the most beautifully detailed car loses credibility if it struggles to start, leaks fluids onto the show field, overheats in traffic, or arrives with a warning light on. Mechanical preparation should be treated as seriously as cosmetic prep. Begin with the fundamentals: check engine oil, coolant, brake fluid, transmission fluid, power steering fluid, and windshield washer fluid if applicable. Inspect belts and hoses for age cracking, swelling, or looseness. Verify battery health and make sure the terminals are clean and secure. Confirm that all exterior lights function properly, especially if you will be arriving early, leaving late, or transporting the car on public roads.
Tires are another major area. Set pressure correctly, inspect tread and sidewalls, and make sure the spare, jack, and tools are present if the car will be driven to the venue. If the car has been sitting, test the brakes before show day rather than assuming everything is fine. Listen for unusual noises, check for pulling, and confirm the parking brake works. Older vehicles should also be checked for fuel leaks, cooling system weakness, charging issues, and hot-start problems, all of which commonly reveal themselves at the worst possible moment during event traffic or staging.
Do a short shakedown drive after your detailing and before the event. This confirms that the car still runs correctly and gives you time to address anything that changed. Then assemble a small emergency kit with microfiber towels, glass cleaner, quick detailer, basic hand tools, spare fluids, zip ties, fuses, tire gauge, and perhaps a battery jump pack depending on the vehicle. Reliable show cars are not accidents; they are the result of careful inspection. Judges notice condition, but everyone notices whether the car arrives, presents, and leaves without drama.
How can I make my car stand out at a show beyond just cleaning it?
A standout show car does more than sparkle; it tells a clear and compelling story. Once the vehicle is clean, corrected, and mechanically sound, think about presentation strategy. Ask yourself what makes the car interesting. It may be an unusually original example, a rare trim level, a documented restoration, a historically important model, or a vehicle with personal family history. Sharing that story helps spectators engage with the car and can add context for judges, especially when details are subtle rather than flashy.
Documentation is one of the most effective ways to elevate your presentation. Consider displaying a neat board or binder with restoration photos, build sheets, ownership history, factory literature, awards, or specification highlights. Keep it organized and easy to scan. If the event allows the hood, trunk, or doors to be open, decide in advance how you want the car displayed and make sure those areas are as refined as the exterior. Bring clean mats or display mirrors only if they suit the event and do not distract from the car itself. Sometimes restraint looks more professional than an overly busy setup.
Finally, plan the event day as carefully as the detailing. If possible, transport or arrive in a way that minimizes road grime. Bring final-touch supplies for dust, fingerprints, and tire touch-ups. Arrive early enough to cool the car, wipe it down, and set up calmly. Dress appropriately, be ready to answer questions, and know key facts about the car without sounding rehearsed. Enthusiasm and knowledge matter. A car that is clean, correct, reliable, and supported by a thoughtful presentation almost always stands apart from one that is simply polished at the last minute.