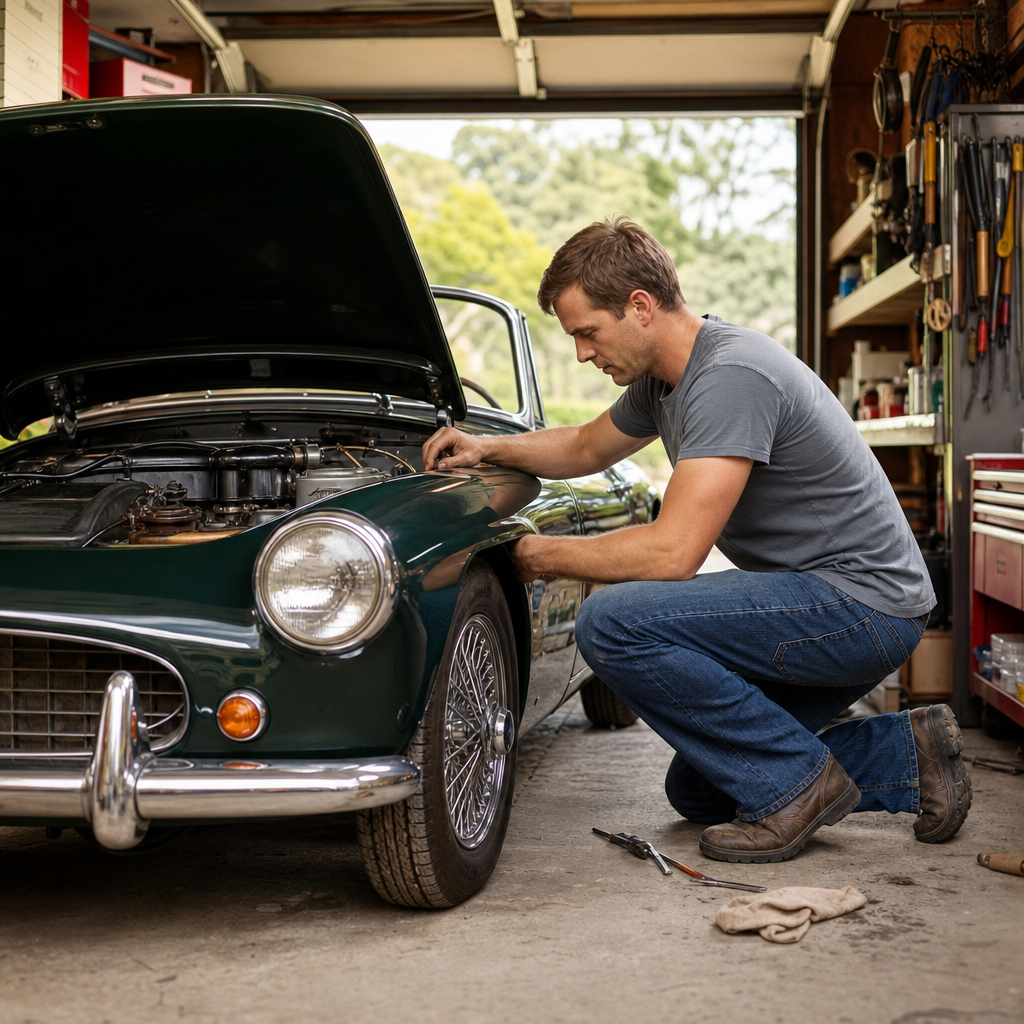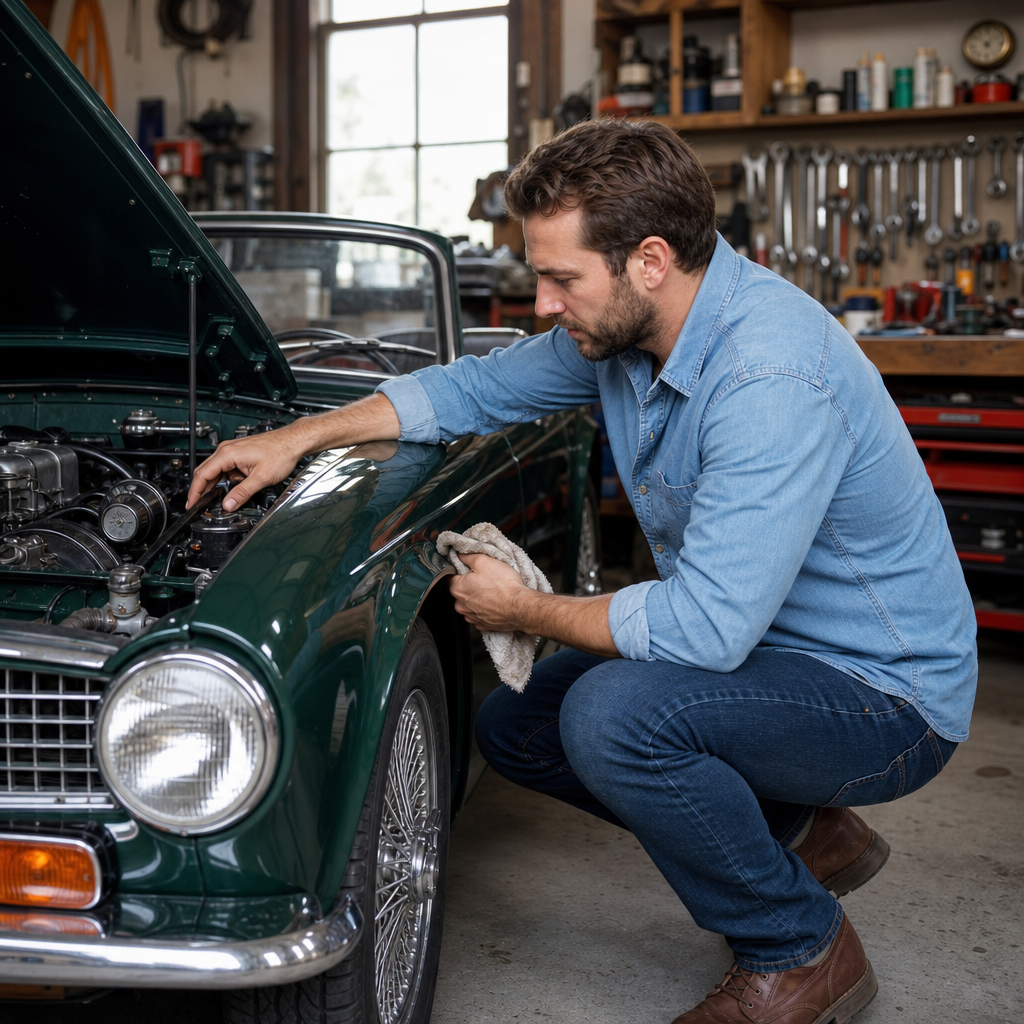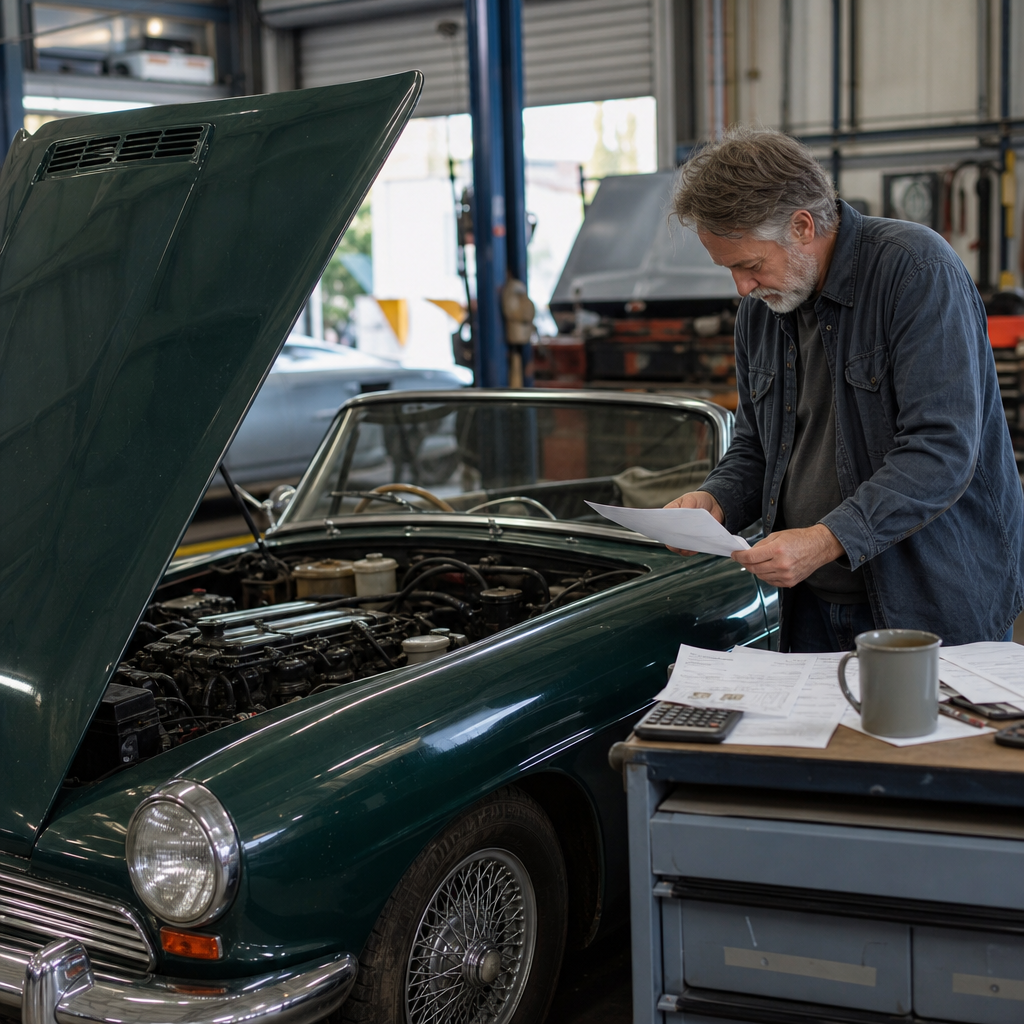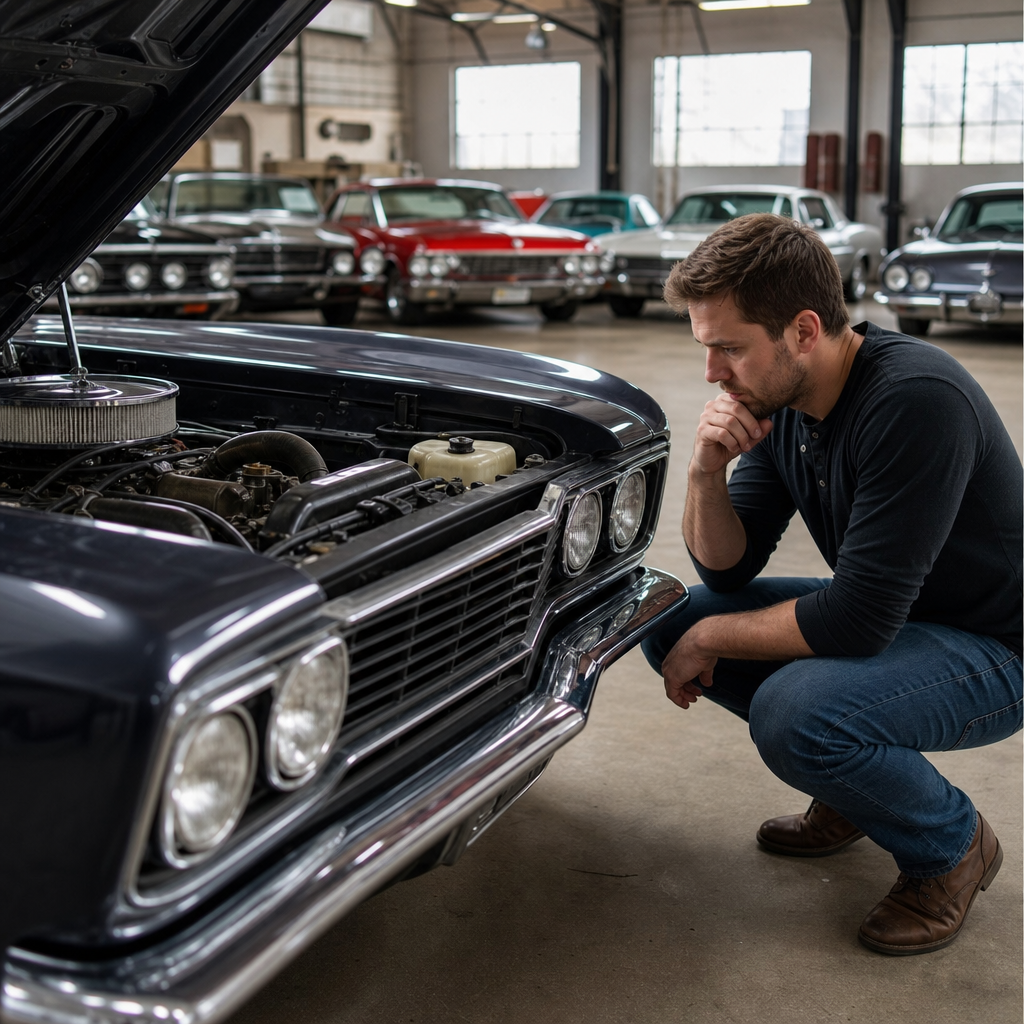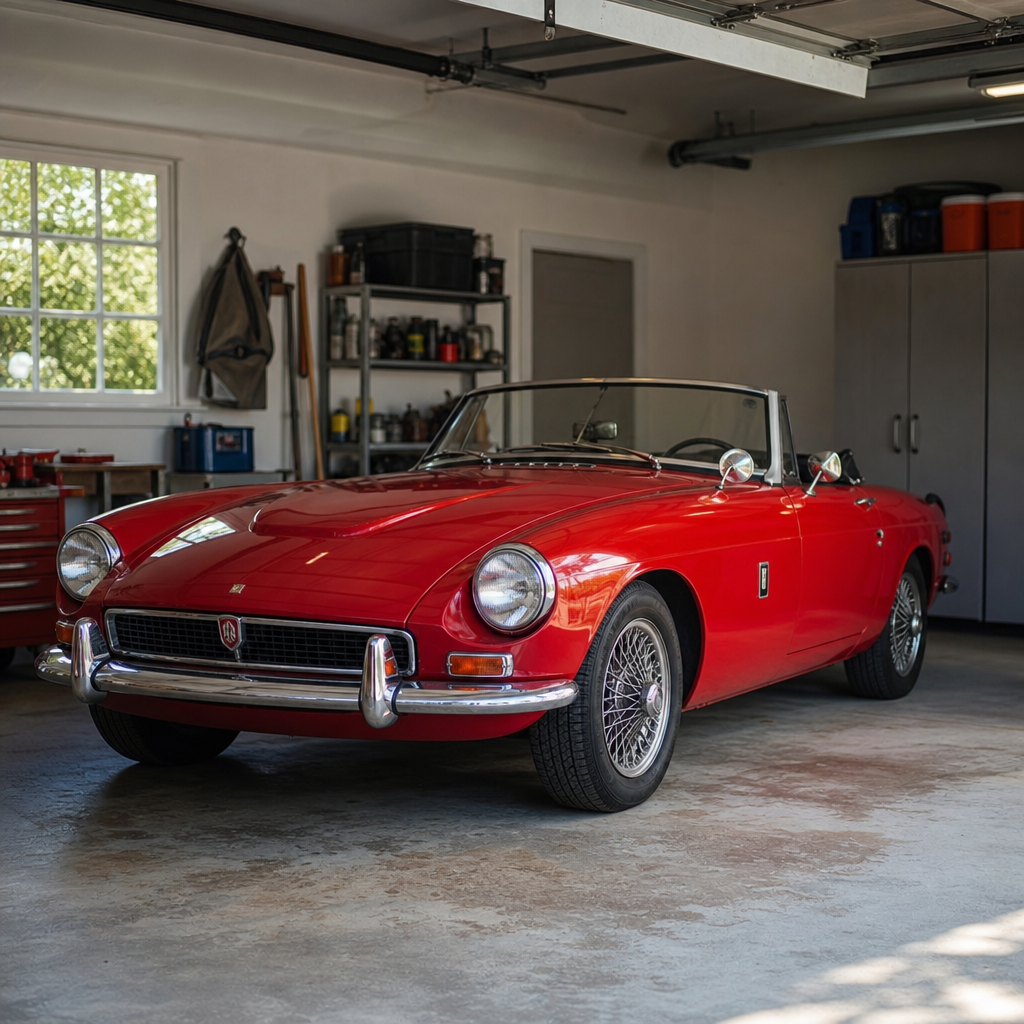
Buying your first vintage vehicle is exciting, but learning how to store your first classic car properly is what preserves that excitement instead of turning it into rust, dead batteries, stale fuel, and cracked rubber. A classic car is generally a vehicle valued for age, rarity, design, historical importance, or enthusiast appeal, and storage means more than parking it under a cover and walking away. Proper storage is a controlled process that protects the body, interior, drivetrain, electrical system, tires, and paperwork during periods when the car is not being driven. I learned this early after seeing a beautifully restored coupe come out of one winter with flat-spotted tires, varnished fuel, rodent damage in the heater box, and mold in the trunk because the owner focused on paint but ignored storage basics.
For beginners, storage matters because classics react differently than modern cars. Older seals dry out faster, carbureted fuel systems are more sensitive to evaporation, chrome pits when moisture lingers, and original fabrics or leather can be ruined by heat swings. Even newer “future classics” suffer when left in damp garages, under cheap plastic tarps, or on low-quality battery chargers. Good storage reduces repair costs, protects originality, and makes spring recommissioning simple and safe. It also supports insurance compliance, helps maintain market value, and prevents hidden deterioration that buyers often discover during inspections. This guide serves as a hub for beginner guides within classic car basics and education, covering the core decisions every new owner must make before a car sits for a week, a season, or a year.
Choose the Right Storage Space Before You Prepare the Car
The best storage plan starts with the building, not the vehicle. If you want to know how to store your first classic car properly, begin by choosing a clean, enclosed, dry, and secure space with stable temperature and controlled humidity. A private garage is ideal when it is weather-tight, ventilated, and free of fertilizer, pool chemicals, or woodworking dust. Professional storage facilities can be excellent if they offer monitored access, fire protection, trickle charging policies, and climate control around 50 to 70 degrees Fahrenheit with relative humidity near 45 to 55 percent. Those numbers matter because corrosion accelerates when moisture condenses on metal, while leather, vinyl, and wood trim deteriorate in excessive heat or dryness.
Outdoor storage should be treated as a last resort. Even high-end breathable covers cannot fully protect a car from ultraviolet exposure, wind abrasion, hail, birds, tree sap, and rapid temperature changes. I have inspected outdoor-stored classics that looked acceptable from ten feet away but had moisture trapped under mirrors, around windshield seals, and inside rocker panels. If an enclosed garage is unavailable, a fully enclosed car capsule or portable shelter on a dry surface is far better than open-air parking, but it still requires airflow management and regular inspection. The floor also matters. Bare dirt releases moisture, old asphalt can stain tires, and cracked concrete may wick dampness upward. Seal the floor if possible and use a vapor barrier when necessary.
Security deserves the same attention as climate. Classic cars are attractive theft targets because some parts are easy to resell and some ignition systems are simple to bypass. Use deadbolts, cameras, motion lighting, wheel locks, and if appropriate, a battery disconnect or discreet GPS tracker. Confirm what your insurer requires for laid-up coverage or agreed-value policies. Many owners assume their homeowner’s policy covers parts or automobilia stored with the car; often it does not. As a hub topic, this storage guide connects naturally to beginner articles on choosing a storage facility, setting up a home garage, and understanding classic car insurance terms before a vehicle goes into long-term storage.
Clean, Document, and Inspect the Car Before It Goes Away
Never store a classic car dirty. Dust seems harmless, but road film contains salts, acids, brake dust, bug residue, and moisture-holding grime that can etch paint and corrode undercarriage surfaces. Wash the exterior thoroughly, including wheel wells, the underside of fenders, lower valances, and behind bumpers. Dry the car completely with microfiber towels and compressed air around trim, emblems, mirrors, grille openings, and weatherstrips. Apply a quality wax or paint sealant for added protection. Chrome and stainless trim should be dried and protected with the correct product; avoid harsh abrasives on plated surfaces. Clean glass inside and out so contaminants do not harden during storage.
The interior deserves equal care. Vacuum carpets, seats, parcel shelves, trunk lining, and under-seat areas where food crumbs attract pests. Clean leather with a pH-appropriate cleaner and follow with conditioner, but do not oversaturate old hides. Vinyl, bakelite, painted dashboards, and wood veneer all need material-specific treatment. Remove anything that can trap moisture, including damp mats, wet umbrellas, or detailing towels left in the trunk. I recommend placing a checklist in the glovebox and taking timestamped photos of every side of the car, the engine bay, odometer, interior, chassis number, and any existing flaws. Documentation helps with insurance, service planning, and judging whether a new mark or leak appeared during storage.
Inspection is the point where beginners can prevent expensive surprises. Look for coolant seepage, fuel odors, brake fluid dampness, torn weatherstripping, rust bubbles, rodent entry points, and aging tires. Check whether the handbrake fully releases, whether the windows seal tightly, and whether drain holes in doors and cowl areas are open. If the car has a carburetor, note any tendency to flood or evaporate fuel from the bowls. If it has wire wheels, inspect splines and knock-offs. If it has an older charging system, verify that the battery and regulator are behaving normally before you connect a maintainer. Storage should never hide unresolved issues; it should begin with a known mechanical baseline.
Protect Fuel, Fluids, Battery, Tires, and Mechanical Systems
Mechanical preparation is where proper classic car storage really pays off. Start with fuel. Gasoline degrades over time, and ethanol-blended fuel attracts moisture and can attack older rubber components. For storage lasting more than a month or two, fill the tank nearly full to reduce air space, then add a recognized fuel stabilizer such as Sta-Bil or Sea Foam according to the label. Run the engine long enough to circulate treated fuel through the lines, pump, injectors, or carburetor. On some carbureted cars, draining float bowls can be helpful for very long storage, but only if you understand the restart procedure and gasket condition.
Oil and coolant should be evaluated by age, not just mileage. Used engine oil contains acids and combustion byproducts, so changing it before storage is usually wise. Confirm that coolant has the correct freeze and corrosion protection with a hydrometer or refractometer, especially in cast-iron engines and mixed-metal systems. Brake fluid is hygroscopic, meaning it absorbs water, so an overdue brake fluid flush should not wait until after storage. Differential, gearbox, and power steering fluids deserve attention on cars with unknown service history. Lubricate grease fittings, hinges, latches, hood release mechanisms, and window channels where applicable.
The battery needs either a smart maintainer or removal and separate maintenance, depending on access and storage conditions. Use a modern maintainer from brands such as CTEK, NOCO, or Battery Tender, not an old unregulated charger that can overheat the battery and boil electrolyte. Clean the terminals, check electrolyte level on serviceable batteries, and ensure the charging device matches battery type, including AGM if fitted. Tires should be inflated to the upper end of their safe storage pressure, and the car should be rolled slightly every few weeks if practical. For longer storage, tire cradles or stands can reduce flat spotting, but avoid supporting suspension incorrectly. Do not set the parking brake for months; use wheel chocks instead to prevent the shoes or pads from sticking.
| System | What to Do Before Storage | Why It Matters |
|---|---|---|
| Fuel | Fill tank, add stabilizer, run engine | Reduces oxidation, moisture, and varnish |
| Engine oil | Change if old or contaminated | Removes acids and combustion residue |
| Coolant | Test freeze point and corrosion protection | Prevents internal rust and cold-weather damage |
| Battery | Connect smart maintainer or remove properly | Prevents discharge and sulfation |
| Tires | Set proper pressure, use chocks | Reduces flat spotting and brake sticking |
| Rubber seals | Clean and condition as appropriate | Limits drying, cracking, and water ingress |
Control Moisture, Pests, and Covers the Right Way
Moisture is the main enemy of stored classics because it attacks everything at once: steel, aluminum, chrome, wiring, upholstery, paper labels, and even tool rolls. The goal is not a hot garage; it is a stable, dry environment. A small dehumidifier with drainage, a hygrometer, and weather-sealed doors usually do more good than simply heating the space. Sudden heating in a damp garage can actually create condensation on cold metal. Breathable car covers are useful indoors when the car is clean, dry, and parked in a low-traffic area. Choose a soft inner lining and a snug but not abrasive fit. Avoid plastic sheets and cheap tarp materials that trap moisture and rub paint edges.
Pest prevention should be part of every beginner storage routine. Mice love seat padding, trunk insulation, paper air filters, and heater boxes. They also chew wiring insulation and leave urine that permanently contaminates fabrics. Seal gaps in the garage, remove food sources, empty the car completely, and inspect often. Traditional mothballs are messy and unpleasant; many owners now use peppermint-based repellents, electronic deterrents, or bait stations placed around the perimeter rather than inside the car. None are foolproof. The most effective approach is exclusion, sanitation, and routine checks. I also place mesh over certain air inlets on cars known for rodent access, but it must be done carefully so nothing obstructs safe recommissioning.
Window position causes frequent debate. In most enclosed indoor storage situations, keeping the windows fully closed is best because it limits pests and airborne moisture. In a very secure, climate-controlled environment, some owners crack windows slightly to reduce odor buildup, but this increases dust and access risk. Convertible tops should be stored raised and latched if manufacturer guidance supports it, because keeping them folded for long periods can crease material and shrink rear windows. Leather interiors benefit from clean surfaces and stable humidity, not from bowls of water, oily dressings, or improvised home remedies. If the trunk or cabin has a history of dampness, fix the leak before storage. Desiccant packs can help, but they are not a substitute for solving water intrusion.
Check the Car During Storage and Recommission It Safely
A stored classic car should not be forgotten. It should be monitored on a schedule. Monthly checks are usually enough for a well-prepared car in good indoor storage. Look for fluid drips, battery maintainer fault lights, changes in tire pressure, rodent activity, mildew smell, and signs of condensation on glass or brightwork. If the facility allows it, rolling the car a short distance can change the tire contact patch. Resist the common urge to start the engine for a few minutes and shut it off again. Short idle sessions often do more harm than good because they add moisture to the exhaust and crankcase without bringing drivetrain fluids fully to temperature.
If you are going to run the car during storage, drive it long enough to reach full operating temperature and evaporate moisture from the oil and exhaust system. That usually means a real drive, not ten minutes in the garage. Before bringing the car back into regular use, reverse your storage steps carefully. Check beneath the car for leaks, inspect belts and hoses, verify tire pressure, remove exhaust plugs or intake screens if used, reconnect the battery if it was removed, and confirm that lights, brakes, and wipers work correctly. If fuel is old, assess whether dilution with fresh fuel is acceptable or whether draining is smarter. Carbureted cars may need extra priming; avoid extended cranking that overheats the starter.
The first post-storage drive should be short and deliberate. Listen for sticking brakes, flat-spotted tires that do not round out, wheel bearing noise, belt squeal, or charging irregularities. Recheck fluid levels after the engine has fully warmed and cooled. For beginners building confidence, this hub article should lead to deeper guides on battery maintainers, fuel stabilizer selection, tire care, pest-proofing, and spring wake-up inspections. Proper storage is not glamorous, but it is one of the highest-return habits in classic car ownership. When done correctly, it protects originality, lowers maintenance costs, and ensures your first classic car is ready when you are.
The essential lesson is simple: the right environment, careful preparation, and periodic monitoring matter more than any single product. Store the car clean, dry, documented, mechanically sorted, and protected from moisture, pests, flat batteries, and stale fuel. Use breathable materials, smart charging equipment, stable humidity, and a clear checklist. Avoid common beginner mistakes such as outdoor tarps, setting the parking brake for months, ignoring old fluids, or starting the engine briefly without driving it. These small decisions determine whether storage preserves a classic or quietly degrades it.
If you are new to the hobby, treat storage as part of ownership, not an afterthought between drives. Build a repeatable process, keep records, and inspect the car before and after every storage period. That discipline will save money, preserve value, and make every drive more enjoyable. Start with your space, create your checklist, and give your first classic car the kind of storage it deserves.
Frequently Asked Questions
What is the most important first step when learning how to store your first classic car properly?
The most important first step is choosing the right storage environment before you focus on covers, battery tenders, or fuel stabilizer. A first-time owner often assumes the car itself is the main concern, but the space around the vehicle is what determines whether storage protects or harms it. A dry, enclosed, well-ventilated garage is ideal because moisture, temperature swings, and poor airflow are major causes of rust, mold, corrosion, and interior deterioration. If possible, store the car on a clean concrete floor rather than dirt, gravel, or grass, since ground moisture rises and can attack the underside over time. You should also clean the storage area itself, remove anything that attracts rodents, and confirm there are no leaks from the roof, walls, or nearby plumbing.
Once the environment is under control, prepare the vehicle methodically. Wash and fully dry the exterior, clean the interior, and remove any food wrappers, paper, or organic debris that can attract pests or hold moisture. Check weatherstripping, windows, and trunk seals so water and damp air stay out. Proper classic car storage is really about reducing every slow form of damage that happens while the car sits still. If the space is clean, dry, secure, and stable, everything else you do will work better and last longer.
How should I prepare the fuel system, battery, and fluids before putting a classic car into storage?
These systems need deliberate attention because sitting unused is often harder on a classic car than regular driving. Start with the fuel system. Gasoline degrades over time, and stale fuel can gum up carburetors, injectors, and fuel lines. For most storage situations, fill the tank nearly full to reduce condensation inside the tank, then add a quality fuel stabilizer in the correct amount and run the engine for several minutes so the treated fuel circulates through the system. That helps prevent varnish buildup and makes the car easier to restart later. If the vehicle will be stored for a very long time, some owners take more specialized steps depending on the car’s fuel system, but for most first-time classic owners, stabilized fuel in a full tank is the safest and simplest approach.
The battery should not be ignored. A dead battery can sulfate, lose capacity, and even leak. Disconnecting the battery can help reduce parasitic drain, but the better option in many cases is using a quality battery maintainer designed for long-term storage. Unlike a basic charger, a maintainer keeps the battery at a healthy level without overcharging it. Make sure all battery terminals are clean and free of corrosion before storage. If the car is stored in a place with extreme temperatures, some owners remove the battery entirely and store it in a safer, more temperature-stable location, but only if that makes sense for the vehicle and its setup.
Fluid condition matters just as much. Engine oil should be clean before storage because used oil can contain moisture, acids, and combustion byproducts that sit against internal engine surfaces. Changing the oil and filter before storage is usually a smart move. Check coolant strength and condition so the system resists corrosion and freezing if temperatures drop. Brake fluid, transmission fluid, differential oil, and power steering fluid should also be inspected for age, contamination, or low levels. You are not just topping off fluids for convenience; you are protecting expensive mechanical components from internal wear while the car is inactive.
Should a classic car be covered during storage, and what kind of cover is best?
Yes, a classic car should usually be covered during storage, but only after the vehicle is thoroughly cleaned and only with the right type of cover. This is where many new owners make a costly mistake. Throwing a cheap plastic tarp or an ill-fitting universal cover over a dusty car can trap moisture and grind dirt against the paint, leading to scratches, dullness, and corrosion. The best cover for indoor classic car storage is a breathable, soft-lined, properly fitted car cover that protects the finish from dust while allowing moisture to escape. Breathability is critical because trapped humidity is one of the biggest threats to chrome, paint, trim, and interior materials.
If the car must be stored outdoors, which is far less desirable, you need a cover specifically designed for outdoor use that balances water resistance with ventilation. Even then, outdoor storage increases the risk of UV damage, condensation, weather exposure, and theft, so it should be treated as a compromise rather than a best practice. Before covering the vehicle, make sure the paint is dry, the wheel wells are clean, and there is no standing water trapped around trim or glass seals. It is also wise to avoid covering the car too tightly if the material can rub at pressure points.
Remember that a cover is the final layer of protection, not the primary one. If the garage is damp, the car is dirty, or pests can get inside, a cover alone will not solve the problem. When used correctly, though, a quality cover helps preserve paint, limit dust accumulation, and keep your first classic car looking as good when it comes out of storage as it did when it went in.
How do I protect the tires, rubber parts, and interior while the car is stored?
Tires, seals, hoses, and interior materials all age quietly during storage, and neglecting them can leave you with a car that looks fine at first glance but needs expensive reconditioning. Start with the tires. Inflate them to the recommended pressure and inspect them for cracks, dry rot, or uneven wear before storage. Leaving a vehicle stationary for months can contribute to flat spots, especially on older bias-ply tires or aging rubber. Some owners place the car on tire cradles or move it slightly from time to time to reduce pressure on one section of the tire. For extended storage, using properly placed jack stands is sometimes considered, but that decision should be made carefully to avoid stressing suspension components or compromising safety.
Rubber seals and weatherstripping around doors, windows, trunk lids, and hoods should be clean and conditioned if appropriate for the material. Dry, neglected rubber can harden, shrink, and crack, which leads to leaks and wind noise later. Under the hood, inspect hoses and belts so you are not storing the car with already-failing components. Storage does not pause deterioration; it simply hides it until the next drive.
The interior deserves equal attention. Clean carpets, seats, dashboard surfaces, and trunk areas thoroughly. Dirt and body oils can stain upholstery over time, and hidden moisture can create mildew or musty odors. Leather may benefit from a proper conditioner, while vinyl and trim should be cleaned with products suited to classic materials. It is also smart to slightly ventilate the cabin only if the storage space is secure, dry, and pest-free; otherwise, keep the car sealed and use moisture-control methods appropriate for enclosed storage. Sun exposure should be minimized to protect dashboards, wood trim, and fabrics from fading and cracking. Rodent prevention is also essential because mice can destroy seat padding, insulation, carpeting, and wiring in a surprisingly short time.
How often should I check on a stored classic car, and should I start it periodically?
You should inspect a stored classic car regularly, even if it is not being driven. Monthly checks are a practical minimum for most owners. During each inspection, look for fluid leaks, battery issues, pest activity, moisture buildup, tire pressure loss, and any signs of corrosion. Confirm that the cover is clean and properly positioned, and check the floor under the car for drips that could signal developing mechanical problems. Open the hood, inspect wiring and hoses, and pay close attention to areas where rodents tend to nest, such as the air cleaner housing, cowl vents, trunk corners, and insulation near the firewall.
As for starting the car periodically, this is one of the most misunderstood storage habits. Briefly starting the engine and letting it idle for a few minutes is usually not helpful and can actually be harmful. If the engine does not reach full operating temperature, moisture may remain in the oil and exhaust system, which can increase internal corrosion. Short idling sessions also do little for the transmission, brakes, wheel bearings, or other systems that need actual movement to benefit. In many cases, it is better to leave the car properly prepared and undisturbed than to start it casually on a schedule.
If you are going to start the car during storage, the better practice is to do so only when you can drive it long enough to fully warm the engine, circulate fluids thoroughly, and exercise the brakes and drivetrain. Otherwise, focus on preventive preparation before storage and consistent inspections during storage. That approach is far more effective than occasional idling and gives your first classic car the best chance of staying mechanically healthy, cosmetically preserved, and ready for the road when storage season ends.