Budgeting for a classic car project is the difference between a rewarding restoration and a half-finished vehicle that drains your savings, stalls in the garage, and loses momentum before the first test drive. In practical terms, a budget is not just a number; it is a plan for parts, labor, timelines, storage, tools, transport, and the inevitable surprises every vintage vehicle hides. A classic car project can mean anything from a sympathetic recommissioning of a driver-grade coupe to a concours-level, factory-correct restoration of a muscle car, truck, roadster, or European sports car. Beginners often underestimate costs because they focus on the purchase price and visible cosmetic work, yet the real expense usually sits in metal repair, drivetrain rebuilding, trim replacement, and specialist labor.
I have seen first-time owners buy a seemingly affordable project, only to discover rust in structural areas, missing model-specific parts, and an engine that needs a complete machine-shop rebuild. That is why learning how to budget for a classic car project matters early. A realistic budget helps you choose the right starting vehicle, avoid overcommitting, and make consistent progress. It also makes every next step easier, from deciding whether to buy a running car versus a basket case to understanding how insurance, registration, and storage fit into the total picture. As a hub for beginner guides in classic car basics and education, this article explains the core budgeting principles that support related topics such as inspection checklists, restoration planning, tool selection, sourcing parts, and deciding when to use professional shops.
At its core, budgeting starts with scope. You need to define the outcome before you price the work. Are you building a weekend cruiser, a dependable local-show car, a period-correct restoration, or a restomod with upgraded brakes, wiring, and fuel injection? Each path changes the budget substantially. A driver-quality project may accept reproduction trim, repaired original parts, and paint that looks good from ten feet. A concours restoration may require date-coded components, factory finishes, and specialist upholstery materials that cost multiples of standard replacements. The most important beginner lesson is simple: your target finish level determines your spending ceiling long before the first wrench turns.
Another key term is contingency. In restoration work, contingency is the money reserved for unknowns discovered after teardown. On older vehicles, those unknowns are common rather than exceptional. Hidden rust under filler, seized fasteners, cracked pot metal, obsolete bearings, damaged wiring, and poor previous repairs all appear once disassembly begins. A sound budget includes a contingency fund because classic cars are not modern appliances with predictable service intervals. They are machines with decades of history, and that history often becomes visible only after the project is underway. If you understand that from the beginning, you make better decisions, keep expectations realistic, and stay in control of the project instead of letting the project control you.
Start With the Right Project Car and a Defined Goal
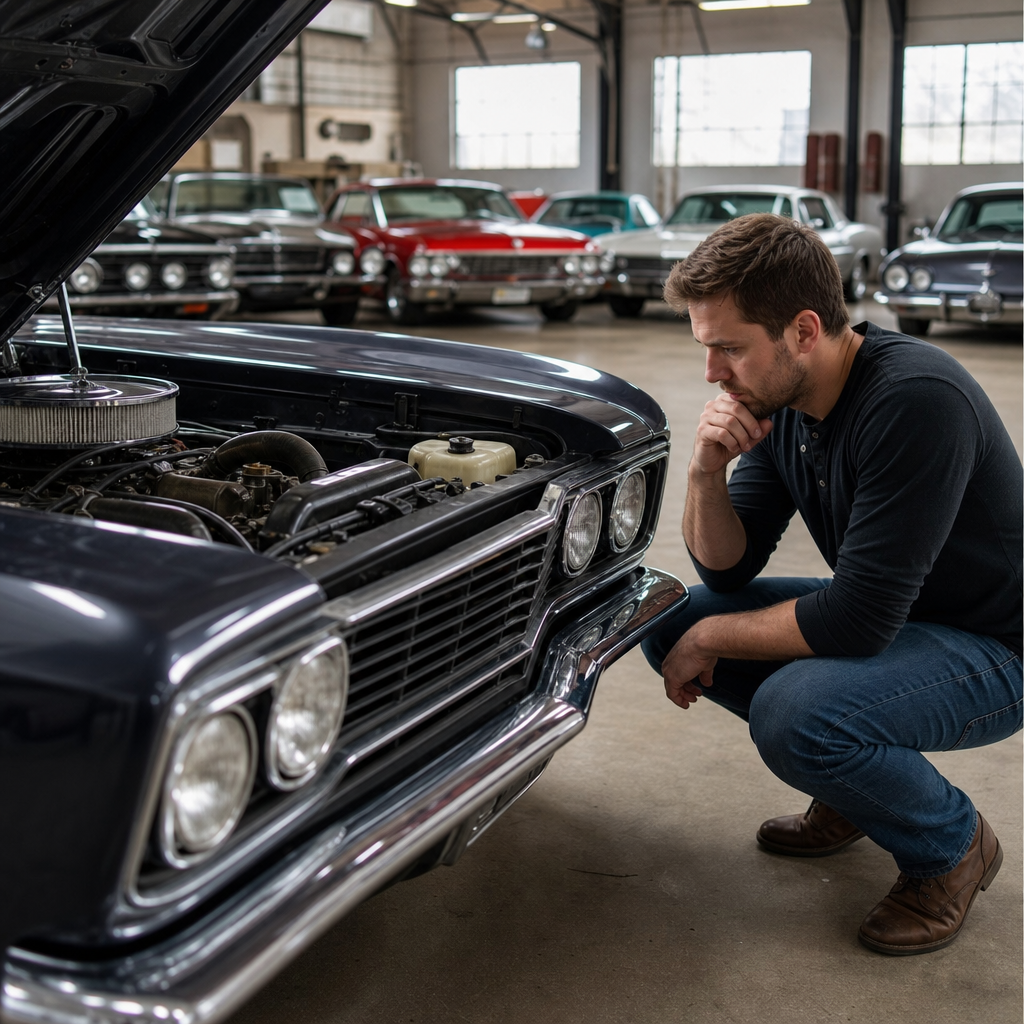
The cheapest classic car is rarely the least expensive project. Purchase price is only one line item, and beginners should avoid shopping by sticker alone. A solid, complete, running car with minor cosmetic needs usually costs less to finish than a bargain shell with severe rust, missing trim, and unknown mechanical condition. I advise first-time buyers to rank candidate cars in this order: structural condition, completeness, parts availability, paperwork status, and then cosmetic appearance. Rust repair on floors, frame sections, rocker panels, and trunk structures escalates quickly because metalwork consumes time and skilled labor. Missing model-specific trim can be equally dangerous because some parts are rare, expensive, or only available as used pieces needing restoration themselves.
Your project goal should be specific enough to guide every spending decision. If your aim is a safe and enjoyable weekend driver, prioritize brakes, cooling, tires, fuel system integrity, lighting, and wiring reliability over show paint or rare trim. If the goal is long-term value retention, originality and documentation become more important. Matching-numbers drivetrains, factory color combinations, build sheets, and original tags can materially affect resale on certain models. Beginners often waste money by changing direction midway through a build. They start with a driver, get tempted by show standards, then add expensive bodywork and detail items without adjusting the timeline or funding plan. Defining the finish level early prevents that drift.
Research should include real market data, not forum guesses alone. Compare sold listings on Bring a Trailer, Mecum results, Hemmings classifieds, marque-specific club listings, and Hagerty valuation bands. Those sources help you estimate the finished value of the car in fair, good, and excellent condition. That number matters because it sets an upper boundary. If the total project budget is likely to exceed the market value of a completed example, you need a strong personal reason to proceed. Sentimental attachment can justify that decision, but ignorance cannot. A classic car budget works best when it balances emotion with evidence.
Break the Budget Into Major Cost Categories
Once the goal and vehicle are defined, build the budget in categories instead of one lump sum. This method exposes where money actually goes and makes it easier to phase the project. In beginner restorations, the major categories are purchase, transportation, storage, body and paint, mechanical systems, electrical, interior, glass and weather seals, wheels and tires, tools, registration, insurance, and contingency. Breaking costs down also helps when comparing shop quotes because one estimate may include disassembly, media blasting, and reassembly while another excludes all three.
| Category | Typical beginner questions | Common cost drivers |
|---|---|---|
| Purchase and transport | Is the car complete, titled, and movable? | Distance, enclosed shipping, winching, broker fees |
| Body and paint | How much rust and filler are present? | Metal fabrication, panel alignment, primer, paint materials |
| Engine and drivetrain | Can it run as-is, or does it need a rebuild? | Machine work, carburetor, fuel system, clutch, transmission parts |
| Brakes, suspension, steering | Is it safe to drive? | Hydraulic components, bushings, shocks, alignment, lines |
| Electrical | Is the harness original, damaged, or modified? | Complete rewire kits, gauges, charging system, switches |
| Interior and trim | Can original pieces be restored? | Seat foam, upholstery, dash pads, chrome plating, emblems |
| Contingency | What hidden issues will teardown reveal? | Rust under paint, cracked castings, missing hardware, shop overruns |
Body and paint often become the largest line item, especially on cars with rust or poor previous repairs. Materials alone have risen sharply in recent years, and quality paintwork requires extensive preparation. Mechanical systems can also exceed expectations when a basic refresh turns into machine work for worn cylinders, crankshaft grinding, valve-seat work, or differential rebuilding. Electrical costs are often overlooked, yet brittle insulation, hacked accessories, and weak grounds make a full harness replacement the smartest choice on many cars. Interior work looks simple until you price seat covers, molded carpet, headliners, door panels, weatherstripping, and windshield seals together. Small items add up fast.
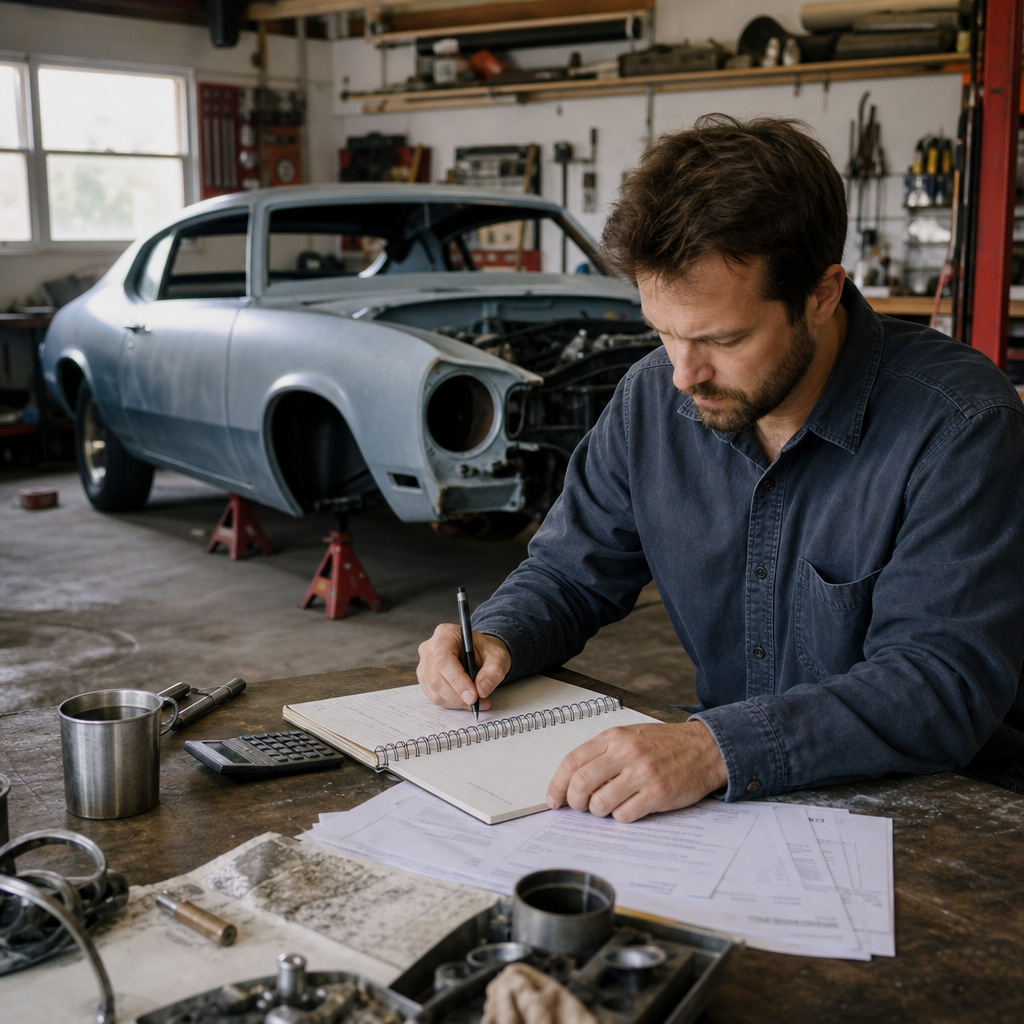
For beginners, a spreadsheet is the best control tool. List each subsystem, expected parts cost, expected labor cost, status, supplier, and notes. I also recommend adding columns for best case, realistic case, and worst case. That structure helps you see risk. A brake refresh may stay close to estimate, while bodywork almost never does. The spreadsheet becomes the project dashboard and supports future beginner guides on inspection, parts sourcing, and restoration sequencing.
Estimate Labor Honestly: DIY, Specialist Shops, and Hybrid Builds
Labor is where many classic car budgets fail because owners assume they can do more than time, skill, space, and equipment actually allow. There is nothing wrong with a do-it-yourself approach, but it has to be realistic. Basic disassembly, cleaning, cataloging hardware, interior removal, bolt-on suspension work, tune-up tasks, and simple brake jobs are often good beginner territory. Structural welding, final bodywork, high-quality paint, engine machining, transmission rebuilding, chrome restoration, and complex upholstery are usually specialist work. When owners attempt advanced work without the necessary tools or experience, they often pay twice: once for materials and again to have a shop correct mistakes.
A hybrid build is often the smartest financial choice. You can remove trim, document assemblies, strip the interior, and deliver the car to a body shop partially prepared. You can reinstall refurbished components after professionals complete paint and structural repairs. I have used this approach on budget-conscious projects because it saves labor hours without compromising critical quality. The key is coordination. Shops charge for disorder. If bolts are mixed, parts are unlabeled, and expectations are vague, the bill rises because the technician must spend time solving organizational problems you could have prevented.
When requesting estimates, ask what is included and excluded. Does the quote cover media blasting, panel alignment, seam sealer, primer, block sanding, wet sanding, and final assembly? Is engine pricing based on inspection only, or a full rebuild with pistons, bearings, oil pump, camshaft, and dyno testing? Clarify hourly rates, storage charges, subcontracted work, and payment milestones. Reputable shops are usually transparent, but classic car projects involve variables. An estimate is not a fixed bid unless explicitly written that way, and beginners should understand the distinction before authorizing teardown.
Plan for Parts Availability, Shipping, and Hidden Costs
Parts strategy directly affects budget accuracy. Some classics enjoy excellent aftermarket support, such as first-generation Mustangs, Tri-Five Chevrolets, C10 trucks, and popular air-cooled Volkswagens. Others depend on used parts networks, owner clubs, specialist breakers, or costly new old stock. Before buying the car, check whether critical components are available: floor pans, weatherstripping, brake hardware, wiring harnesses, glass, interior kits, and trim. If those items are scarce, your project timeline and budget both become more volatile.
Shipping can quietly consume a large amount of money, especially for oversized parts like bumpers, glass, sheet metal, seats, and wheels. International sourcing adds customs duties, taxes, and longer lead times. Even domestic orders can become expensive when split across many suppliers. I encourage beginners to create a staged purchasing plan: safety parts first, structural parts second, mechanical rebuild items third, cosmetics last. That sequence prevents money from being tied up in emblems and trim while the car still needs brake lines or a radiator.
Do not ignore consumables and support items. Restoration budgets should include penetrating oil, abrasives, welding gas, masking materials, seam sealer, primers, clips, fasteners, grommets, fluids, adhesives, and shop manuals. These are not glamorous purchases, but they are constant. A beginner may price a carpet kit and forget sound deadening, underlay, sill plates, trim clips, and adhesive. The same happens with engine work: the quote may exclude hoses, belts, filters, battery cables, motor mounts, and the small hardware needed to make a rebuilt engine actually ready to run. Hidden costs are usually not hidden at all; they were simply not itemized early enough.
Use Phases, Contingency, and Value Checks to Stay on Track
The most effective way to manage a classic car project budget is to phase the work. Divide the build into purchase and assessment, safety and mechanical baseline, structural repair, cosmetic restoration, interior completion, and final sorting. Each phase should have a spending cap, deliverables, and a stop-or-go decision point. This structure protects beginners from tearing a whole car apart before confirming that the project is financially viable. It also keeps the car movable and easier to sell if circumstances change.
Contingency should be treated as mandatory, not optional. For a lightly recommissioned driver project, 10 to 15 percent may be enough. For a full restoration involving unknown rust, long storage history, or incomplete parts, 20 to 30 percent is more realistic. In my experience, bodywork and missing parts are the biggest reasons contingency gets consumed. Rust spreads beyond the visible edge, and once a shop opens a panel or removes filler, the true repair area appears. That is normal. The budget should anticipate it.
Run value checks throughout the project. After teardown, after body estimate revisions, and after engine inspection, compare updated totals to the expected finished value and your personal willingness to keep funding the build. This is not pessimism; it is discipline. Some cars deserve completion because they are family heirlooms, rare specifications, or personally meaningful vehicles you plan to keep for years. Others make more sense to stabilize and enjoy as honest drivers rather than chase perfection. The best beginner budgets preserve choices. If you keep records, save receipts, photograph stages, and track every revision, you can make informed decisions instead of emotional ones.
Budgeting for a classic car project comes down to clarity, sequencing, and restraint. Define the goal before spending, buy the best starting car you can afford, break costs into detailed categories, and estimate labor with brutal honesty. Research parts support, account for shipping and consumables, and protect the plan with a contingency fund. Most important, review the numbers at every phase so the project stays aligned with both market reality and your personal priorities. That is how beginners avoid the common trap of owning a dream car they cannot finish.
As the hub for beginner guides in classic car basics and education, this article establishes the framework that supports every related topic: inspections, tool planning, restoration timelines, shop selection, and parts sourcing. If you apply these budgeting principles first, every later decision becomes easier and cheaper. Start by building a simple spreadsheet for your target car, price the major systems, and set a contingency before you buy. A well-planned classic car project is not just more affordable; it is far more likely to reach the road.
Frequently Asked Questions
How do I determine a realistic budget before buying a classic car project?
The most effective way to set a realistic budget is to work backward from your end goal. Start by defining exactly what kind of project you are taking on: a safe, reliable driver, a weekend cruiser with cosmetic improvements, a period-correct restoration, or a high-end concours build. Each path carries a very different price tag, and many first-time buyers get into trouble by purchasing a car first and trying to figure out the numbers later. Before money changes hands, research parts availability, common failure points, labor rates in your area, paint and body costs, engine and transmission rebuild pricing, interior restoration, and any model-specific trim or rare components that are expensive to source.
It also helps to divide the budget into major categories: purchase price, mechanical repairs, body and paint, interior, electrical, wheels and tires, chrome or trim, tools, transport, storage, registration, and contingency funds. Be honest about what you can do yourself versus what will require a specialist. A car that seems affordable can quickly become expensive if you need professional welding, upholstery, machine work, paint correction, or custom fabrication. Even seemingly small items such as weatherstripping, fasteners, seals, clips, hoses, and glass rubber can add up quickly when ordered piece by piece.
A smart approach is to build two numbers: an expected budget and a maximum budget. The expected budget reflects known work, while the maximum budget includes a healthy reserve for unknowns. On classic cars, unknowns are not an exception; they are part of the project. Hidden rust, poor past repairs, seized hardware, wiring issues, missing trim, or an engine that “ran when parked” can all inflate costs. If the finished value of the vehicle is important to you, compare your total projected investment against realistic market prices for completed examples. That will tell you whether the project makes financial sense or whether you are doing it primarily for enjoyment, which is perfectly valid as long as you know that going in.
What expenses do people most often forget when budgeting for a classic car restoration?
The biggest budgeting mistakes usually come from underestimating the indirect and “small” costs that accumulate over time. Most people remember the obvious line items such as paint, engine work, and the purchase price, but forget about shipping fees, taxes, shop supplies, fluids, gaskets, hardware, adhesives, consumables, and the cost of fixing poor workmanship from previous owners. These expenses rarely arrive as one dramatic invoice; they appear as a steady drip of purchases that can quietly consume thousands of dollars over the life of the project.
Storage and transport are also frequently overlooked. If the car is not roadworthy, you may need towing, enclosed transport, trailer rental, or repeated trips between your garage and specialty shops. If you do not have adequate space at home, paid storage can become a recurring expense. Tools are another major blind spot. Even for a do-it-yourself project, you may need a quality jack, stands, torque wrench, air compressor, specialty pullers, electrical testing equipment, bodywork tools, and safety gear. Buying tools can still save money compared with paying labor, but they need to be accounted for in the plan.
Timing-related costs matter too. The longer a project sits, the more likely momentum fades and prices rise. Parts become harder to find, labor rates increase, and purchased components can be misplaced, damaged, or become outdated if the build direction changes. It is also common to overlook registration, insurance, inspection fees, title work, and the cost of correcting old wiring, brakes, and fuel systems so the car is genuinely safe, not just running. A proper budget should account for all of these areas up front, because finishing a classic car successfully is often less about one giant bill and more about managing dozens of smaller, unavoidable costs with discipline.
How much contingency money should I set aside for unexpected problems?
As a general rule, every classic car project should have a contingency fund, and it should be larger than most beginners expect. For a relatively solid, complete driver-grade project, setting aside at least 15 to 20 percent beyond your estimated costs is a sensible minimum. For a car with unknown history, visible rust, missing parts, or unclear mechanical condition, 25 to 40 percent is often more realistic. The reason is simple: vintage vehicles hide problems. Rust can be concealed under filler, an engine may have internal damage despite turning over, wiring may have been altered badly over decades, and previous “repairs” can create new work instead of saving old work.
The contingency fund should not be treated as optional money available for upgrades. It exists to absorb surprises without derailing the project. For example, you may discover corroded brake lines after planning only for pads and shoes, or uncover structural rust while stripping paint that requires professional welding. A transmission that seemed usable may reveal worn internals once the engine is out. Glass may crack during removal. Trim may be missing clips or mounting pieces no longer readily available. These are normal realities in classic car work, not signs that the project has failed.
One of the best ways to protect your contingency fund is to prioritize safety and drivability first, cosmetics second, and wish-list upgrades last. If surprises appear, the reserve goes toward essentials that keep the project moving. If the surprises never come, you can always apply unused funds to nicer paint, upgraded suspension, or interior improvements later. In practice, the contingency fund is what separates a manageable restoration from one that stalls halfway through because the owner planned only for the visible work and had no cushion for the hidden issues that almost always emerge.
Is it cheaper to do the work myself or hire professionals?
Doing the work yourself can absolutely reduce the cash outlay of a classic car project, but it is not automatically cheaper in every area. The real answer depends on your skill level, available tools, workspace, time, and willingness to learn. Mechanical tasks such as basic disassembly, cleaning, bolt-on parts replacement, brake service, ignition work, interior installation, and some wiring repairs can often be handled by capable enthusiasts with research and patience. Taking on these jobs yourself can save substantial labor charges and give you a much better understanding of the car.
That said, certain jobs are expensive for a reason. Bodywork, rust repair, structural welding, machine work, upholstery, precision engine assembly, paint preparation, and final finishing often require specialized experience and equipment. Mistakes in these areas can be costly to correct and may end up exceeding what a qualified professional would have charged in the first place. A poor paint job, incorrect body filler work, or improperly rebuilt engine can set a project back by months and add major expense. The goal is not to do everything yourself; the goal is to do the right things yourself and outsource the tasks where professional results matter most.
A balanced budgeting strategy often works best. Handle the labor-intensive but lower-risk jobs yourself, such as teardown, labeling and cataloging parts, cleaning components, sourcing replacement parts, and reassembly of straightforward systems. Then reserve professional labor for high-skill, high-consequence work. This hybrid approach can dramatically improve budget control while preserving quality. It also helps to get written estimates, ask shops about lead times, and understand whether they bill flat rate or time and materials. In classic car work, labor hours can expand quickly when hidden problems appear, so clarity before the work begins is essential. The cheapest route is usually the one that combines realistic self-assessment with selective professional help, not blind confidence or total outsourcing.
How can I keep a classic car project from going over budget once work begins?
Controlling costs during the project comes down to planning, tracking, and making disciplined decisions. Start with a written scope of work that clearly defines what the project is and is not. If your goal is a reliable, enjoyable driver, do not let the project quietly evolve into a full rotisserie restoration unless you are prepared for that level of spending. Scope creep is one of the main reasons classic car builds exceed their budgets. It often starts innocently: a nicer set of wheels, upgraded suspension, a better paint color, a custom interior, or replacing “just one more thing” while a system is apart. These changes can be worthwhile, but they should be conscious decisions with updated numbers attached.
Track every expense, even the small ones. A spreadsheet or restoration app should include parts, labor, shipping, tax, tools, transport, and notes about what has been ordered, installed, returned, or still needed. This gives you an accurate picture of where the money is going and helps prevent duplicate purchases. It is also smart to phase the build. Break the project into stages such as acquisition, assessment, mechanical safety, drivetrain, body and paint, interior, and final sorting. Completing one stage before fully funding the next can help keep the project manageable and reduce the risk of ending up with a disassembled car and a depleted budget.
Another key strategy is to buy parts with intention rather than impulse. Research quality differences between reproduction and original components, compare suppliers, and avoid stockpiling expensive items too early if the project timeline is uncertain. Communicate carefully with shops as well. Request estimates, ask to be notified before work exceeds agreed limits, and approve changes in writing. Finally, maintain a practical mindset. A classic car project is rarely cheaper because it is sentimental, exciting, or