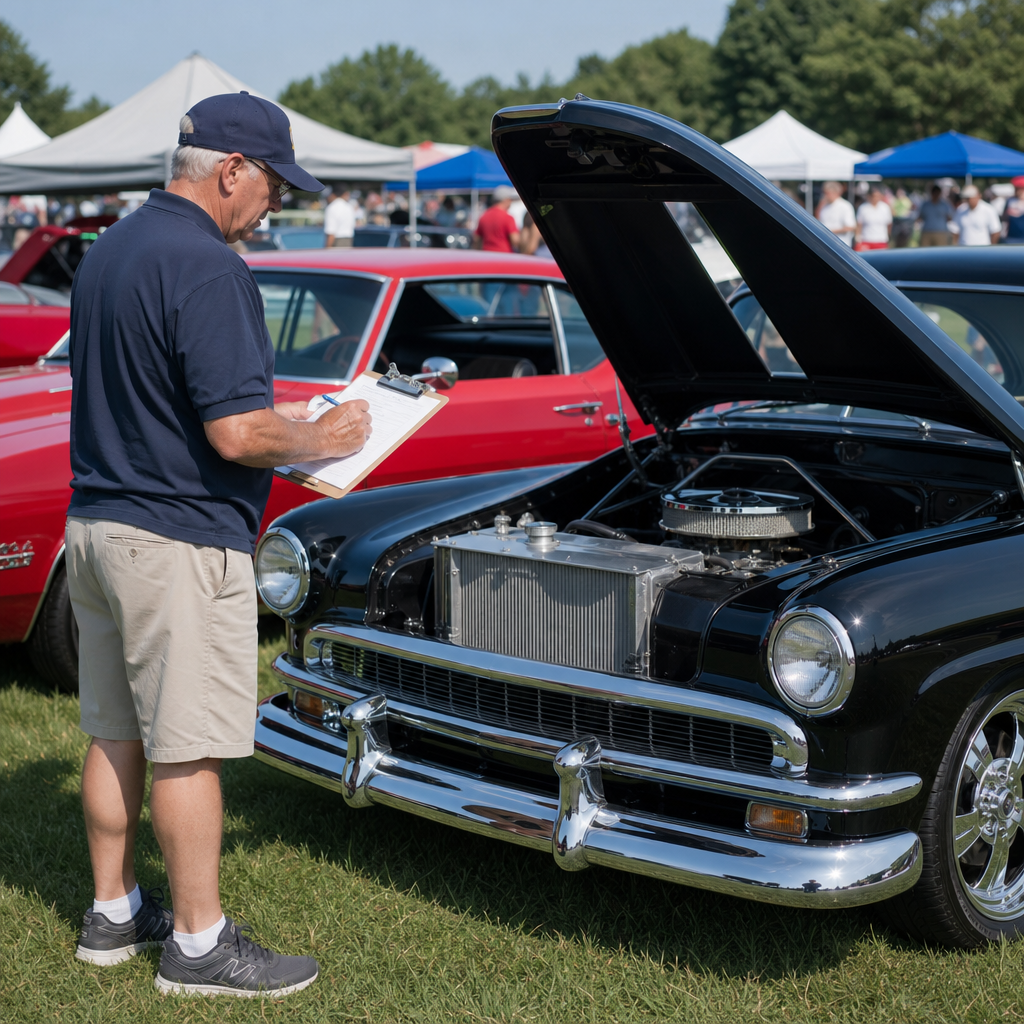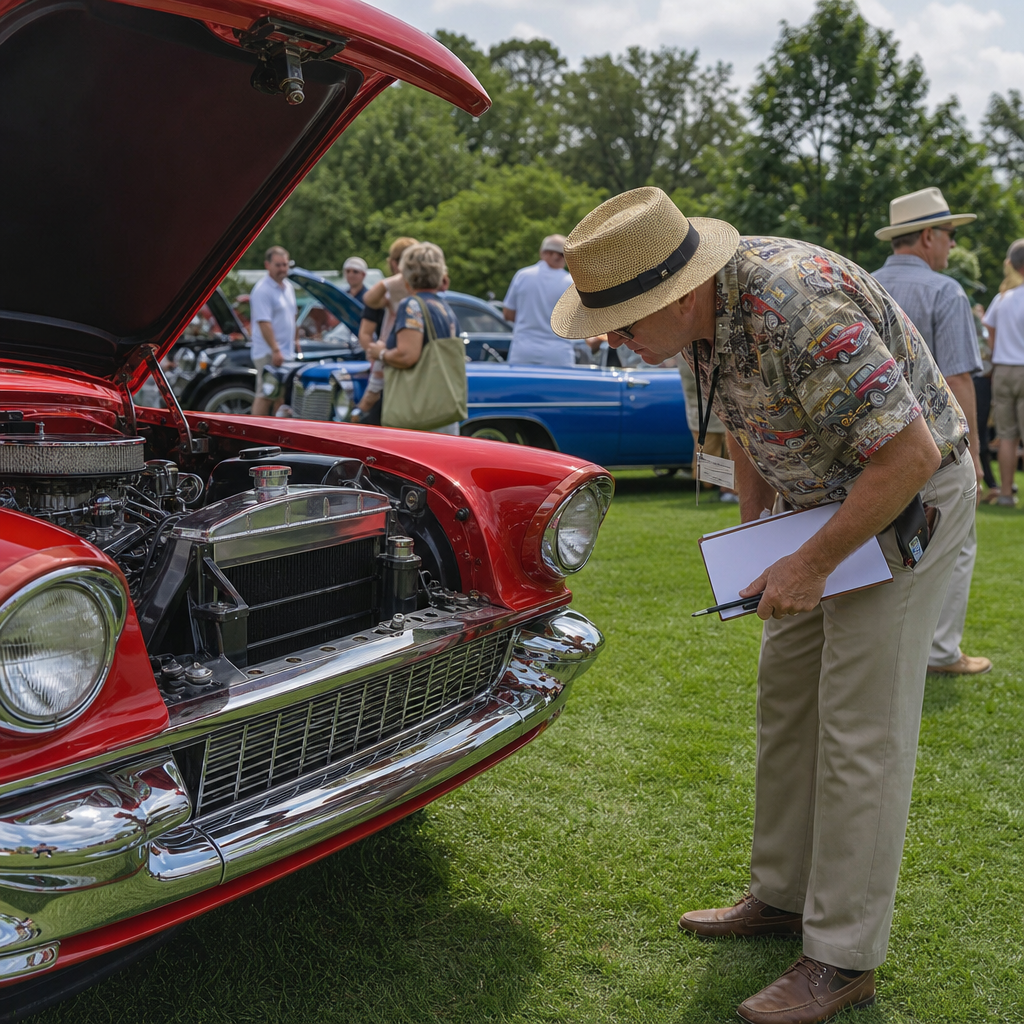
A well-planned garage does more than store a car; it protects investments, supports weekend repairs, creates a place to gather, and adds daily enjoyment without demanding a luxury renovation budget. Budget-friendly garage upgrades are practical improvements that raise function, comfort, appearance, and resale value while keeping costs controlled through smart material choices, phased projects, and work that owners can handle themselves. In the world of classic car culture, the garage often doubles as workshop, showroom, parts room, and social space, so every dollar needs to work hard. I have helped set up enthusiast garages ranging from one-car suburban bays to detached shops behind older homes, and the best results almost never come from the biggest spending. They come from solving the right problems first: moisture, lighting, storage, electrical access, and workflow.
For classic car owners, garage and man cave ideas need a different standard than generic home-improvement advice. Older vehicles bring unique needs: spare trim and hard-to-find parts need organized storage, battery maintainers need safe outlets, paint and chrome benefit from steady humidity, and even simple jobs like adjusting timing or polishing stainless demand clear task lighting. If the space also hosts friends for a game, bench-racing stories, or parts-swap planning, comfort and presentation matter too. A budget-friendly approach does not mean cutting corners. It means prioritizing upgrades that extend the life of the car, reduce frustration during maintenance, and make the garage a place you actually want to use.
This hub article covers the core decisions that shape an affordable enthusiast garage: flooring, lighting, wall systems, storage, power, climate control, security, décor, and phased planning. Think of it as the roadmap for building a garage that supports classic car ownership and the lifestyle around it. Some projects cost less than a set of spark plugs and can be finished in an afternoon. Others require a weekend, a modest tool list, and careful sequencing. The point is not perfection. The point is creating a clean, efficient, welcoming space where your car is safer, your tools are easier to find, and your time in the garage feels more rewarding.
Start with function: clean, seal, and plan the layout
The most cost-effective garage upgrade is not decorative. It is a disciplined reset of the space. Before buying cabinets or signs, empty as much as possible, sweep thoroughly, remove oil residue with a dedicated concrete degreaser, and inspect for cracks, moisture intrusion, pest gaps, and poor door seals. In many garages, especially older detached structures, I find that owners are trying to organize around underlying problems. Water reaches the slab under the side door, dust blows in around the overhead door, and cardboard boxes wick moisture from the floor. Fixing those basics changes everything.
Layout planning should follow how the garage is actually used. A classic car bay needs enough side clearance for door opening, creeper access, and polishing. A maintenance zone should keep the workbench near outlets and task lighting. A social corner should stay clear of grinding dust, fuel cans, and battery chargers. Painters tape on the floor is a low-cost planning tool that prevents expensive mistakes. Mark the footprint of the car, bench, shelves, and trash bin, then walk the route you take carrying wheels, jacks, and parts. If the workflow feels cramped on tape, it will feel worse in real life.
Wall-mounted storage outperforms floor clutter because it preserves maneuvering room. Sealed plastic bins outperform open cardboard because they resist humidity and dust. A simple zoning strategy works well: one wall for detailing supplies, one for tools, one for parts storage, and one for memorabilia or seating. That structure becomes the backbone for every later garage and man cave upgrade.
Improve the floor without overspending
Garage floors set the tone for the whole space, but they do not need a premium coating system to look good and perform well. The most affordable path is usually crack repair, deep cleaning, and a quality concrete sealer or porch-and-floor coating designed for vehicle traffic. Two-part epoxy kits can deliver a sharper finish, but they only succeed when surface preparation is exact. Many failed budget epoxies peel not because the coating is bad, but because the slab still held oil contamination or moisture vapor.
For classic car owners, floor choice affects maintenance. Smooth, sealed concrete is easier to sweep before sliding under a car. Light gray finishes reflect more light, making dropped clips and fasteners easier to spot. Interlocking polypropylene tiles are another useful middle-ground upgrade. They cost more than paint but install quickly, hide minor slab imperfections, and allow airflow beneath the surface. They are especially practical in garages where the slab is sound but unattractive.
If the budget is tight, place a heavy-duty roll mat under the engine bay and a second mat by the workbench. This protects the floor, reduces knee fatigue, and catches spills. Anti-fatigue mats near the bench and sink are a small expense with an outsized comfort payoff. Flooring should support real use first, then appearance.
Lighting is the highest-value upgrade in any classic car garage
Nothing transforms a garage faster than proper lighting. Most older garages still rely on one or two bare bulbs or outdated fluorescent fixtures that cast shadows exactly where you need visibility. Modern LED shop lights dramatically improve brightness, color rendering, energy efficiency, and cold-weather performance. In practical terms, that means better paint inspection, easier wiring work, and less eye strain during evening projects.
Look for LED fixtures in the 4000K to 5000K range for clean white light, and prioritize a Color Rendering Index above 80 so paint, wiring colors, and fluid leaks appear accurate. Output matters more than marketing language. In a typical two-car garage, a combined 12,000 to 20,000 lumens often provides a strong baseline depending on ceiling height and wall color. I prefer spreading that output across several fixtures instead of relying on one ultra-bright unit, because even coverage matters more than raw intensity.
Task lighting should supplement overhead lighting. Magnetic LED bars under the hood, clamp lights at the bench, and rechargeable inspection lights make precision work easier and safer. Motion-sensor entry lighting by the side door is another inexpensive upgrade that feels premium in daily use. For enthusiasts who photograph their cars, even light on clean walls creates far better images than a dark, cluttered background.
Affordable storage systems that keep tools and parts under control
Storage determines whether a garage feels like a capable workshop or a crowded shed. The strongest budget strategy is mixing open, closed, and overhead storage instead of buying one matching system. Metal shelving handles heavy bins and fluids. Pegboard or slatwall keeps frequently used hand tools visible. Closed cabinets improve the look of the space and protect supplies from dust. Ceiling racks work for light, seasonal items but should not become a graveyard for unknown parts.
For classic cars, label discipline matters. Organize parts by vehicle, system, and status: “Mustang front suspension installed,” “Chevelle trim needs polish,” or “Packard electrical pending test.” Clear bins with printed labels save hours and prevent duplicate purchases. Small-parts organizers are essential for clips, jets, bulbs, cotter pins, and hardware that may be difficult to replace locally. A rolling tool chest does double duty by storing core tools while also serving as a movable work surface.
| Upgrade | Typical Budget Range | Main Benefit | Best Use Case |
|---|---|---|---|
| LED shop lights | $80–$250 | Brighter, safer workspace | Any garage with dim overhead lighting |
| Metal shelving and bins | $120–$400 | Organized parts and supplies | Owners storing spares for one or more classics |
| Concrete sealer or floor coating | $100–$300 | Cleaner appearance and easier cleanup | Sound slab with minor cosmetic issues |
| Workbench upgrade | $150–$500 | Dedicated repair and detailing station | DIY maintenance and small restoration tasks |
| Weatherstripping and insulation | $50–$300 | Better comfort and dust control | Drafty attached or detached garages |
One lesson I have learned repeatedly is that storage should fit frequency of use. Tools used every weekend belong at arm’s reach. Specialty pullers, extra hubcaps, and show supplies can live higher or farther away. If every item gets equal access, the garage quickly loses efficiency.
Build a workbench and utility wall that supports real maintenance
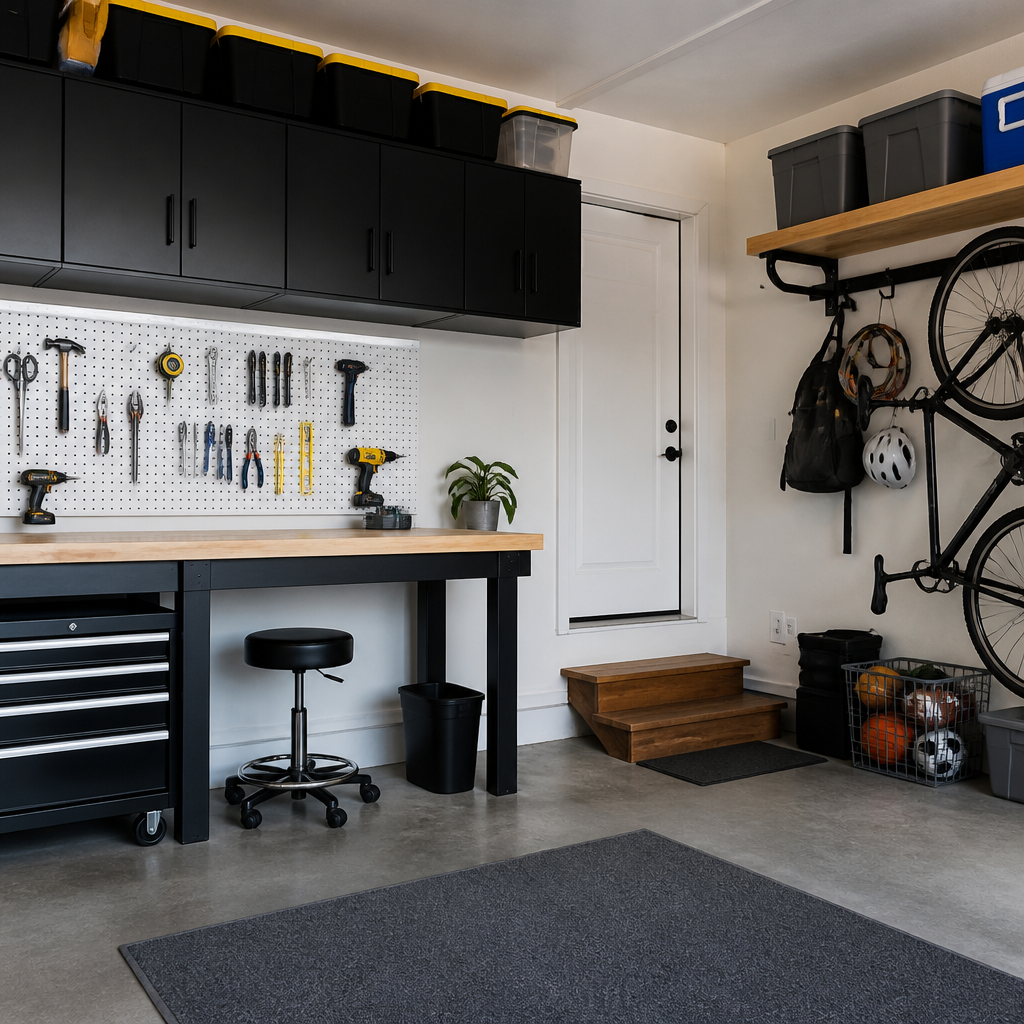
A sturdy workbench is the center of most enthusiast garages, and it does not need custom cabinetry to be effective. A bench built from construction lumber with a plywood top, hardboard sacrificial layer, and lower shelf often outperforms flimsy store-bought units. The ideal depth is usually around 24 inches, which allows tool access without making the wall feel bulky. Anchor the bench securely, add a vise, and mount a power strip above the surface rather than across the back edge where cords interfere with work.
The wall above the bench should carry the utility load. Pegboard remains cost-effective, but metal peg systems or slatwall panels hold heavier tools more reliably. Install a paper towel holder, glove dispenser, small first-aid kit, fire extinguisher, and charging station for cordless tool batteries. Keep flammables in a proper metal safety cabinet if quantities justify it, or at minimum in approved containers away from ignition sources. If space allows, add a small stainless utility sink or even a simple basin station for washing hands after brake, grease, or polishing work.
This bench zone also becomes the ideal place for a laptop shelf, service manuals, and a Bluetooth speaker, turning the garage into a better man cave without spending heavily on furniture. Practical comfort wins over gimmicks every time.
Control temperature, humidity, and air quality on a budget
Climate control is often misunderstood as a luxury item, but for classic cars it is part of preservation. Excess humidity encourages rust, mold, and corrosion in wiring, fasteners, and interior materials. Extreme heat shortens the life of chemicals and can punish adhesives and trim. Start with the low-cost envelope improvements first: replace worn weatherstripping, seal gaps, insulate the garage door if the manufacturer allows it, and add basic wall or ceiling insulation where accessible. These steps usually do more for comfort and efficiency than a bigger heater alone.
A portable dehumidifier is one of the smartest purchases for damp regions. Aim to keep relative humidity moderate rather than chasing museum conditions. In hot climates, a ceiling fan or wall fan helps with perceived comfort and ventilation. In cold climates, electric radiant heaters or safe forced-air units can take the edge off for intermittent use, but detached garages may need upgraded circuits before adding heat. Always check clearance and combustion safety requirements.
Ventilation matters during detailing, painting small parts, charging batteries, or running engines briefly. A box fan in an open doorway is not a complete solution. Whenever fumes are involved, use purpose-built ventilation and follow product safety guidance. Cheap comfort upgrades are worthwhile only if they do not compromise safety.
Security, safety, and smart upgrades that protect cars and people
A budget garage should still be a secure garage. Start with physical basics: reinforce service doors with quality deadbolts, add longer hinge and strike-plate screws into framing, and ensure windows have functioning locks or privacy film. Outdoor motion lighting deters casual intrusion and makes late arrivals easier. A visible camera system has become affordable and is especially useful for detached garages storing valuable tools or classic cars.
Inside the garage, safety upgrades are nonnegotiable. Place at least one ABC-rated fire extinguisher near the exit, not buried behind the workbench. Use GFCI protection where required. Replace damaged extension cords, and avoid daisy-chaining power strips. Store oily rags carefully, keep jack stands in good condition, and inspect lifting equipment regularly. Carbon monoxide concerns are real in attached garages; a detector near the connecting door is a wise addition.
Smart controls can be worthwhile if chosen selectively. A Wi-Fi garage door controller confirms whether the door is closed, and smart plugs can schedule battery maintainers or lights. The goal is not gadget overload. It is peace of mind at a reasonable cost.
Man cave style on a realistic budget
The most memorable garage hangouts usually mix authenticity with restraint. A classic car garage does not need expensive lounge furniture or neon overload to feel inviting. Start by painting walls in a bright neutral tone, which improves reflected light and makes memorabilia stand out. Then add a few high-impact elements tied to your cars: framed period ads, marque signs, old dealership items, race posters, or shelves displaying parts with a story behind them. A set of matching bar stools from a restaurant supply outlet can look better and last longer than bargain furniture marketed specifically for man caves.
Comfort matters, but it should not interfere with the garage’s working role. Choose seating that can handle dust and temperature swings. A compact refrigerator, insulated trash can, and wall-mounted television can make the space social without turning it into clutter. If the budget allows one indulgence, many owners get the most satisfaction from a good sound system or a clean seating corner where friends can talk while a project is underway. Style works best when it supports the culture of the space rather than competing with it.
The smartest budget-friendly garage upgrades solve practical problems before chasing looks. Clean and seal the slab, improve lighting, add storage that matches how you work, and build a bench that supports maintenance. Once those essentials are in place, modest climate control, stronger security, and a few carefully chosen décor pieces can turn a basic garage into a true classic car hub. The value comes from using the space better, protecting the vehicle more effectively, and making every hour in the garage easier and more enjoyable.
If you are building out your own garage and man cave ideas plan, start with one weekend project instead of a full renovation. Replace the lights, map your layout, or install shelving and labeled bins. Small upgrades compound quickly. A cleaner, brighter, better-organized garage will improve how you maintain your classic, how you store your parts, and how often you choose to spend time there. Use this hub as your starting point, then tackle each garage upgrade in a logical order and make the space fit your car lifestyle.
Frequently Asked Questions
What are the most cost-effective garage upgrades to start with?
The most cost-effective garage upgrades usually focus on lighting, storage, floor improvement, and basic climate control. These changes deliver a noticeable improvement in how the space looks and works without requiring a major renovation budget. A smart first step is upgrading old, dim fixtures to bright LED lighting. Good lighting makes the garage safer, easier to clean, and far more useful for repairs, detailing, and general household storage. Another high-value project is adding wall-mounted shelving, pegboards, ceiling racks, or cabinets to get tools, parts, and seasonal items off the floor. Organized storage instantly creates more usable square footage and helps protect valuable equipment.
Floor coatings or sealers are also popular because they improve appearance while making concrete easier to sweep and more resistant to stains. Even if a full epoxy system is not in the budget, a quality concrete sealer or garage floor paint can still refresh the space. Weatherstripping around the garage door, sealing gaps, and insulating key areas can improve comfort and reduce dust, drafts, and moisture intrusion. For garages that serve as workshops or gathering spaces, a simple fan, portable heater, or insulated door kit can make the room much more usable throughout the year. These upgrades are effective because they solve everyday problems first, and they can often be completed in phases as time and money allow.
How can I upgrade my garage on a budget without hurting resale value?
The best way to protect resale value is to choose upgrades that improve function, cleanliness, and broad appeal rather than highly specialized features that only fit one owner’s hobby. Buyers consistently respond well to garages that feel bright, organized, dry, and well maintained. That means practical improvements like durable shelving, better lighting, clean wall finishes, sealed flooring, and secure storage are usually safer investments than expensive custom elements with limited everyday use. Neutral colors, tidy layouts, and quality materials help the garage feel like an extension of the home instead of an afterthought.
It is also important to prioritize repairs before cosmetic changes. Fixing moisture issues, replacing damaged weatherstripping, patching cracks, improving drainage, and making sure the garage door operates correctly can add more long-term value than decorative upgrades alone. If you want the space to support classic car storage, weekend repairs, or hobby work, try to do it in a way that remains flexible. For example, modular cabinets, movable workbenches, and adaptable wall storage can serve car enthusiasts now while still appealing to future buyers later. A budget-friendly garage should look purposeful and cared for, and that combination often supports resale better than a flashy remodel that costs more than the neighborhood is likely to return.
Are DIY garage upgrades really worth it, or should I hire a professional?
DIY garage upgrades are often worth it when the project is straightforward, low-risk, and labor makes up a large share of the total cost. Painting walls, assembling storage systems, installing pegboards, applying some floor coatings, replacing basic light fixtures, and building simple work surfaces are all common projects that many homeowners can handle with planning and patience. Doing this work yourself can stretch the budget significantly, allowing you to tackle several improvements for the cost of one professionally installed feature. For people who enjoy working on their own space, DIY projects can also create a garage that is tailored to specific needs, whether that means more room for tools, better access around a classic car, or a cleaner setup for weekend projects.
That said, there are times when hiring a professional is the smarter and safer choice. Electrical panel upgrades, new dedicated circuits for compressors or lifts, major insulation work, structural framing, garage door spring replacement, and moisture remediation typically require more experience and may involve code compliance or safety concerns. A good rule is to handle the finish work and organization yourself, but bring in licensed help for anything that could affect safety, structural integrity, or long-term reliability. A hybrid approach often works best on a budget: invest in professional help where mistakes are expensive, and save money by taking on prep, painting, storage installation, and cleanup on your own.
How do I make a garage more comfortable for hobbies, repairs, and hanging out without spending too much?
Comfort comes from improving the basics of the environment rather than trying to turn the garage into a luxury room. Start by controlling temperature swings and airflow. Sealing gaps around doors and windows, adding weatherstripping, insulating the garage door, and placing insulation where it will have the biggest impact can make the space feel dramatically better at a relatively modest cost. Once the shell is better sealed, a portable fan, shop fan, space heater, or mini climate solution can go much further. If the garage doubles as a place to work on vehicles, watch a game, or gather with friends, better lighting and cleaner surfaces also make a major difference in comfort.
Noise reduction, seating, and layout matter too. Rubber mats or interlocking floor tiles in selected areas can soften the feel underfoot and cut down on fatigue while standing. A durable workbench, a couple of simple stools, and a dedicated corner for conversation can turn the garage into a more welcoming space without making it feel cluttered. If the budget is tight, focus on creating zones: one for parking, one for tools and repairs, and one for relaxing or socializing. That structure helps the garage serve multiple purposes efficiently. In classic car culture especially, the garage often becomes more than storage, so a clean, bright, organized environment supports both practical work and the enjoyment that comes with spending time around the vehicle.
What mistakes should I avoid when planning budget-friendly garage upgrades?
One of the biggest mistakes is spending money on appearance before fixing core problems. If the garage has water intrusion, poor lighting, inadequate power, damaged concrete, or severe clutter, decorative finishes will not solve the real issues. Another common mistake is buying cheap storage or floor products that cannot handle the weight, temperature changes, or wear of garage use. Budget-friendly does not mean lowest quality; it means choosing materials that deliver durability and function for the price. It is often better to install fewer, stronger storage components than to replace flimsy ones later.
Poor planning is another problem. Many garages fail because owners do not measure carefully, think through parking clearance, or account for how doors, cabinets, tool chests, and workbenches will interact. Before buying anything, map the layout based on how the garage is actually used. Make room for walking paths, vehicle doors, tool access, and future flexibility. It is also wise to avoid overbuilding for trends that may not matter in a few years. Focus on improvements that make the space safer, cleaner, and easier to use every day. Finally, do not underestimate the value of phased upgrades. Trying to do everything at once can lead to overspending and rushed decisions. A staged plan lets you improve the garage in the right order, spread out costs, and create a space that supports storage, repairs, social use, and long-term value without blowing the budget.