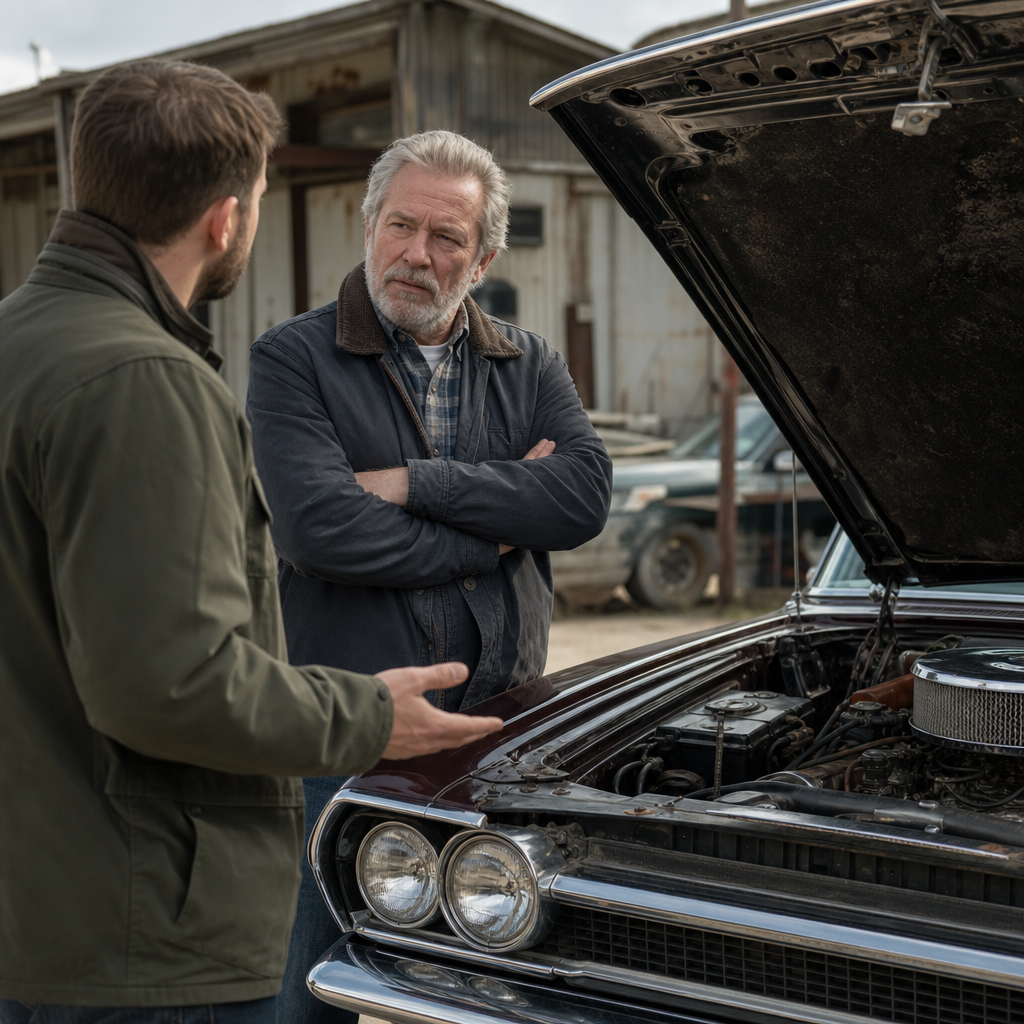
Selling a classic car starts with trust, and trust starts with photographs. Buyers cannot smell the leather, hear the cold start, or inspect panel gaps through a screen, so your images have to do the heavy lifting. Professional photos of your classic car are not about filters or expensive gear. They are about showing condition accurately, highlighting provenance, and helping serious buyers decide whether your car deserves a call, a visit, or a deposit. In the classic market, where values can swing dramatically based on originality, restoration quality, and documentation, photography directly affects asking price, time on market, and the quality of inquiries.
When I help owners prepare listings, the same pattern repeats: average photos attract low-effort messages, while clear, methodical images bring informed questions from better buyers. Good photography also reduces friction later in the sale. If your listing already answers obvious concerns about paint, trim, underside condition, VIN tags, and service records, you spend less time repeating yourself and more time negotiating with qualified people. That matters whether you are listing on Bring a Trailer, Hemmings, Facebook Marketplace, marque forums, or a dealer consignment page.
This hub article explains how to take professional photos of your classic car with selling in mind. It covers planning, equipment, lighting, angles, detail shots, documentation, editing, and platform-specific strategy. It also connects the photo process to the broader task of selling a classic car well: setting expectations, proving condition, and presenting a complete story. If you want sharper listing images, more credible ads, and fewer dead-end conversations, start here and build your sale around the photo set.
Start with the sale strategy, not the camera
The best classic car photography begins before the first shutter click. You need to know what you are trying to prove. A survivor 1972 Mercedes-Benz 280SE, a freshly restored 1967 Mustang fastback, and a driver-quality Porsche 356 each require a different visual emphasis. For survivors, buyers want originality: factory spot welds, correct finishes, aged but honest upholstery, production tags, and records that support mileage. For restored cars, buyers want workmanship: paint depth, chrome quality, panel fit, underbody detailing, and photos of the restoration itself. For driver cars, buyers want candor: current condition, flaws, recent maintenance, and signs of reliability.
Before shooting, write a shot list based on buyer questions. I usually break it into seven groups: hero images, full exterior walkaround, interior, engine bay, trunk, underside, and paperwork. Then I add model-specific proof points. On an air-cooled 911, that might include Fuchs wheel dates, engine type stamping, and front suspension pan condition. On a C2 Corvette, include birdcage areas, frame sections, soft-top details, and bonding strips if visible. A disciplined sequence prevents you from forgetting the exact shot that a knowledgeable buyer will request later.
This is also the point to think about internal linking within your selling process. Your photo set should support your pricing analysis, inspection report, ownership history, and description. If you create separate resources for records, cold-start videos, or restoration receipts, mention them in your listing and reference them naturally. Good sales pages work as a package, and strong images are the central asset tying that package together.
Prepare the car like a serious seller
No camera can rescue a poorly prepared car. Wash the exterior thoroughly, clean the glass inside and out, dress tires lightly, vacuum carpets, remove personal items, and wipe dust from dashboard surfaces, weatherstripping, and engine bay painted areas. The goal is not to make the car look artificially glossy. The goal is to remove distractions that suggest neglect. If there is grease on a valve cover or lint on the carpet, buyers start wondering what else was ignored.
Preparation also means staging truthfully. Do not hide rust bubbles with awkward framing. Do not soak an engine in shiny dressing that makes leak detection impossible. Do not photograph a car wet unless you are specifically showing beading after a detail, because water masks swirls, orange peel, and microblistering. For sale photography, dry paint under even light is the standard. I recommend keeping a microfiber towel, glass cleaner, detailing brush, and painter’s tape on hand. Tape can temporarily secure loose mats or hold a trunk lid in place for a cleaner image, as long as the listing remains honest about condition.
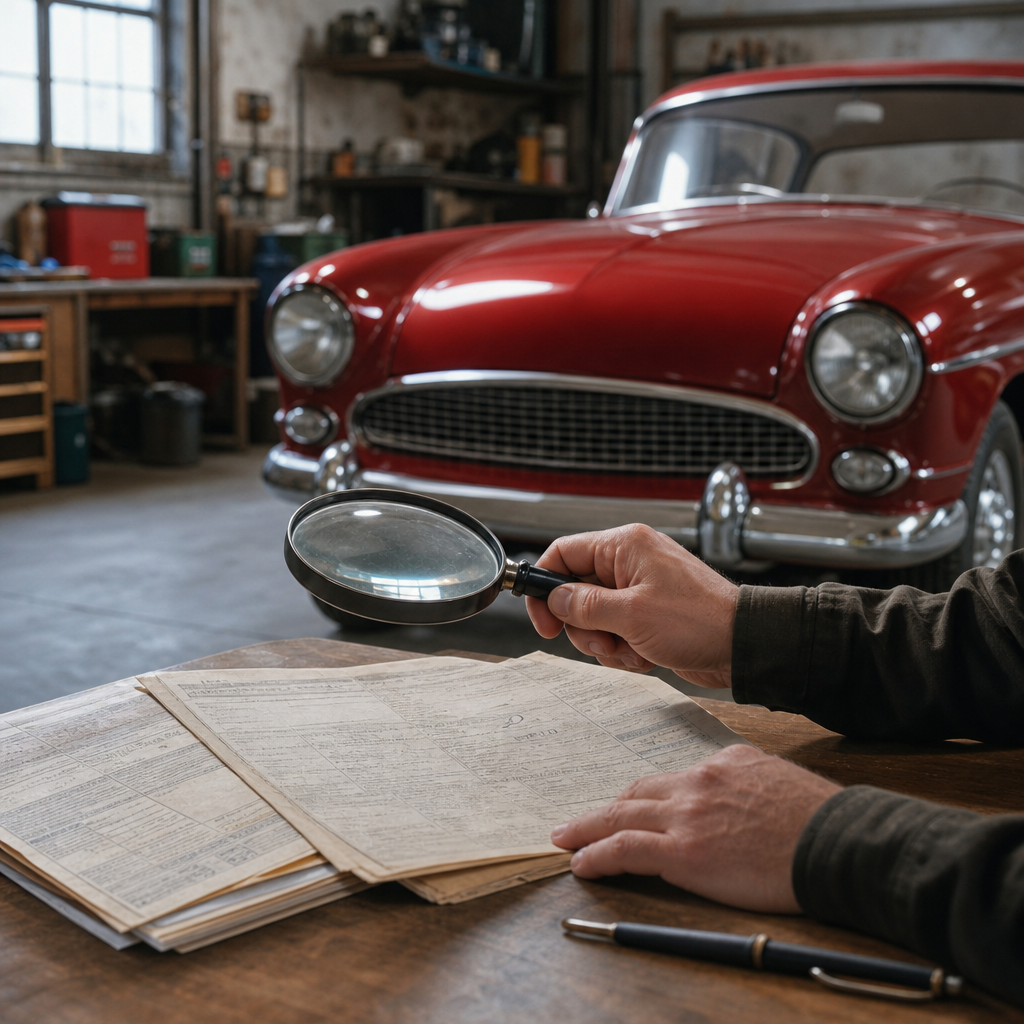
Paperwork deserves prep too. Sort titles, registrations, manuals, service invoices, restoration books, tool rolls, spare keys, and judging sheets. Buyers pay more when provenance is easy to review. The market repeatedly rewards complete cars with complete stories. A Jaguar E-Type with photo-documented restoration and Heritage Certificate will generally inspire more confidence than an equivalent car with vague history and only glamour shots.
Choose the right gear and settings
You can take professional photos of your classic car with a modern smartphone, but technique matters. Recent iPhone, Google Pixel, and Samsung Galaxy cameras are good enough for most listings if you shoot carefully in good light. A mirrorless or DSLR camera adds control and dynamic range, especially for dark interiors and reflective paint, but it is not mandatory. What matters more is stability, lens choice, and consistency.
If you use a dedicated camera, a 24mm to 70mm lens covers most needs. Avoid ultra-wide angles for hero shots because they distort proportions, making a long-hood coupe look cartoonish. For detail shots, a 50mm or short macro lens is excellent. Use a tripod for interior, engine bay, and document images where slower shutter speeds help maintain low noise and accurate color. Polarizing filters can reduce windshield and paint reflections, but use them carefully because they can create uneven effects across large curved surfaces.
Settings should favor realism. Keep ISO low when possible, use aperture around f/5.6 to f/8 for exterior three-quarter shots, and ensure the full car is sharp. For interiors, bracket exposures if your camera allows it, because dashboards and bright windows often exceed a single exposure’s range. On smartphones, disable portrait mode for full-car images; software blur looks fake and can soften edges buyers want to inspect. Clean the lens before every sequence. It sounds basic, but I have seen otherwise solid listings ruined by haze from fingerprints.
| Photo task | Best tool | Recommended approach |
|---|---|---|
| Full exterior views | Phone or camera with 35mm-50mm equivalent | Shoot at hood height in soft light, keep wheels straight |
| Interior cabin | Camera on tripod or steady phone | Use even light, expose for seats and dash, avoid blown windows |
| Engine bay details | Camera with normal lens | Shoot wide overall, then close-ups of tags, castings, hoses, and finishes |
| Underside condition | Phone with auxiliary light | Capture frame rails, floors, suspension points, leaks, and rust-prone areas |
| Documents and VIN tags | Tripod or flat stable surface | Use square framing, sharp focus, readable text, and even illumination |
Use light that reveals, not light that flatters
Lighting is the difference between an attractive listing and a trustworthy one. The best time to photograph a classic car is usually early morning or late afternoon when the sun is low and soft. Open shade can be even better for dark paint because it reduces harsh reflections and preserves detail in body contours. Midday sun creates blown highlights on chrome, deep shadows under bumpers, and distracting reflections on curved panels. Those problems make condition harder to judge and often force heavy editing, which serious buyers dislike.
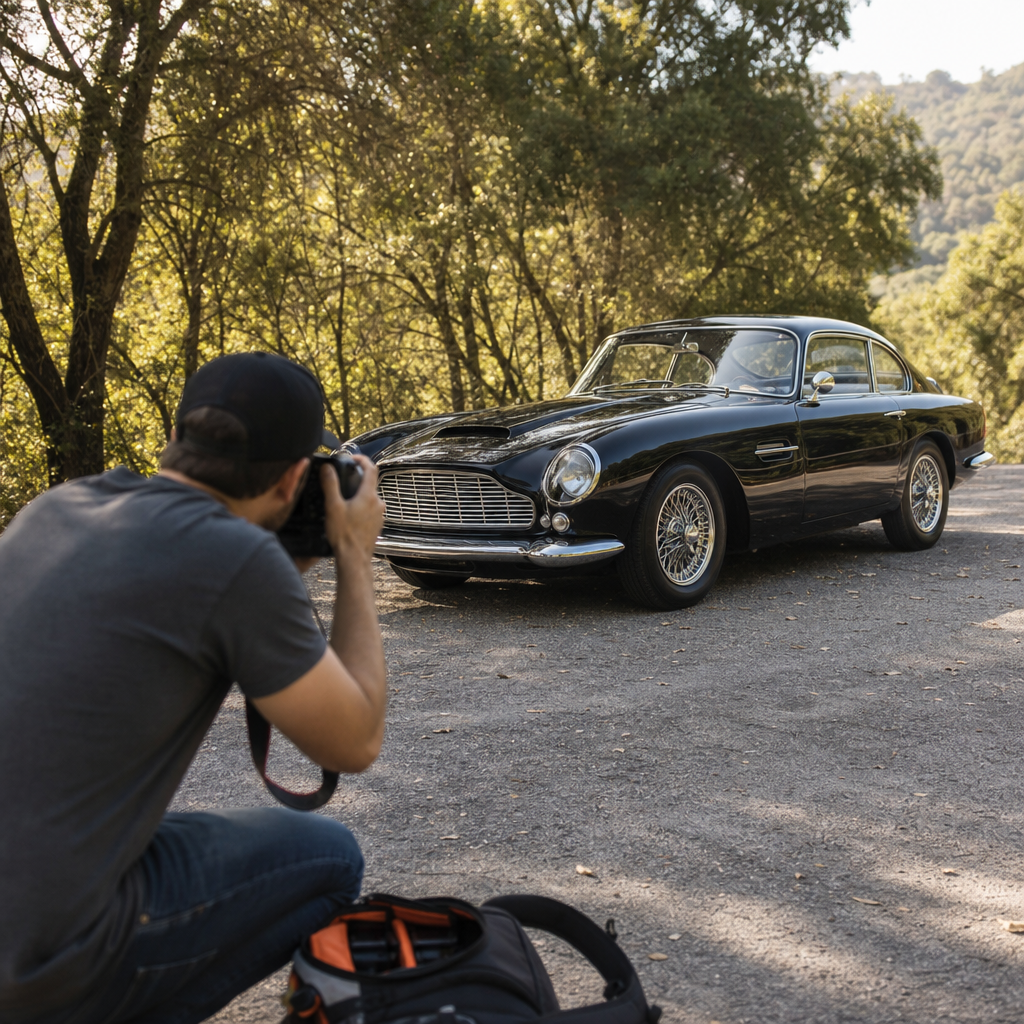
Location matters as much as time of day. Choose a clean, neutral background: an empty industrial block, a quiet parking area, a plain wall, or a private driveway with uncluttered surroundings. Busy backdrops make the car feel less premium and pull attention away from details. Avoid bright red signs, trash bins, power lines cutting through the roofline, and other vehicles crowding the frame. If the car has a period-correct feel, a tasteful background can reinforce it, but keep the scene secondary to the subject.
Light should expose flaws honestly. Metallic paint needs angles that show flake and consistency across panels. Solid black cars need broad soft light to show straightness without becoming a mirror. White cars need careful exposure so highlights on fenders and roof do not clip. Interior leather benefits from side light that reveals creasing and wear. If you are selling, honesty beats drama. A buyer who arrives and finds the car matches the pictures is more likely to close.
Shoot the complete exterior like an appraiser would
A complete exterior set answers the buyer’s first question: what does the car look like from every angle? Start with front three-quarter, rear three-quarter, dead-on front, dead-on rear, both side profiles, and higher and lower variations of the hero view. Keep the wheels straight for profile shots unless wheel design is a selling point in a three-quarter composition. Leave space around the car so nothing feels cramped, but fill enough of the frame that details remain visible on mobile screens.
Next, walk the car panel by panel. Photograph hood, roof, trunk lid, each door, each fender, rocker areas, bumpers, grille, lights, mirrors, badges, wheels, and tires. Include close-ups of paint chips, touched-up spots, scratches, pitting, curb rash, cracked lenses, stone damage, and any mismatch in panel color. Serious buyers assume every old car has flaws. They become suspicious when a listing includes none. Detailed imperfection photos often strengthen credibility and reduce renegotiation after inspection.
Fitment and trim matter in the classic market. Show door gaps, hood alignment, trunk seams, windshield trim, stainless condition, soft-top fit, hardtop mounting points, and convertible rear window clarity where relevant. If the car has original glass, date codes can be worth documenting. If it has expensive new tires, capture brand and date codes. For valuable cars, small details separate a well-presented sale from a casual listing. Buyers read them as signs that the owner understands what the car is and how the market values it.
Document the interior, engine bay, underside, and records
Interior images sell usability and preservation. Shoot wide views from both doors, the front seats, rear seats if present, dash straight-on, center console, gauges with the ignition on, headliner, carpets, door panels, trunk mat, cargo boards, and weatherstripping. Show seat bolsters, steering wheel wear, pedal rubbers, wood trim, radio, heater controls, and any aftermarket modifications. For mileage claims, patterns of wear matter. A 40,000-mile car should not have a heavily polished wheel rim and collapsed seat padding unless the story explains it.
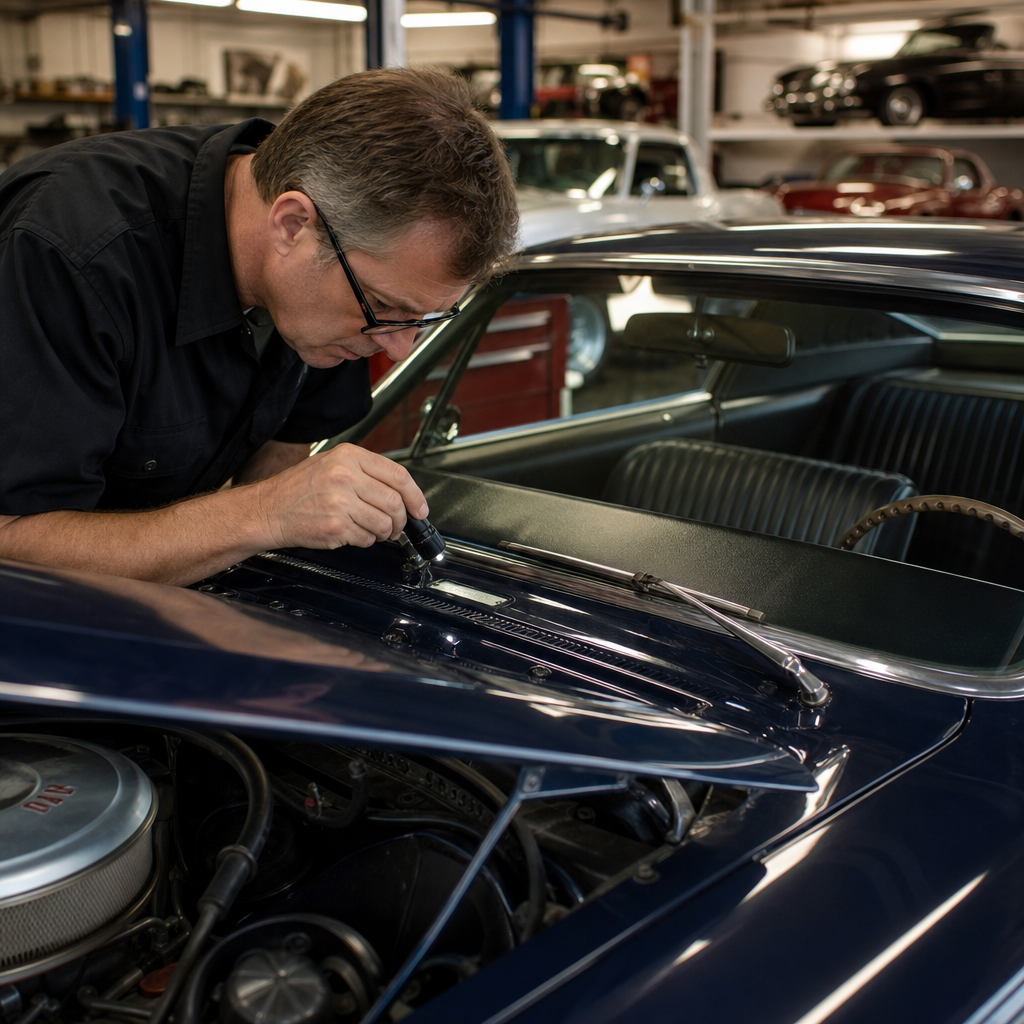
The engine bay should begin with an overall view and then move to specific proof points: engine stamping, carburetors or injection components, emissions labels, data plates, firewall details, shock towers, hoses, battery tray, and signs of leaks or heat damage. Clean but do not over-detail. Buyers want to see honest finishes, not silicone shine. On judged or highly original cars, correct clamps, decals, and finishes can materially affect value. On modified cars, photograph upgrades clearly so buyers can evaluate quality and reversibility.
Underside photos are mandatory if you want strong money online. Use ramps or a lift if available and capture floors, frame rails, jack points, suspension arms, differential, transmission, pinch welds, trunk wells, and common rust areas. Include exhaust routing and evidence of recent work such as bushings, shocks, brake lines, or fuel lines. Finally, photograph records legibly: title status, service binders, restoration albums, tools, books, and accessories. A complete documentation set often closes the confidence gap that prevents remote buyers from bidding.
Edit for accuracy and build a hub that supports the whole sale
Editing should correct, not manufacture. Adjust white balance, exposure, contrast, and straightening so the car appears as it does in person. Do not oversaturate paint, remove defects, or darken shadows to hide corrosion. Crop thoughtfully, but keep enough context around identification tags and documents that they look credible. Export high-resolution files, name them logically, and upload in a sequence that mirrors the buyer journey: hero shots first, then walkaround, interior, engine, underside, and records.
As the hub page for selling a classic car, this topic extends beyond photography. Your images should connect to pricing strategy, inspection readiness, listing copy, shipping logistics, escrow, title transfer, and negotiation. The strongest sellers create a consistent package across all of these elements. Photos support the condition narrative. Records support the price. Videos support cold-start claims. Inspection reports support trust. When these assets align, buyers spend less time guessing and more time deciding.
For platform strategy, tailor the set to the venue. Auction sites reward exhaustive documentation and transparent flaw disclosure. Classified sites still need completeness, but the first five photos carry more weight because casual shoppers skim. Social platforms need one strong hero image to stop the scroll, then a link to the full gallery. However you list, remember the core rule: photograph the car the way an informed buyer would inspect it. That is how to take professional photos of your classic car, and it is how to sell a classic car with fewer surprises and better offers. Build your shot list, prepare the car, shoot methodically, and let the evidence do the selling.
Frequently Asked Questions
What are the most important photos to include when selling a classic car?
The most important photos are the ones that help a serious buyer understand exactly what the car is, what condition it is in, and whether it matches the description in the listing. Start with strong exterior overview shots from all four corners of the car, plus full side profiles, a straight-on front view, and a straight-on rear view. These give buyers an immediate sense of stance, panel fit, trim completeness, ride height, and overall presentation. For a classic car, these fundamentals matter because experienced buyers are already looking for clues about restoration quality, originality, and possible accident history before they even read the full description.
After the overview shots, move into detail photography. Capture the paint closely in natural light so buyers can see depth, consistency, and any flaws. Include chrome, badges, grille, glass, weatherstripping, lights, wheels, tires, and any model-specific features that enthusiasts will expect to inspect. Photograph the interior thoroughly, including the front seats, rear seats, door cards, dashboard, gauges, steering wheel, headliner, carpets, trunk, and any switches or period accessories. On the mechanical side, include the engine bay, chassis stampings or VIN plate where appropriate, trunk floor, spare wheel area, underside if possible, and any major service or restoration work. If the car has a folder of receipts, heritage documents, ownership history, or concours awards, photograph those as well. In the classic market, provenance often supports value just as much as cosmetics.
Just as important, include honest photos of imperfections. Stone chips, paint cracks, seat wear, pitting, scratches, rust bubbles, and leaks should be shown clearly. That does not weaken your listing. It strengthens trust. Serious buyers assume every older car has some flaws, but they become suspicious when a seller avoids them. A complete set of transparent, well-composed images reduces wasted calls, attracts better-qualified buyers, and helps the right person feel comfortable moving to the next step.
Do I need expensive camera equipment to take professional photos of my classic car?
No. Expensive camera gear is not the deciding factor. Good classic car photos come from preparation, lighting, composition, and honesty far more than from the camera itself. A modern smartphone can produce excellent results if you use it carefully. In many cases, sellers get better images with a phone they understand than with a high-end camera used in automatic mode without any attention to framing or light. Buyers are not judging your photography as art. They are judging whether your photos clearly reveal the car’s condition and support confidence in the transaction.
What matters most is using clean, sharp images taken in consistent light. Wash the car properly, dry it fully, clean the wheels, vacuum the interior, and remove clutter from the cabin, trunk, and background. Shoot in soft natural light, usually early morning, late afternoon, or on a bright overcast day. Avoid harsh midday sun because it creates blown highlights, heavy shadows, and distracting reflections that can hide panel contours or flaws. Hold the camera level, keep vertical lines straight, and avoid using wide-angle settings that distort the shape of the car. If your phone allows it, tap to focus, lower exposure slightly to preserve highlights, and wipe the lens before every session.
If you want to step up quality without spending much, a simple tripod, a microfiber cloth, and basic editing for brightness and cropping are usually enough. Avoid heavy filters, oversaturated colors, and artificial background blur, because they can make buyers think you are disguising something. The goal is not to make the car look unrealistically perfect. The goal is to present it as accurately and confidently as possible. That is what feels professional, and that is what helps a classic car sell.
What is the best lighting and location for photographing a classic car?
The best lighting is soft, even natural light, and the best location is clean, quiet, and visually neutral. For most sellers, that means photographing the car outdoors shortly after sunrise, later in the afternoon, or on a bright cloudy day. Those conditions reduce harsh reflections and make it easier to show paint, chrome, body lines, and glass clearly. Classic cars often have curved panels, polished trim, and rich colors that can become difficult to photograph under direct midday sun. Strong overhead light can flatten the body shape in some areas while creating deep shadows in others, which makes the car harder to evaluate.
Choose a location that complements the car without distracting from it. A simple industrial backdrop, an open paved lot, a clean residential street, or a quiet country road can work well. The key is to avoid visual clutter such as other cars, bins, power equipment, signage, or busy traffic. A buyer should be looking at your classic, not at the background. Pay attention to reflections too. Highly polished paint will mirror buildings, trees, and even yourself, so walk around the car before shooting to see what the surfaces are picking up. Sometimes moving the car just a few feet changes everything.
For interior and engine bay shots, use indirect daylight whenever possible. Open doors, trunk, and bonnet in shaded light so details remain visible without harsh contrast. If you need extra illumination, use soft supplemental light rather than a direct flash, which can create bright hotspots and hide textures. Consistency matters. If the exterior is photographed beautifully but the engine bay is dark and grainy, buyers may wonder what they are not seeing. A calm, well-lit environment gives your images a more credible, professional look and helps the car feel properly presented.
How should I photograph flaws and imperfections without hurting the sale?
You should photograph flaws clearly, calmly, and in context. With classic cars, transparency is not the enemy of value. It is usually the foundation of a successful sale. Most knowledgeable buyers expect some wear unless the car is freshly restored or preserved at a very high level. What concerns them is not the existence of flaws, but the possibility that the seller is hiding them. When you photograph imperfections honestly, you show confidence in the car and respect for the buyer’s time. That often leads to more productive conversations and fewer unpleasant surprises during an inspection.
The best approach is to include both wide and close views. Start by showing the relevant panel or area in the context of the whole car, then move in closer to document the specific issue. For example, if there is bubbling at the base of a fender, include one photo of the whole side of the car and another close-up that reveals the bubbling clearly. Do the same for paint cracks, stone chips, worn seat bolsters, split stitching, pitted chrome, aged wood trim, oil seepage, or corrosion in the trunk or underbody. Good lighting is especially important here. You are not trying to dramatize the flaw, but you do want it visible enough that the buyer understands what they are seeing.
Accurate flaw photos can actually strengthen the rest of your gallery. When buyers see that you have openly documented the less flattering details, they are more likely to trust your nicer images of the paint, interior, and engine bay. It also helps set expectations before anyone travels to view the car. In the classic market, many deals fail not because the car has faults, but because the seller’s presentation creates a mismatch between expectation and reality. Honest photography reduces that gap and makes your listing more credible from the first click.
Should I include photos of paperwork, matching numbers, and restoration details?
Yes, absolutely. For many classic cars, documentation is a major part of the story and a major part of the value. Strong photos of paperwork, identification tags, engine stampings, chassis numbers, restoration receipts, ownership history, manuals, tool kits, heritage certificates, judging sheets, and period accessories can materially improve buyer confidence. A classic is rarely judged on looks alone. Buyers also want evidence of authenticity, maintenance, provenance, and the quality of any restoration work. If your car has a matching-numbers engine, a documented color change, a well-known specialist restoration, or a long-term ownership history, your photographs should support those claims.
When photographing documents, make sure they are legible and evenly lit. Lay them flat, avoid glare, and capture both full-page overviews and close-ups of the most important sections. For number stampings and tags, use sharp focus and clean the area carefully first so the markings can be read. If the numbers are in a difficult location, take multiple images from slightly different angles. Restoration details deserve the same care. Show metalwork before paint if you have those records, body-off restoration stages if applicable, rebuilt engine photos, suspension work, interior retrimming, and any specialist invoices. These images help buyers understand not only what was done, but how thoroughly and by whom.
There is one important caveat: be thoughtful about privacy and security. If paperwork contains personal addresses, phone numbers, registration details, or sensitive financial information, cover or blur those parts before publishing. The aim is to prove the car’s history, not to expose private data. Done properly, documentation photos elevate your listing from a simple advertisement to a credible presentation of a serious classic car. In a market where values can turn on originality and provenance, that extra effort can make a meaningful difference.